Docs
DocsUsing a model in an automation
The trained and calibrated Decision models can be used by Blue Prism to automate the decision-making process.
Depending on the type of decision-making process you are automating, you should consider building the requirement for a human reviewer into your process.
As part of the Decision installation process, the Decision API VBO is imported into the Blue Prism interactive client which sets the details for the Decision Web API Service and provides the action to use your Decision model. This is required to be able to use Blue Prism with Decision. For more information, see Installing Blue Prism Decision.
Use your Decision model in a process
Including your Decision model in a process enables the process to reach a conclusion based on a number of inputs, without the need to build a more complex process in Blue Prism.
To use your Decision model in a process:
- In the Blue Prism interactive client, open the required process in Process Studio.
- Add an Action stage and double-click it to open the Action Properties window.
-
In the Action Properties:
- Enter a name and an optional description for the action.
-
Select Utility – Decision from the Business Object drop-down list.
If you have not entered a name for your action, the name now defaults to Utility – Decision::Get Prediction.
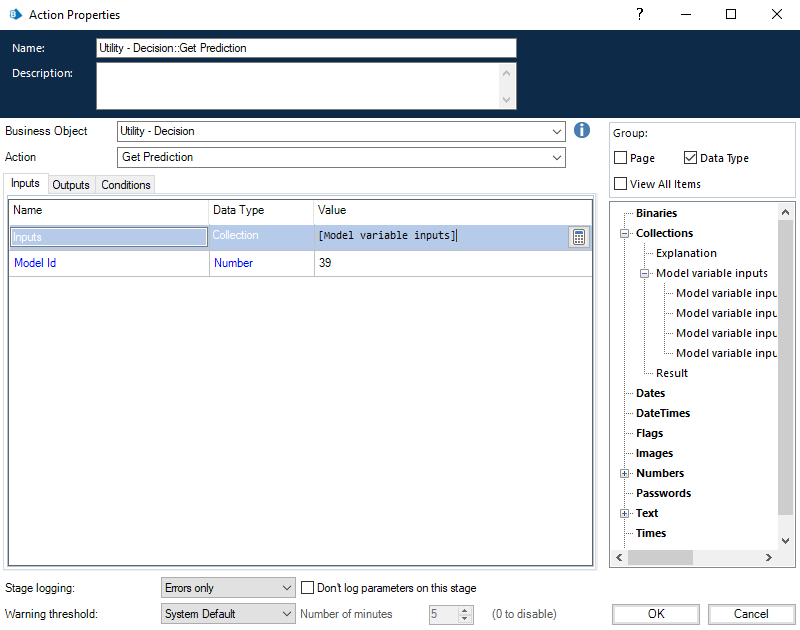
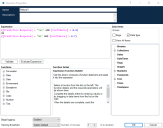
- On the Inputs tab, enter the identification number for the model in the Value column for the Model Id. You can find the model identification number on the Library page in Decision.
-
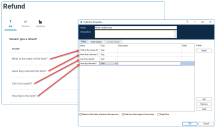
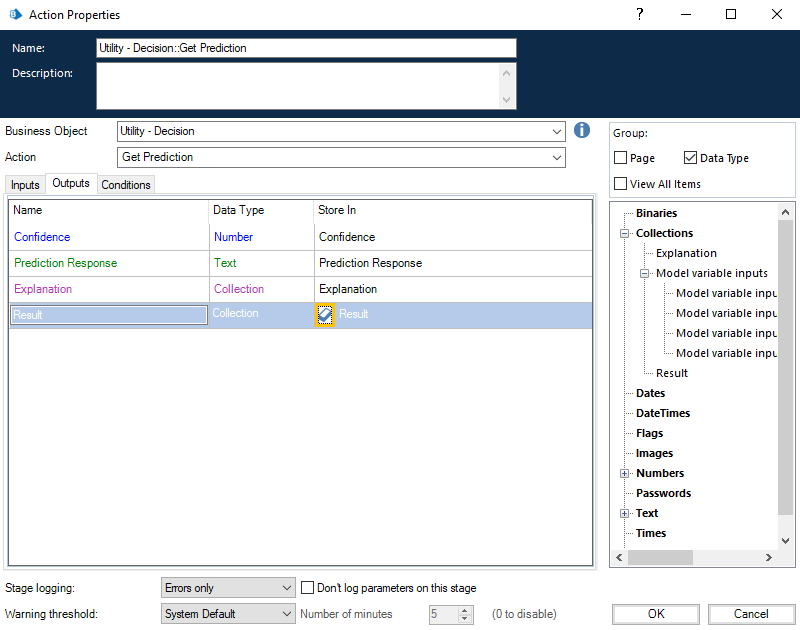
On the Outputs tab, click the create icon in the Store In column for each output.
Each cell is populated, for example:

- Click OK.
The updated action displays with the created collections and data items for the outputs.
-
Add a new Collection to your process (this will be used for the inputs), and double-click it to open the Collection Properties window.
-
- Enter a name and an optional description for your collection.
-
On the Fields tab, add as many fields to this collection as you have variables in your model. Copy the name of each variable into each field and set the Type to Text for each field. The names must be identical.
The Weighting tab on the Calibrate page in Decision lists all the variables.
For example:
- If required, on the Initial Values tab, add a single row and enter any initial values.
- Click OK.
- Double-click your Action stage to open the Action Properties window.
-
In the Action Properties, on the Inputs tab, drag and drop the collection you have created in step 5 from the navigation tree into the Value for Inputs.
The name of the collection displays between square brackets, for example:

-
Click OK.

You can now build the rest of your process around the decision model.
If you want to test your connection and check that you can provide inputs and receive an outcome, create a new process with just a Start stage and a Stop stage. Add the Action stage as detailed above and use the Initial Values in step 5c to provide a set of inputs. Once you have completed the steps above, your process will look like this:
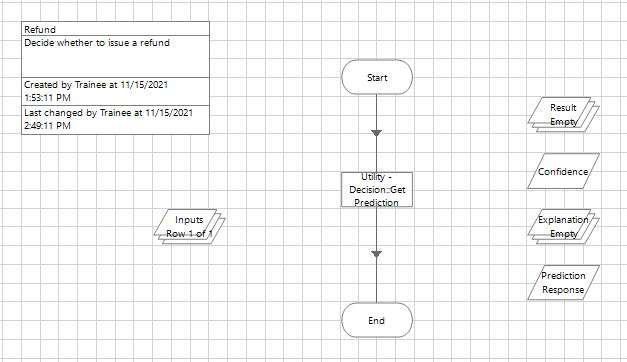
You can run this process and, if everything is set correctly, the output collections and data items will be populated.
If you receive an error, check that the model information is correct, and that the connection details and credentials are correctly configured.
Include a human reviewer
You can include a human reviewer or approver into the automation process. The example below is a suggested method and uses Blue Prism Interact as the interface for the user. Design an automation that suits your organization's requirements.
This example includes a human approver in the process to review the data and approve the outcome, where the model confidence level is below a defined threshold. In this case, below 80%.
To include an approver in your process:
- In Blue Prism, open the required process in Process Studio.
- At an appropriate place in your process, after the Action stage for your model, add a Decision stage and double-click it to open the Decision Properties window.
-
In the Decision Properties:
- Enter a name and an optional description for the stage.
-
Enter an expression that you want to be true using the outputs that you received from the model Action stage. For example, using the Refund model shown in Creating a new model, a valid expression is:
([Prediction Response] = "Yes" AND [Confidence] > 0.8)
OR
([Prediction Response] = "No" AND [Confidence] > 0.7)
In this example, two different values have been defined for the different responses. If the model's predicted response is:
- "Yes" and the confidence is greater than 0.8 (80%), the result will be true. If the confidence is 0.8 or less, the result will be false.
- "No"and the confidence is greater than 0.7 (70%), the result will be true. If the confidence is 0.7 or less, the result will be false.
- Click OK.
The updated Decision stage displays.
-
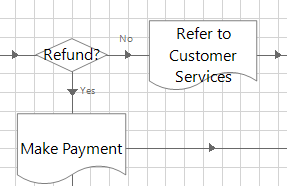
Add the next steps in your process, for example:
- If the result of the Decision stage is false (No in the image below), the process refers the information to an approver.
- If the result of the Decision stage is true (Yes in the image below), the process can continue following an automated path.
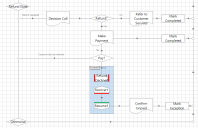
For example:
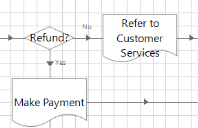
In this case, both routes call another page in the automation process. If the result of the Refund? Decision stage is:
- Yes, the Make Payment page is used which triggers the refund to be issued.
-
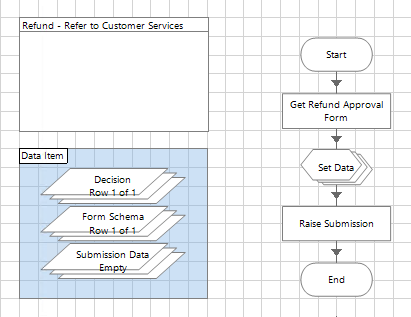
No, the Refer to Customer Services page is used, which sends the information to a human approver. The process on this page is:
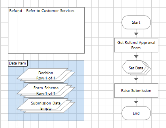
This submits an Interact form to a Customer Services representative, where they can review the refund details and approve or decline the request. Their response is then submitted back to the work queue for the Digital Worker to action.
-
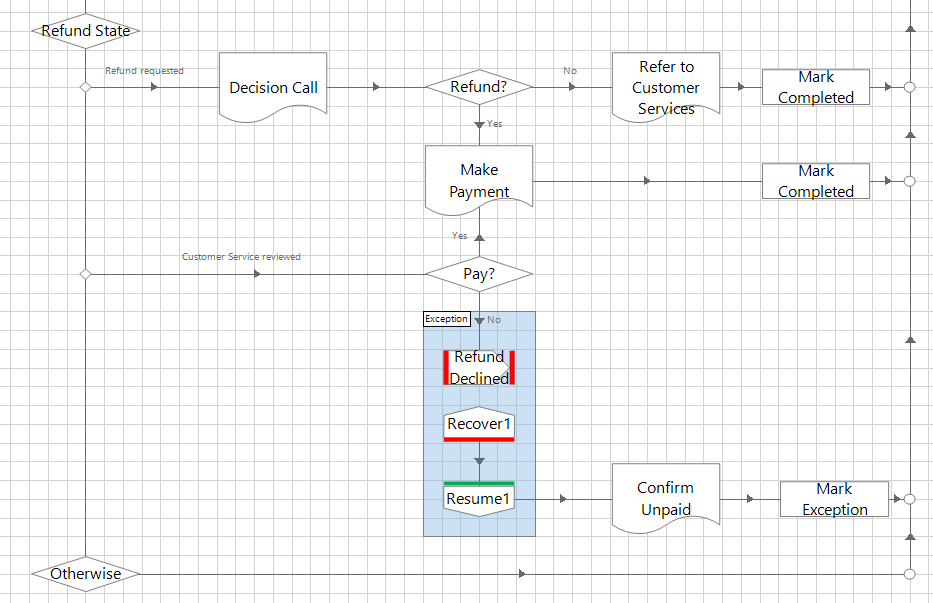
Add another Decision stage into your process to assess the response from the human approver and incorporate their response into the automation.
An example from the Refund process is, where the pathway is governed by a Choice stage, is: