 Docs
DocsGetting started with the Decision plugin
Your system administrator will create an account for you to use to access Blue Prism® Hub and grant you permissions to use the Blue Prism Decision plugin.
Log into Hub
-
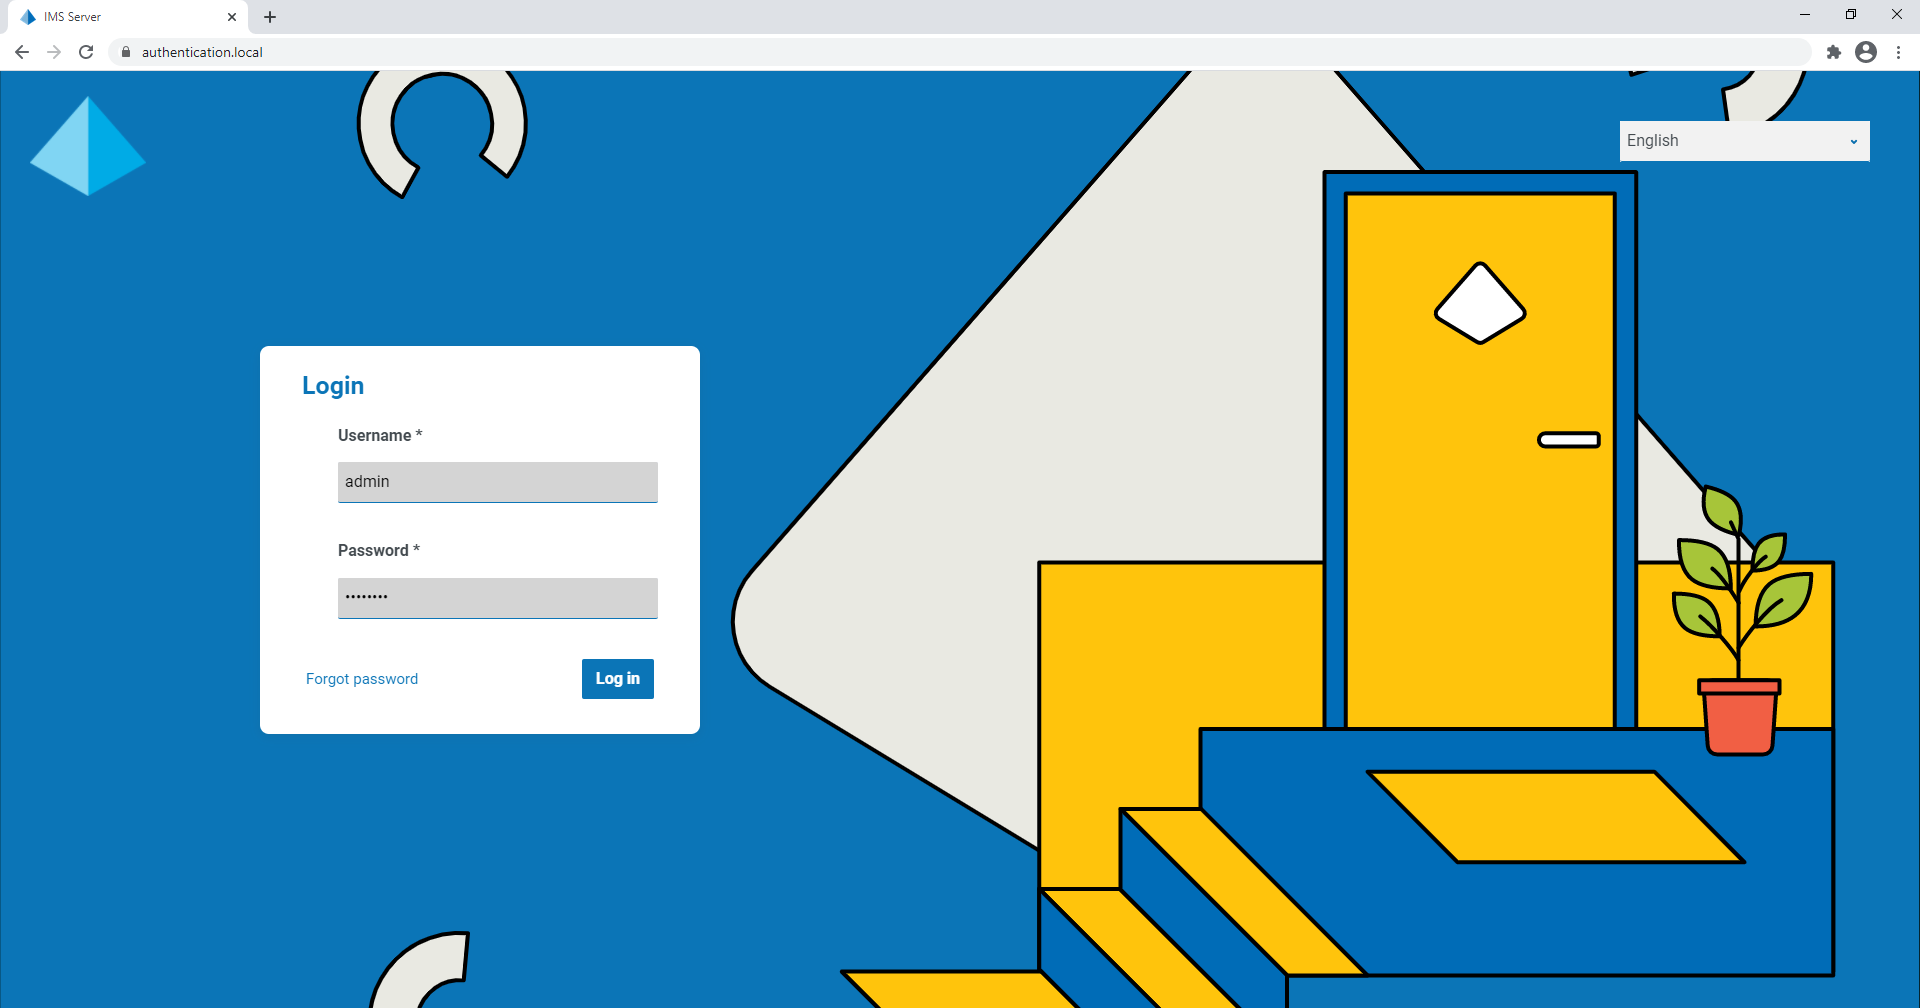
Launch a browser and go to the Authentication Server website. Your system administrator will provide you with the website address. Our example shows https://authentication.local

-
Log in using your credentials.
The application selection screen displays. If you only have access to Hub, you will only see the Hub tile. If you also have access to the Interact web-based application, you will see a tile for Hub and a tile for Interact, as shown below:

-
Click Hub to launch the Hub website.
The Hub Dashboard displays.

Open the Decision plugin
-
Click Decision on the sidebar menu to open the Decision plugin.

-
Click
The Decision plugin displays the Library page.

The example above shows a single model that is in the process of being created and will be used as our example throughout


Library overview
The Library page displays all the models that have been created in Decision by you and the other Decision users in your system. From here, you can create new models and maintain any of the existing models.

The Library page provides you with the following information and functions:
- Side menu – Indicates which page in the Decision plugin you are viewing. This example shows Library selected. The other menu options are only available when you are creating or editing a model.
- Create New Model – Add a new model.
-
Rows per page – Enter a number, or use the up and down arrows, to change the number of rows seen on a page.
- Previous and Next – Click Previous or Next to move through the pages.
- Column headings – Click a column heading to change the sort order. For example, click # to sort the model identifier by ascending number, click # again to sort by descending.
- Model identifier – The # column displays the model identifier. This unique number is used when calling the model from a Blue Prism automation.
- Edit – Click to edit the associated model.
- Predictions list – Click to view a summary of the model's usage by automations.
- Delete – Click to delete the associated model.
