 Docs
DocsGetting started with Decipher IDP
You can get started using SS&C | Blue Prism® Decipher IDP with SS&C | Blue Prism® Enterprise straight away using the example Blue Prism processes, document form definition, and VBO, which can be downloaded from the Decipher IDP portal page. This guide shows you how to get started with these typical examples, and also includes links to the information you need to create or amend these and your own Decipher IDP components.
The example Blue Prism processes reference the names and file paths used in this Getting Started guide – they can be changed, but don’t forget to change them in the relevant process too.
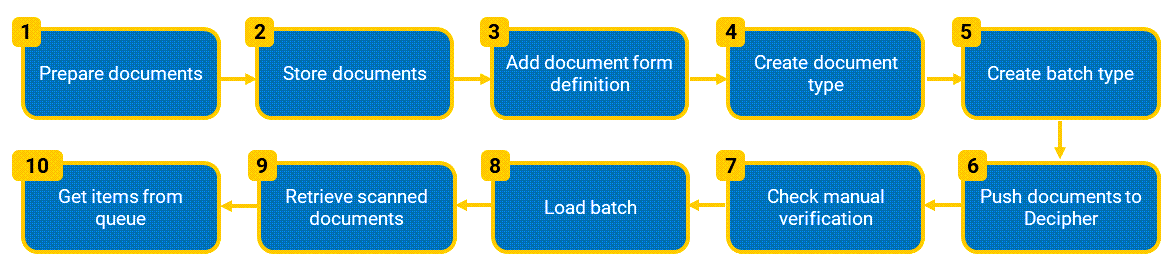
1. Prepare documents for processing
Before Decipher IDP can process documents, they need to be saved as a digital file, in one of the following formats:
- PNG
- GIF
- BMP
-
JPEG
- TIFF
Where possible, scans should be a minimum of 300 DPI.
Decipher IDP does not currently support PDFs that have been digitally signed if, when loaded, the PDF initiates a connection to the online verification service. Ensure signed PDFs are saved in a form that does not initiate an online check, for example, using Microsoft Print to PDF from a browser.
2. Store document files for processing
Save the files in the following location for Decipher IDP to collect during processing:
- Create a new folder called Invoices on your C:\ drive.
- Add up to 15 sample invoices to the Invoices folder.
A maximum of 15 documents per batch is current best practice, but this is not mandatory.
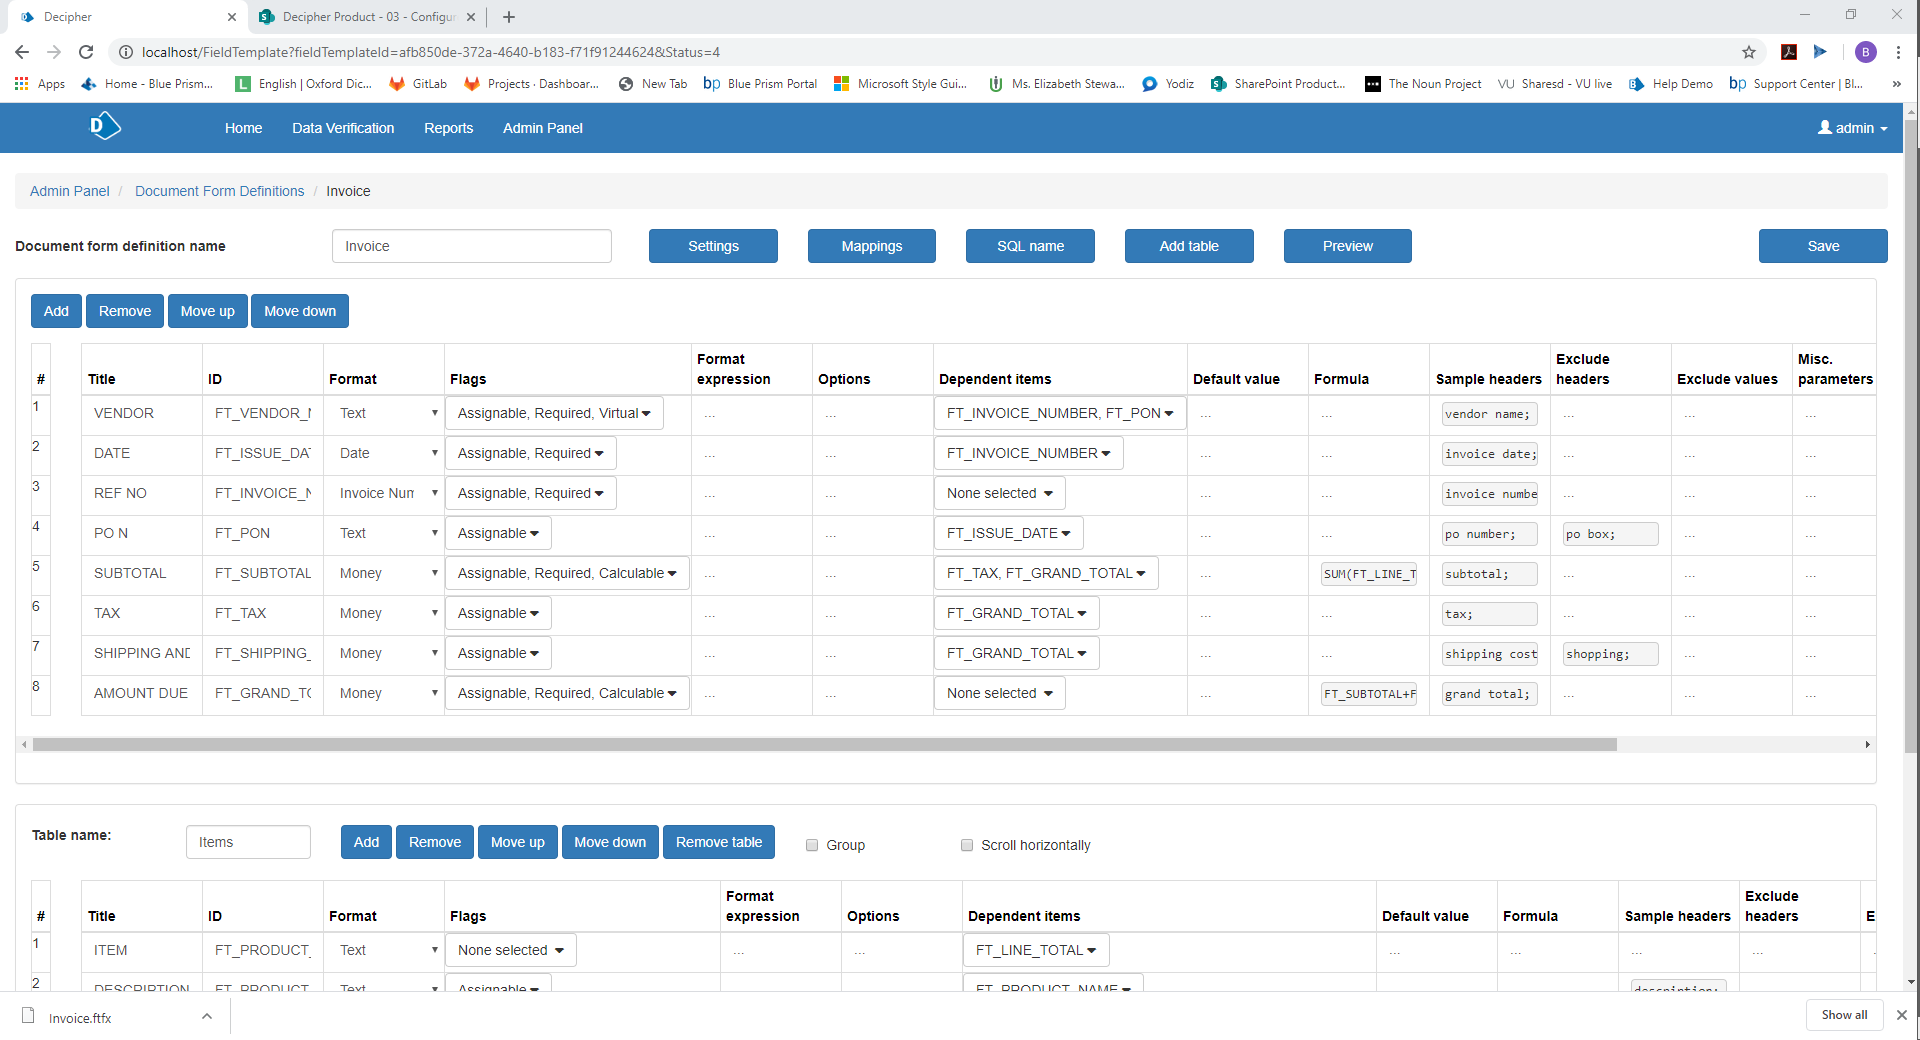
3. Add the document form definition file
The Invoice.ftfx is an example Document Form Definitions file, which is the template to be used when processing documents. You can upload it to get started, or create your own.
-
In Decipher IDP, click the Admin Panel toolbar button. The Admin Panel displays.
-
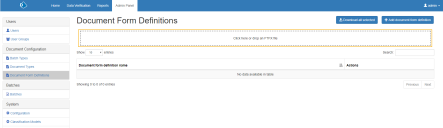
From the Admin Panel page, click Document Form Definitions.
-
Add the Invoice.ftfx file by dragging or dropping the file into the drop box, or clicking the drop box and uploading the file.
-
Click Save followed by the Admin Panel toolbar button to return to the Admin Panel.
4. Create a document type
Document types are the category of document, such as invoice, purchase order, or loan application.
To create an Invoice document type:
-
From the Admin Panel page, click Document Types. The Document Types page displays.
-
Click Add document type to display the Add New Document Type dialog.
-
Enter Invoice in the Type name field.
- Select the Invoice Document form definition.
-
Click Create document type to save the new document type.

5. Create a batch type
Batch types should be created for each type of document group or project that utilizes Decipher IDP. Most settings can be defined at this level, which enables you to define the configuration you want to apply to that batch of documents. Batch types can only be created if a document type already exists.
To create an Invoice batch type:
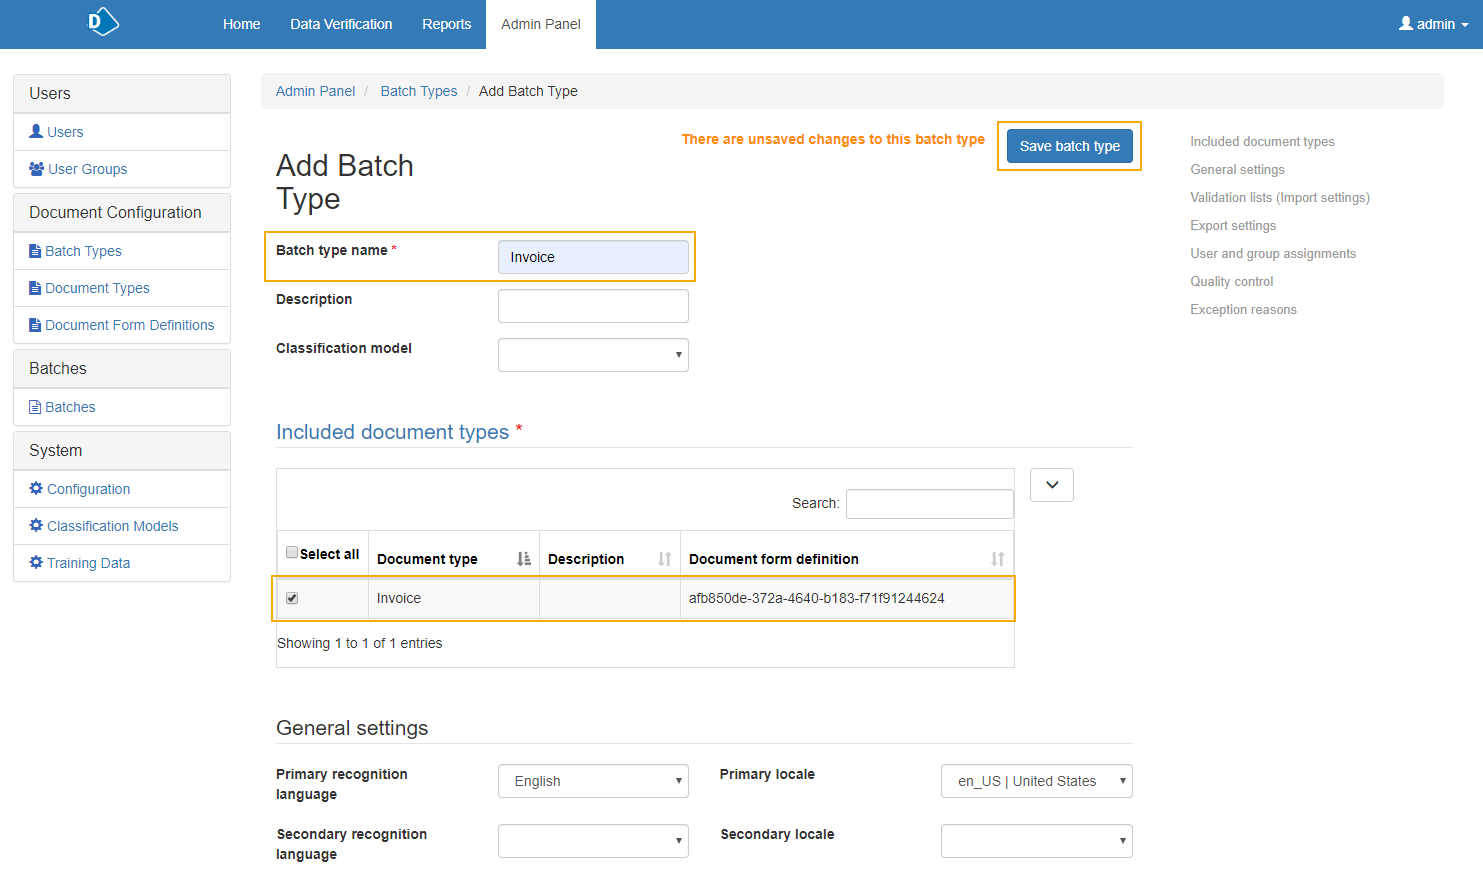
- From the Admin Panel page click Batch Types. The Batch Types page displays.
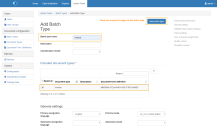
- Click Add batch type and enter Invoice in the Batch type name field.
-
In the Included document types table, select the Invoice document type.
-
From the Primary recognition language and Primary locale drop-down lists, select the language and locale that applies to the documents you are passing through Decipher IDP.
- Click Save batch type.
6. Push documents to Decipher IDP
In Blue Prism, run the Decipher 01 – Push Documents process.
This process takes documents located in C:\Invoices, and uses the Decipher VBO actions to push them to Decipher IDP as a single batch.
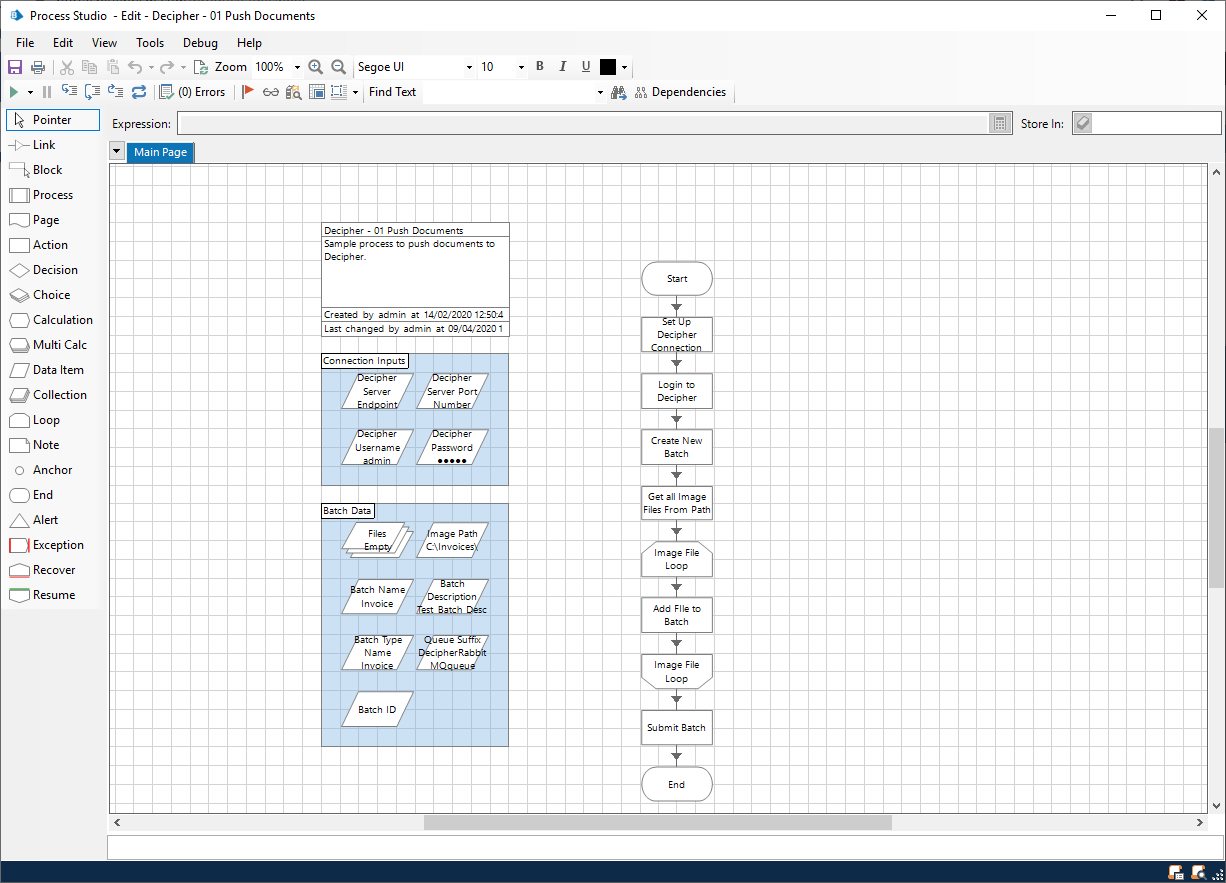
For details of the Decipher 01 – Push Documents process, including how it is configured using the Decipher VBO and the default values used in this Getting Started guide, see Push documents into Decipher IDP for processing.
7. Check if the documents need manual verification
In Blue Prism, run the Decipher 02 – Batches to Verify process. This is a sample process that determines whether any of the batches in Decipher IDP require manual verification.
Run the process to completion. If the value of the Batch to Verify data item changes to True, there is a document in a batch that requires manual verification.
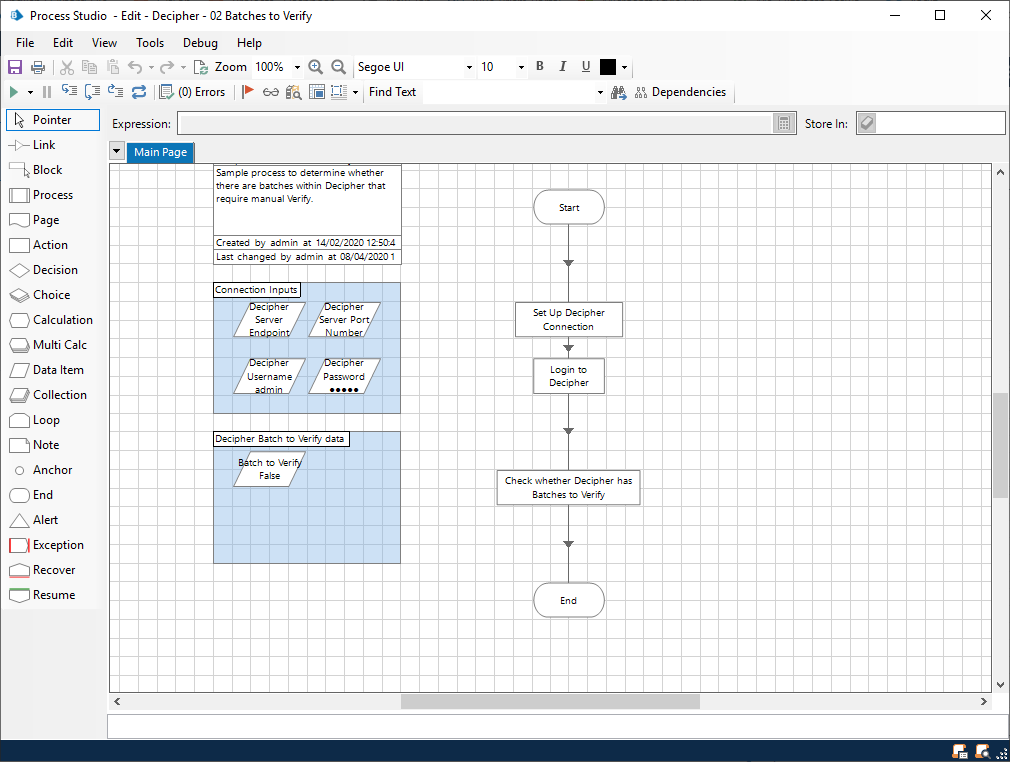
For details of the Decipher 02 – Batches to Verify process, including how it is configured using the Decipher VBO and the default values used in this Getting Started guide, see Check whether Decipher IDP has batches to verify.
8. Load the batch in Decipher IDP
The batch of documents that the Blue Prism process has pushed to Decipher IDP needs to be processed and read using Optical Character Recognition (OCR), and depending on configuration, classified. The data regions, as defined by the Document Form Definition File, are then extracted and loaded into the Decipher database for human verification.
- Log into Decipher IDP (type localhost in a Chrome browser).
-
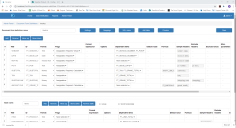
On the Data Verification page, click Load Batch.
It may take a few minutes for the invoices to be processed whilst Decipher IDP is running image processing, OCR, classification, and data extraction against all the invoices.
To make the data verification process easy to manage, we recommend using multiple smaller batches of up to 15 pages instead of single large batches.
- Once the invoices have been processed, select the batch and click Load.
-
Click the Data Verification tab to annotate each invoice if required.

If machine learning is enabled, the required verifications and manual data entries will train the classification model. Regardless of whether machine learning is enabled, Decipher will learn the amendments and region associations you have made, reducing the need to repeat the same verification and entries.
- When you have completed or verified all document pages (each thumbnail has a green tick), click Submit. The Batch Submitted Successfully banner displays.

9. Retrieve scanned and verified documents
In Blue Prism run the Decipher – 03 Get Verified Documents process. This sample process retrieves the scanned and verified documents from Decipher IDP and puts them in a Blue Prism work queue with a status of Pending.
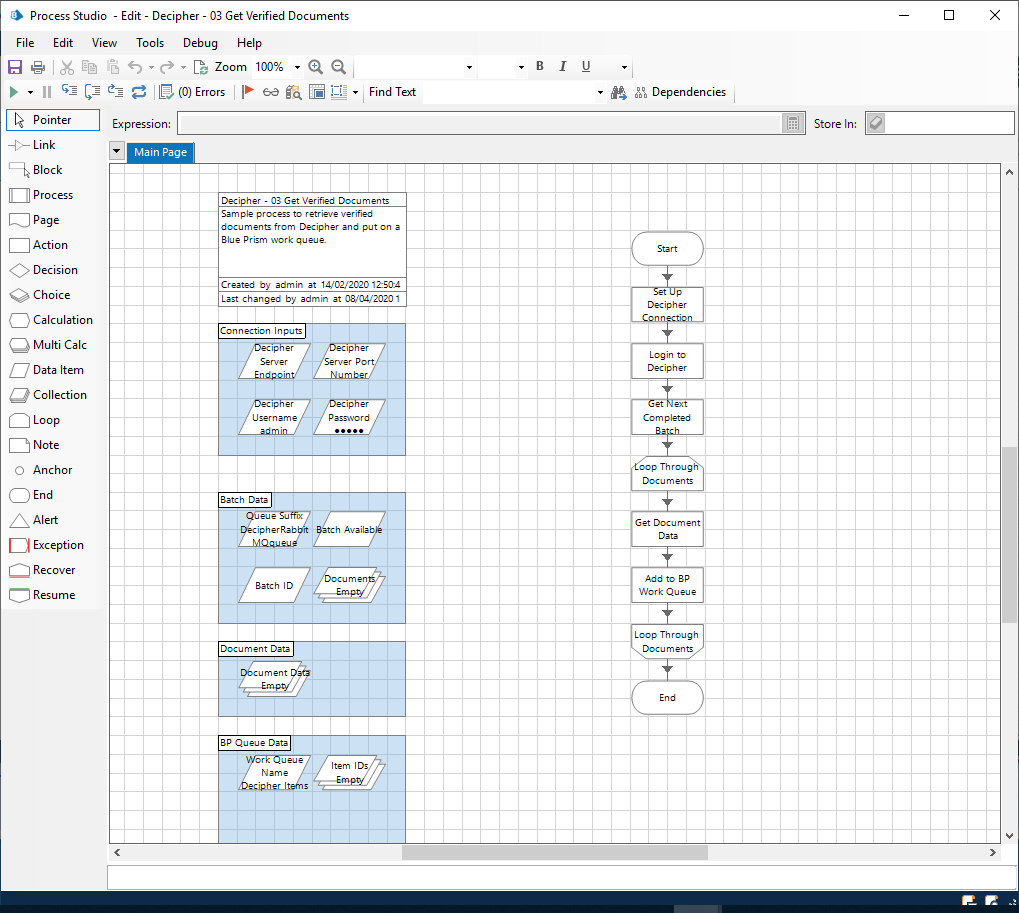
For details of the Decipher – 03 Get Verified Documents process, including how it is configured using the Decipher VBO and the default values used in this Getting Started guide, see Receive processed document data back from Decipher IDP.
10. Get Decipher IDP items from the Blue Prism queue
In Blue Prism run the Decipher – 04 Get Decipher Item from BP Queue process. This process takes Decipher IDP document data from the Blue Prism work queue and places a single document into the Data data item as a Blue Prism collection for further processing via Blue Prism.
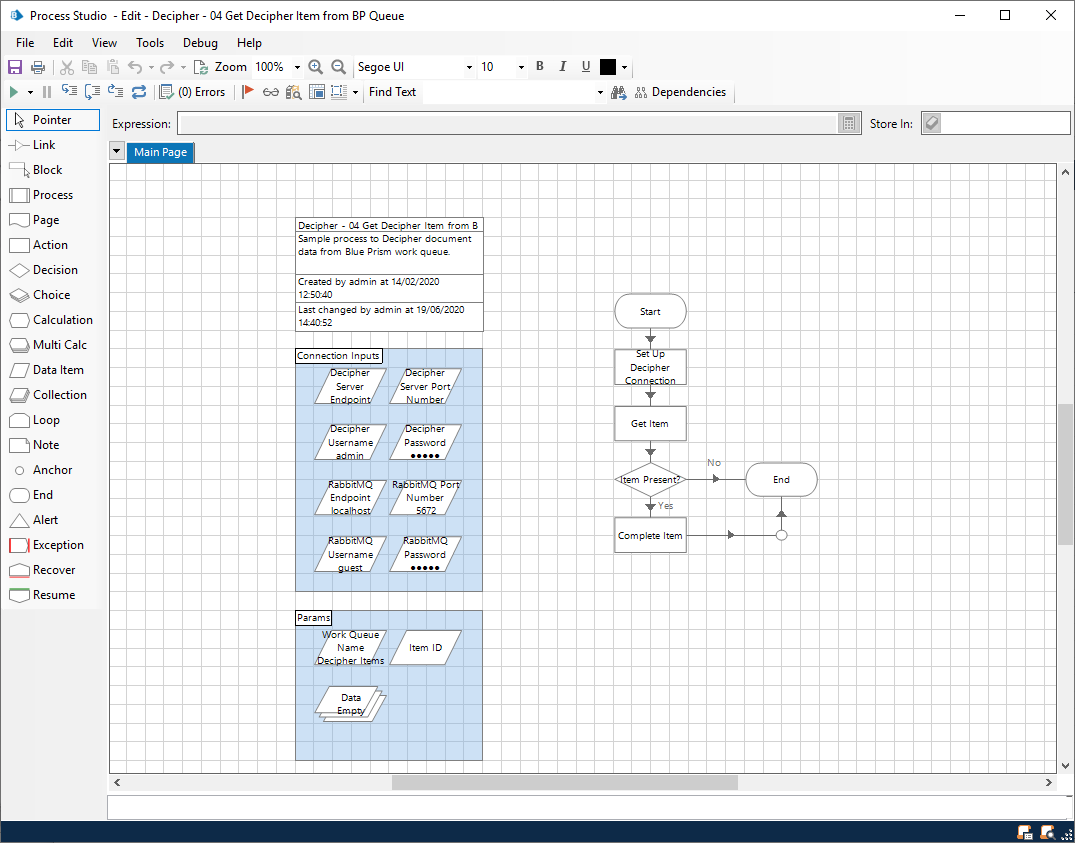
This process uses the existing Blue Prism Work Queues VBO.
