 Docs
DocsCreating document form definitions
You can copy and rename existing Document Form Definition (FFTX) files, also known as DFDs, and amend them to accommodate all the different documents you are processing via
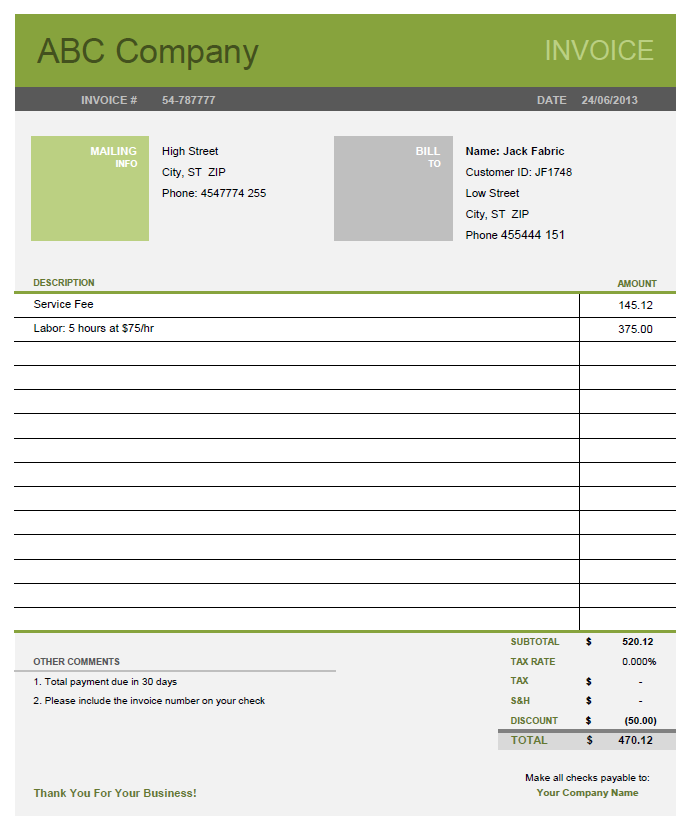
This guide describes how to create a new document form definition file for a sample invoice. You can choose to use your own Blue Prism processes and batch names, or use the sample processes provided and the batches you have already created using the Getting Started guide.
Create a document form definition
-
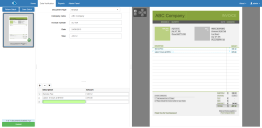
From Admin Panel page, click Document Form Definitions > Add document form definition. A new document form definition file is created with Field 1 as the first row.
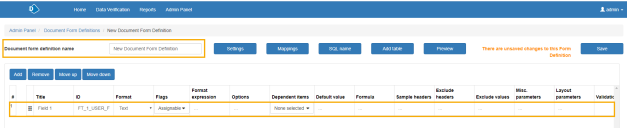
- Enter a document form definition name for the new file. For example ABC Company.
-
Complete the first row for Company name and click Add to create three rows for the following fields:
- Invoice number
- Date
- Total
See Field options for document form definition files for details of the options for each field.

- To add the body of the invoice as a table, click Add table.
-
Add rows and configure the fields, as required.
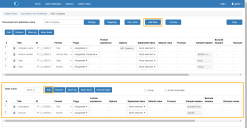
- Click Save to apply the changes.


When you push the sample invoice to Decipher IDP, you will need to associate the fields you have just created with the relevant region in the document. Decipher IDP will then learn from these changes, reducing the number of verifications or entries you will need to make next time you use this document form definition.
Push the sample invoice to Decipher IDP
To push the sample invoice to Decipher IDP for processing and verification using the new document form definition:
- Add the sample invoice to the specified folder for the Blue Prism process to collect and push to Decipher IDP for OCR and verification.
- If you are using the sample Blue Prism process Decipher - 01 Push Documents, add your sample invoice to C:\Invoices.
- From the Decipher IDP Admin Panel, click Document Types and create a new document type using your new document form definition.
-
If you are using the existing Invoice document type, select the new document form definition from the drop-down.

- Run the Blue Prism process to collect the document and push it to Decipher IDP. If you are using the sample Blue Prism process, this is Decipher - 01 Push Documents.
-
Click Data Verification > Load Batch and load the batch you have just created. The Data Verification page displays.
Class verification is disabled by default, however, if it is enabled you will need to submit the batch via Class verification before it becomes available in Data Verification. See class verification for details.
-
To complete a field and associate it with a region of the document, click the field in the template and then click the associated region in the document. The field will update with the content of the region and the document form definition file will learn to associate the field with that region.
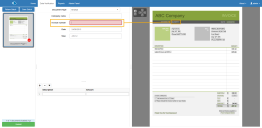
- If the data you want to associate a field with is not highlighted as a region, click and drag the mouse cursor around the data to create a new region. You can also changing the size of existing regions by dragging.
-
Associate each field in the template with a region in the document until each field is complete and a green tick displays on the thumbnail for the document.
- Click Submit to submit the batch and update the field/region associations in your new document form definition.
Once you have made all of the changes to the template during data verification and submitted the batch, try running the same batch again to see how the template learned the associations.


