 Docs
DocsBatch types
A batch is a collection or batch of documents. Batch types are defined in advance, and can contain more than one document type, with their corresponding document form definitions – enabling you to process documents of different types all in the same batch. Most settings are defined at the batch type level which gives you the flexibility to define different configurations for different document groups.
Batch types can only be created if there are already document types in the system.
A batch type contains:
- Settings - import, export, language, etc.
- One or more configured document types.
- A Classification model (optional).
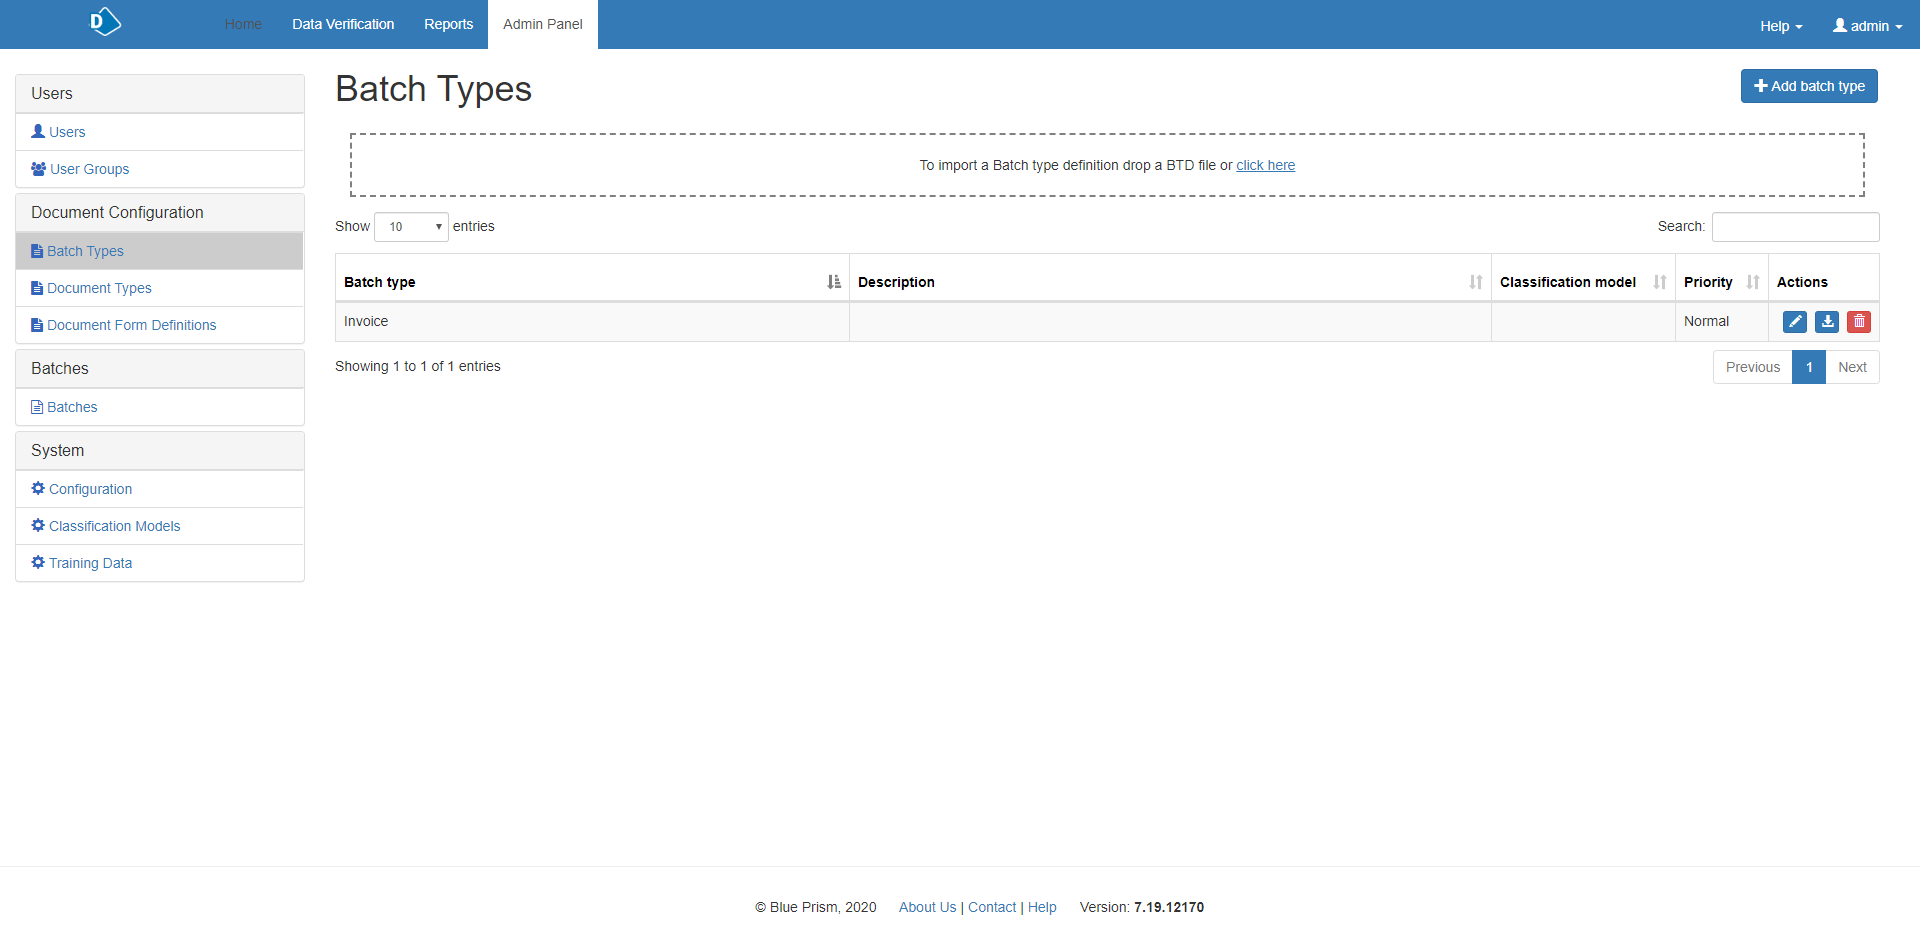
You can add batch types by dragging a .BDT file onto this page. Once uploaded, you can use it to process documents. Batch types can also be edited to further tailor them to requirements.
You can also create batch types. Click Add batch type to open the Add batch type page.
The following three actions are available for listed batch types:

- Edit
- Download
- Delete
Configuring batch types
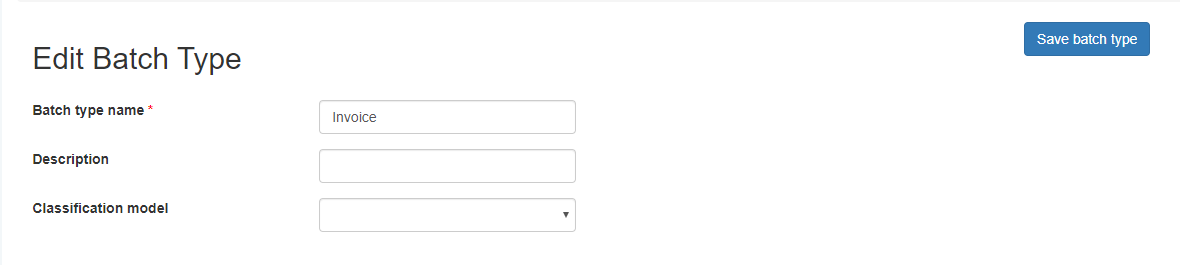
New and existing batch types can be configured in the Add/Edit Batch Type dialog. From Admin Panel > Batch Types, click Add batch type, or edit an existing batch type.
Batch type details
|
Batch type name |
The name of your new batch type, for example Invoices. |
|
Description |
An optional text description for your batch type. |
|
Classification model |
Select the classification model used to classify documents in this batch type. Leave this blank if you don’t want to automatically classify documents for this batch type. |
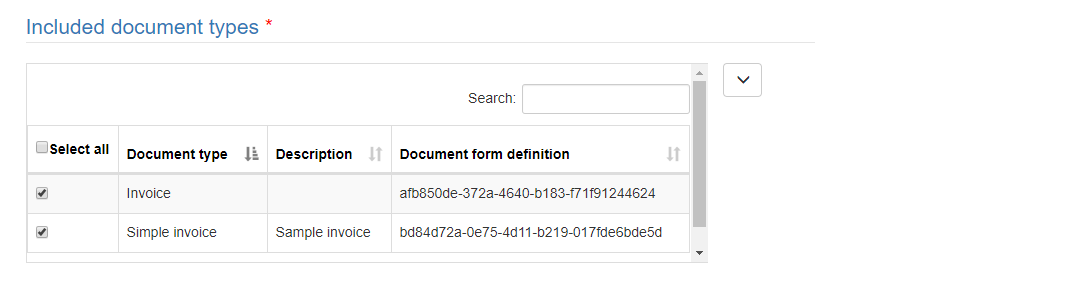
Included document types
Select all document types that you want to include in this batch type. Often a batch will only contain a single document type, however, as each document type references a single document form definition if you add multiple document types to your batch type, you can add a variety of documents needing different templates to a single batch.
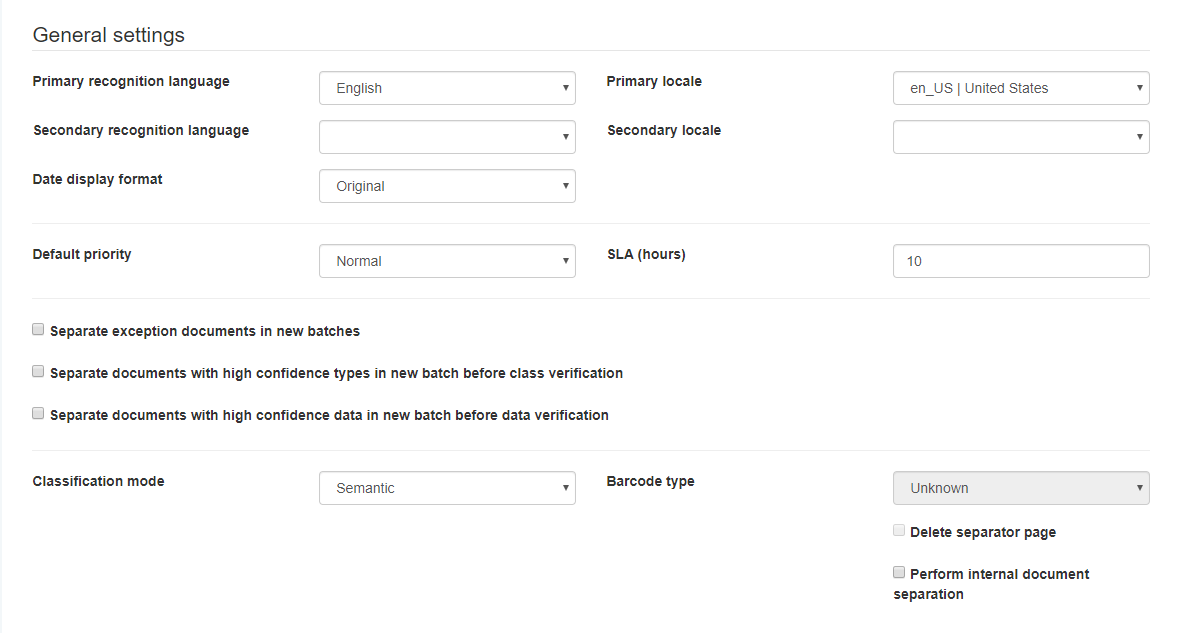
General settings
|
Primary recognition language |
The primary language to use when processing documents using this batch type. |
|
Primary locale |
The primary locale is used to validate dates and parse addresses during processing using this batch type. |
|
Secondary recognition language |
An additional language to be used for processing this type of documents. |
|
Secondary locale |
An additional locale for this document type. |
|
Date display format |
Any captured date will be converted to this format and displayed in the Form View for the operator to change or approve. If set to Original the dates will not be re-formatted. |
|
Default priority |
Six levels of priority are available from highest to lowest. |
|
SLA (hours) |
This is the maximum time for a batch to get processed. Administrators of the system can generate a report to see whether any batches have been processed slower. |
|
Separate documents |
The following options are available:
|
|
Classification mode |
|
|
Perform internal document separation |
Automatically separates document based on a classification model. Enable this option if the batch type contains more than one document type. |
Validation lists
Watch a video about validation lists.
Lists are used to validate and increase the success rate of data capture. For example, you can import a list of all the vendor names, country or state codes, authorized signatories, or similar, if they are known in advance. Then if the OCR engine misreads text, Decipher IDP can correct that error by looking for that value in the list. If a value is captured that is not in the list the software will highlight it for the operator to correct.
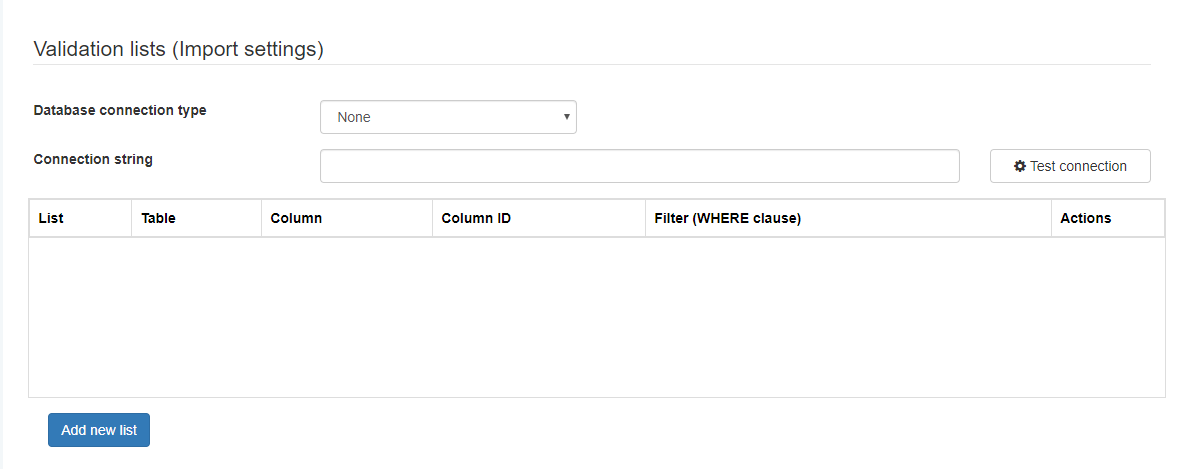
You need to specify and connect to the database that contains the validation list. To configure:
-
Select a Database connection type from the drop-down.

-
Enter the Connection string, including server name, database name, and relevant credentials where required.
Database connection type For a validation list held in a database, select a database type of SQL Server or ODBC. The connection string format added below must match the connection type selected.
Connection string Add a connection string to connect to the database containing the validation list. For example:
SQL Server connection string:
- Windows authentication: Server=myServerAddress;Database=myDataBase;Trusted_Connection=True;
- SQL Server authentication: Server=myServerAddress;Database=myDataBase;User Id=myUsername;Password=myPassword;
ODBC connection string:
- Windows authentication: Driver={SQL Server};Server=myServerAddress;Database=myDataBase;Trusted_Connection=Yes
- SQL Server authentication: Driver={SQL Server};Server=myServerAddress;Database=myDataBase;Uid=myUsername;Pwd=myPassword;
-
Use the Test connection button to ensure the connection is valid.
-
If the connection is successful, click Add new list.
-
Populate the Add New List form, entering a List name, and specifying the location of the list in the database using the Table and Column drop-down fields.
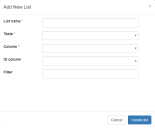
List name Enter a name for this validation list.
Table Select the table that contains the validation data.
Column Select the column that contains the validation data.
ID column If applicable, select the ID of the table column containing the validation data. This is used if operating with the IdErpList flag enabled on the document form definition. For more information, see Field options for document form definition files.
Filter Enter a WHERE SQL clause to filter the list, if required.
-
Click Create list.

SQL Server connections
For validation lists using trusted SQL Server connections, the user (or login) running the Decipher Web SDK service needs read-only access to the Decipher IDP databases. To configure the login running the service and assign the permissions:
-
Start the Windows Services application (type Services into the Windows search bar).
-
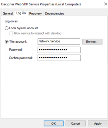
Locate the Decipher Web SDK service, right-click, then select Properties from the context menu.
-
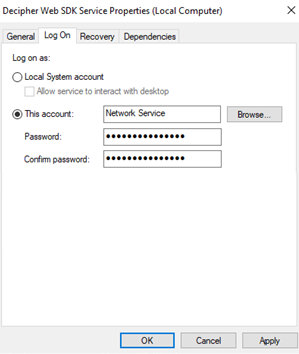
Select the Log On tab and select This account. The default login is Network Service. This can be updated to a user account, or set to a service account to enhance your local system security. Enter the relevant user name and related password. The user configured here will need to be added to the SQL Server Logins.
-
Open Microsoft SQL Server Management Studio and connect to the instance that is hosting your Decipher IDP database.
-
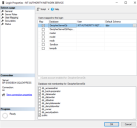
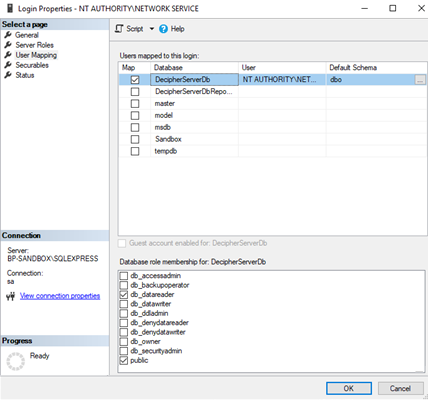
In Security > Logins, locate the user running the Decipher Web SDK service (for example, NT AUTHORITY\NETWORK SERVICE). Right-click, then select Properties from the context menu.
-
Click User Mapping.
-
Select the relevant Decipher IDP database, then enable db_datareader from the bottom pane.
-
Click OK.
Validation list connections should now be successful. Ensure you select the relevant batch type when previewing your DFD.
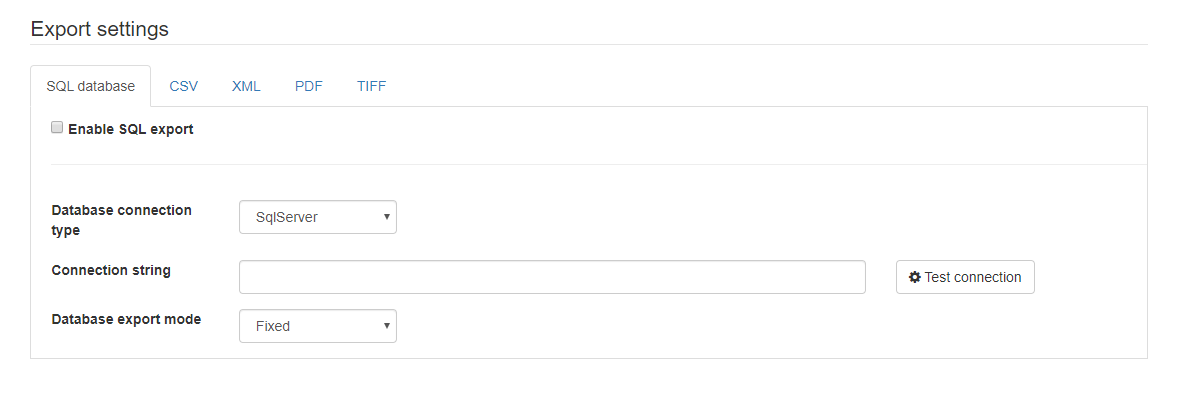
Export settings
Only Blue Prism processes can be to used extract data from Decipher IDP. These export settings do not apply to this release of Decipher IDP.
User and group assignments

Batches of documents can be assigned to a particular user or user group. This means that only these users will be able to load these batches for processing in class or data verification.
If a batch is assigned to a user or a user group who cannot access it, for example, if they do not have the correct role enabled or if their account is deleted, the batch becomes visible to all users.
|
Assigned to all groups and users |
All users will be able to load batches of this type. |
|
Assigned to specific groups |
Select this option and then place a check-mark next to each group of users that will be able to process batches of this type. |
|
Assigned to specific users |
Select this option and then place a check-mark next to each user who will be able to process batches of this type. |
When viewing or generating reports in the Reports tab, any configured user or group assignments are not used. Any user with permission to access the Reports tab will be able to view the field data for processed batches.
Quality control
To increase accuracy and quality, you can choose to have some of the batches verified by more than one operator. To do that define a certain percentage of batches that will pass through a verification by a second operator. The system will randomly select these batches.
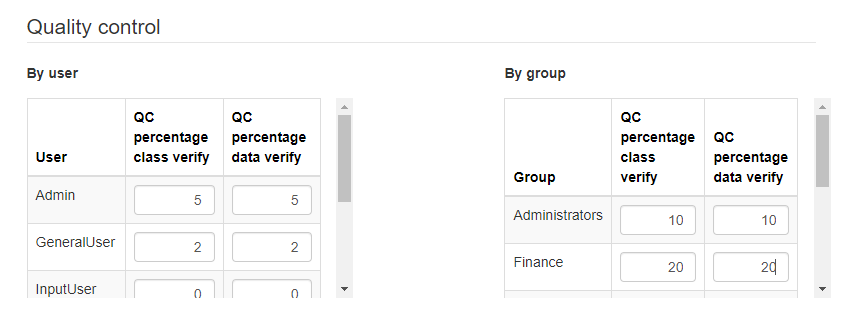
You can define these percentages separately for Class verify and Data verify and also for each user and user group. For example, if there are any novice operators in the team it is a good idea to have their work checked by a more experienced operator.
Exception reasons
Add exception reasons that can be selected when manually setting a document or a batch as an exception. Click Add New Exception and enter an exception reason description from those defined here. Exceptions could include business-specific exceptions, for example "Not authorized by X", or "Dated before payment window" etc.
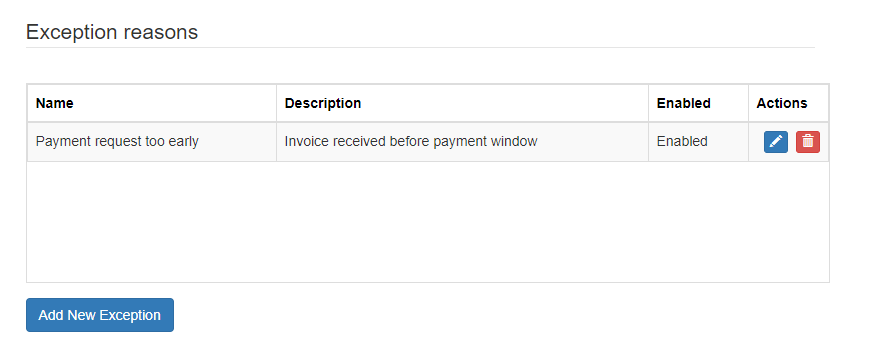
For more information, see Exceptions.
