Docs
DocsIADA.ai
This
The IADA.ai VBO is available for use with Blue Prism Cloud and has the following Intelligent Automation Skills available:
- Language translation
- Sentiment analysis
- Language detection
- Text analysis
- Extraction of key phrases.
The IADA.ai VBO enables you to use the inbuilt actions to call the IADA.ai web services, which use Microsoft Cognitive Services, with the results being returned to your automation.
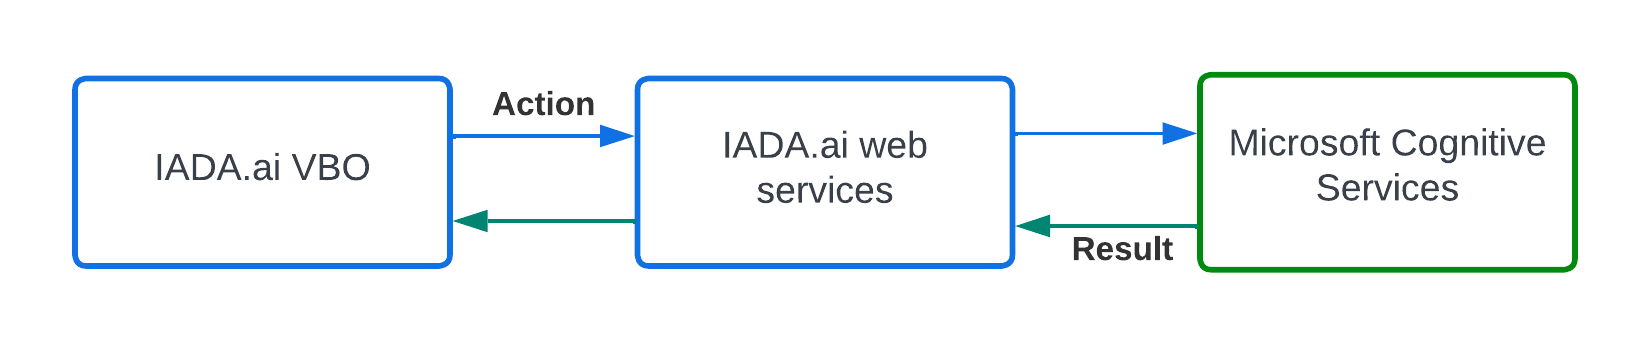
IADA.ai resides within a centralized Blue Prism Cloud Microsoft Azure subscription which is external to any client or partner platform subscription.
Prerequisites
IADA.ai needs to be installed and configured. To do this:
-
If it is not already installed in Blue Prism, raise a request with Blue Prism Cloud Operations to install the VBO file.
The release file contains one VBO utility file, Utility – IADA.ai and two SOAP Web Services.
-
Configure the web services.
Credentials need to be added for each of the services, see Enter the credentials below. Credentials can be obtained from the Blue Prism Cloud Support team and are associated with the subscription service that Blue Prism Cloud provides.
Enter the credentials
-
In the System > Objects - SOAP Web Services screen in Blue Prism, select the service to be configured. The services are:
- IADA.AI.TranslationService
- IADA.AI.TextAnalysisService
You will need to configure each service individually.
-
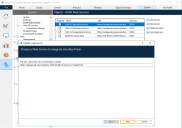
Click Edit Service.
The Update a web service wizard displays. The example below shows the TranslationService selected for editing.
-
Click Next and then enter your supplied credentials, for example:
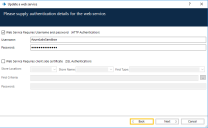
Credentials can be obtained from the Blue Prism Cloud Support team and are associated with the subscription service that Blue Prism Cloud provides.
- Click Next.
-
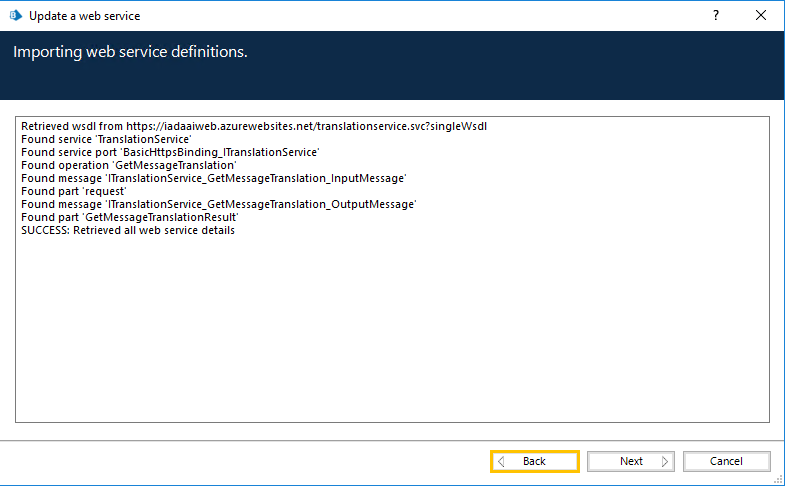
Leave the timeout at the default value and click Next.
This will then start the service and check that the credentials are valid, for example:
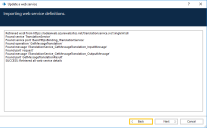
- Continue to click Next until you reach the final screen and then click Finish.
- Repeat the credentials setting for the other service.