 Docs
DocsAPI configuration
Mandatory configuration
Configure DNS record
Once the Blue Prism API has been installed, a DNS record needs to be configured to map the API URL to the relevant IP address.
For more details on how to do this, see DNS resolution and Blue Prism network connectivity.
Configure IIS application pool for Windows Authentication access to database
If the account used by the API to communicate with the Blue Prism database uses Windows Authentication, the Blue Prism API application pool in IIS will need to be updated to run as a user with appropriate access to the Blue Prism database. Follow the steps below when using Windows Authentication for the database connection:
- Launch the Internet Information Services Manager from the Windows Start menu.
-
In the Connections panel, expand the Application Pools node and select Blue Prism API.
- On the Application Pools page, select Advanced Settings.
- In the Advanced Settings dialog, expand Process Model and click the ellipsis (…) next to Application Pool Identity.

- In the Application Pool Identity dialog, select the Custom account option and click Set....
-
In the Set Credentials dialog, enter the Windows login credentials of a user who has access to the Blue Prism database and click OK.
The database user required to connect to the Blue Prism database must have db_datareader and db_datawriter permissions.

- In the Connections panel, expand the Sites node and select Blue Prism API.
- In the Actions panel under Manage Website, click Restart.


Configure SSL certificate to read private keys
Once an SSL certificate has been generated and associated with the Blue Prism API, the API needs to be able to read the private keys.
To do this:
- From the Windows Start menu on your web server, launch Manage computer certificates.
- Navigate to Personal > Certificates and locate the Blue Prism API certificate.
-
Right-click the certificate and select All Tasks > Manage Private Keys.

- In the Permissions dialog, click Add.
-
In the Select Users or Groups dialog, enter IIS AppPool\AppPoolName where AppPoolName is the name of your Blue Prism API application pool, for example IIS AppPool\Blue Prism API (unless changed after the initial install of the API). Click Check Names, and then OK.

-
In the Permissions dialog, select the Allow option for Read, and click Apply.


The API is now configured to read the private keys.
Enable authentication against the API
To interact with the Blue Prism API directly, at least one service account with permission to the Blue Prism API must be created in Blue Prism Hub to store the client ID and secret that users must provide to Authentication Server in order to authenticate their requests. Should users require different levels of permissions for interactions with the API, separate service accounts should be created to which the appropriate level of permission can be assigned.
The diagram below illustrates the authentication flow between Authentication Server and the Blue Prism API:

To enable authentication against the Blue Prism API, Authentication Server must be installed via the Blue Prism Hub installer (version 4.6 and later), as well as configured and enabled in your Blue Prism environment. The configuration below is only required when interacting with the Blue Prism API outside of the Control Room plugin in Hub. When using the API to interact with the data that is used in the browser-based Control Room in Hub via the API directly, user authentication is handled by the service account that has access to the Authentication Server API. For more details, see Authentication Server.
The steps below must be completed for each service account that you want to create:
- In Blue Prism Hub, click your profile icon to open the Settings screen, and under User Management click Service accounts.
- On the Service Accounts screen, click Add account.
-
Enter an ID for the client application and a name for the client in the Authentication Server database. Make a note of the client ID for later.
-
Under Permissions, select Blue Prism API.

-
Click Create service account.
The Add a service account screen displays with a generated secret.
-
Click the Copy to Clipboard icon to copy the generated secret to your clipboard. This, together with the client ID, will be used by the system used to interact with the API (for example, Swagger or Postman) to make authentication requests to the Authentication Server API.
The Authentication Server API URL that issues authentication tokens for use with the API is:
https://<authenticationserverhostname>/connect/token, for example https://authentication.local/connect/token
-
In the Blue Prism interactive client, navigate to System > Security - Users.
The service account displays under Users.
In order for users created in Hub to be synchronized and displayed in your Blue Prism environment, at least one application server in the environment needs to be configured to connect to Authentication Server and be running. For more details, see Authentication Server.

-
Double-click the service account to assign it the roles and permissions required for the actions the connecting user should be able to achieve via the available API.
A service account's role and permissions can be set up and applied as with any other Blue Prism user account.
-
Navigate to the Authentication Server install directory on the web server that is hosting Authentication Server (for example, C:\Program Files (x86)\Blue Prism\Authentication Server) and open the appsettings.json file.
-
In the AllowedOrigins section of the file, add the URL of your Blue Prism API install, for example https://BluePrismAPI.local, and save your changes.
This step is only required if you are exposing the Blue Prism API externally, either to test in Swagger, or for any other external interface, such as a custom third-party application.

-
Launch the Internet Information Services Manager (IIS) from the Windows Start menu.
- In the Connections panel, expand the Sites node and select Blue Prism - Authentication Server.
-
In the Actions panel under Manage Website, click Restart.


If you have changed the user role associated with the service account as part of this process, it is recommended that you recycle the Blue Prism API application pool to ensure the change is applied immediately.
Configure the API to allow automatic cache population for Active Directory domains
Population of the cache that stores the discovered Active Directory domains only occurs when a user makes a request after the Blue Prism API website has started on the server. This could prevent Active Directory users from viewing data as expected in the Hub Control Room. This is due to their account not being authorized in the Blue Prism API, while the Active Directory cache is still being populated in the background.
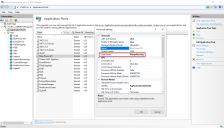
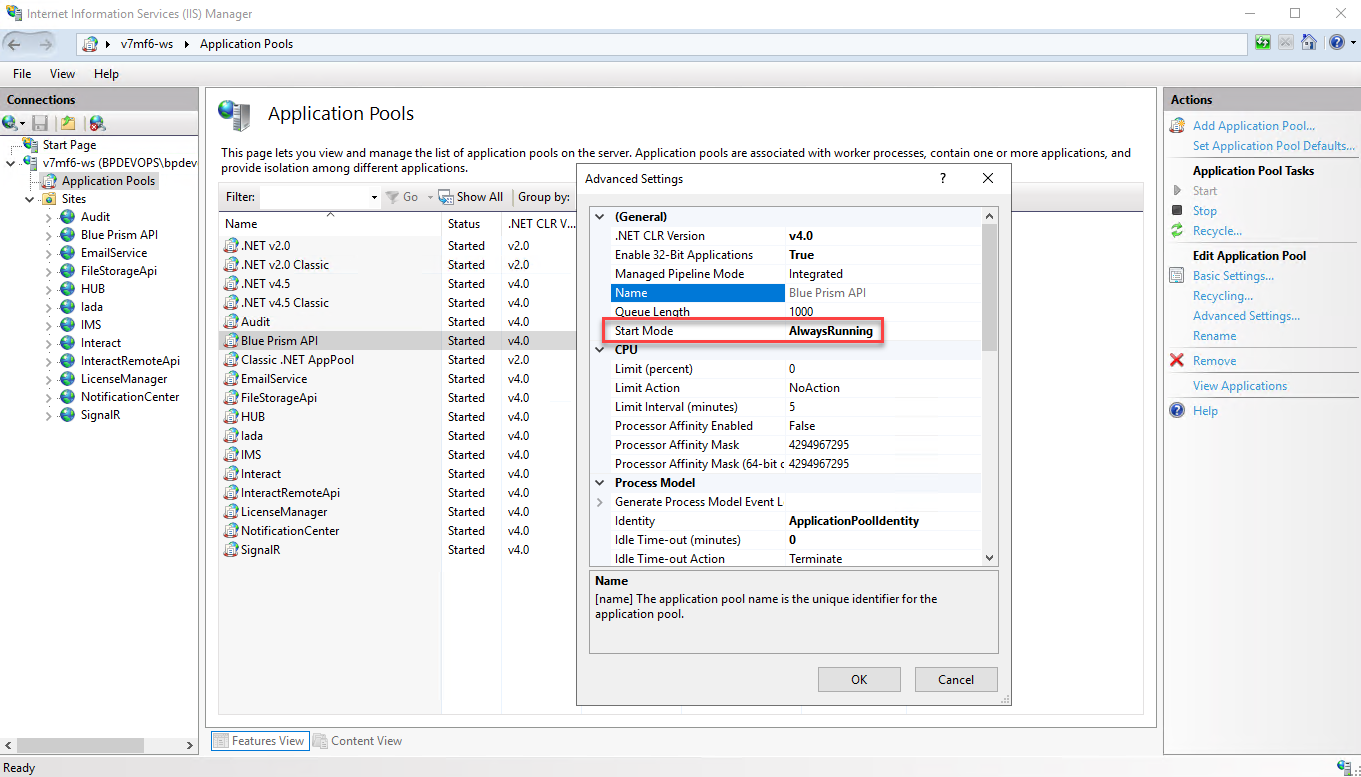
To prevent this scenario, the Start Mode of the Blue Prism API application pool should be set to AlwaysRunning as follows:
- Launch the Internet Information Services Manager from the Windows Start menu.
-
In the Connections panel, expand the Application Pools node and select Blue Prism API.
- On the Application Pools page, select Advanced Settings.
-
In the Advanced Settings dialog, expand General and in the Start Mode field select AlwaysRunning.
Optional configuration
Make server-based encryption keys available to the Blue Prism API
This configuration is required if you are storing your encryption schemes on the Blue Prism application server and they need to be used by the Blue Prism API.
Add the Blue Prism application server configuration name to the config file for the Blue Prism API
-
Open Windows PowerShell as an administrator and run the following command to decrypt the API web.config file (by default, this is located in C:\Program Files (x86)\Blue Prism Limited\Blue Prism API):
CopyC:\Windows\Microsoft.NET\Framework\v4.0.30319\aspnet_regiis.exe -pdf "appSettings" "C:\Program Files (x86)\Blue Prism Limited\Blue Prism API" -
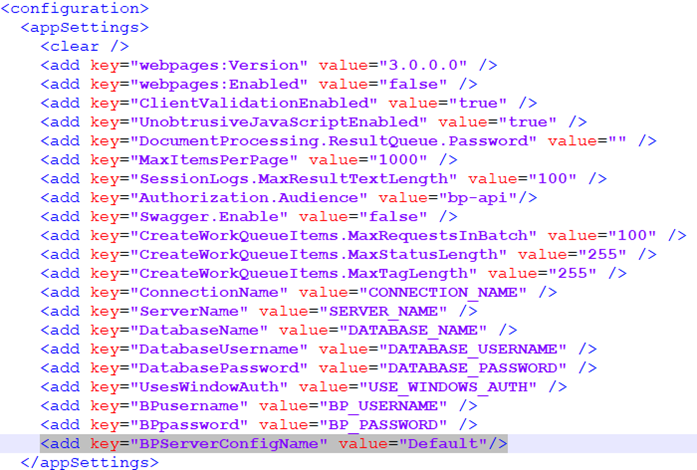
Once decrypted, open the API web.config file in a text editor and in the <appSettings> section, find the "BPServerConfigName" key and enter the name of your Blue Prism application server configuration in the value parameter.
This is the name that is set when configuring the application server. The first time the application server is configured, the configuration name is Default, but this can be changed if required.
-
Open Windows PowerShell as an administrator and run the following command to re-encrypt the API web.config file:
CopyC:\Windows\Microsoft.NET\Framework\v4.0.30319\aspnet_regiis.exe -pef "appSettings" "C:\Program Files (x86)\Blue Prism Limited\Blue Prism API"
The next steps depend on whether the Blue Prism API and Blue Prism application server are running on the same machine or not:
-
The Blue Prism API and Blue Prism application server are running on the same machine
-
The Blue Prism API and Blue Prism application server are running on different machines
The Blue Prism API and Blue Prism application server are running on the same machine
- Grant read permission on the Automate.config file to the user that the Blue Prism API application pool is running under:
- Locate the Automate.config file (C:\ProgramData\Blue Prism Limited\Automate V3), right-click the file and select Properties.
- On the Security tab, click Edit.
- In the Permissions dialog, click Add.
- In the Select Users or Groups dialog, enter the identity the application pool is running under, for example, if running the application pool under the application pool identity enter IIS AppPool\AppPoolName. The AppPoolName is the name of your Blue Prism API application pool, for example IIS AppPool\Blue Prism API (unless changed after the initial install of the API).
- Click Check Names and then OK.
- In the Permissions dialog, select the Read option and click Apply.
- If storing encryption keys in external BPK files, grant read permission to these files to the user that the Blue Prism API application pool is running under:
- Browse to the location of the encryption keys, right-click the BPK file and select Properties.
On the Security tab, click Edit.
In the Select Users or Groups dialog, enter the identity the application pool is running under, for example, if running the application pool under the application pool identity enter IIS AppPool\AppPoolName. The AppPoolName is the name of your Blue Prism API application pool, for example IIS AppPool\Blue Prism API (unless changed after the initial install of the API).
Click Check Names and then OK.
In the Permissions dialog, select the Read option and click Apply.
-
If the Automate.config file is certificate encrypted, grant read access to the private keys of the encrypting certificate to the user that the Blue Prism API application pool is running under:
-
From the Windows Start menu on your web server, launch Manage computer certificates.
-
Navigate to Personal > Certificates and locate the Blue Prism API certificate.
-
Right-click the certificate and select All Tasks > Manage Private Keys.
-
In the Permissions dialog, click Add.
-
In the Select Users or Groups dialog, enter the identity the application pool is running under, for example, if running the application pool under the application pool identity enter IIS AppPool\AppPoolName. The AppPoolName is the name of your Blue Prism API application pool, for example IIS AppPool\Blue Prism API (unless changed after the initial install of the API).
-
Click Check Names and then OK.
-
In the Permissions dialog, select the Read option and click Apply.
-
In the Internet Information Services (IIS) Manager, right-click the Blue Prism API application pool and select Recycle.
The API is now configured to read the private keys.
Alternatively, you can apply the permission to the folder which contains the files.
-
The Blue Prism API and Blue Prism application server are running on different machines
- Copy the Automate.config file from the machine on which the Blue Prism application server is installed and configured to the following location %PROGRAMDATA%\Blue Prism Limited\Automate V3 on the machine on which the API is running.
- Grant read permission on this copy of the Automate.config file to the user that the Blue Prism API application pool is running under, as outlined above.
- If storing encryption keys in external BPK files, copy the BPK files from the Blue Prism Server machine to the same location on the machine on which the API is running.
- Grant read permission on these copied BPK files to the user that the Blue Prism API application pool is running under, as outlined above.
-
If your Automate.config file is certificate encrypted, export the encryption certificate from the machine on which the Blue Prism application server is running, and import it onto the machine on which the API is running.
To export the encrypted certificate from the Blue Prism application server machine:
-
Log in as an Administrator.
-
From a command prompt or the run menu enter "mmc".
-
Open your Local Computer certificates (click File > Add/Remove Snap-in... > Certificates > Computer account > Next > Local computer > Finish > OK).
-
Navigate to Certificates (Local Computer) > Personal > Certificates.
-
Right-click the certificate you want to export and select All Tasks > Export > Next.
-
Select Yes, export the private key then Next.
-
Select the PKCS#12 option.
-
Select Include all certificates in the certification path if possible.
-
Select Export all extended properties.
-
Click Next.
-
Provide a password for the private key if you are prompted.
-
Give the file a meaningful name, for example as certname.pfx, and save it somewhere safe.
To import the encrypted certificate onto the machine on which the Blue Prism API is running:
-
Copy the file you exported to the machine on which the API is running. The *.pfx file is in PKCS#12 format and includes both the certificate and the private key.
-
From a command prompt or the run menu enter "mmc".
-
Open your Local Computer certificates (click File > Add/Remove Snap-in... > Certificates > Computer account > Next > Local computer > Finish > OK).
-
Navigate to Certificates (Local Computer) > Personal > Certificates.
-
Right-click the certificate you want to export and select All Tasks > Import > Next.
-
Click Browse to select the certificate from the saved location.
-
Click Next.
-
Specify the certificate store where you want to place the certificate, and click Next.
-
Click Finish.
-
-
Grant read access to the private keys of this imported certificate to the user that the Blue Prism API application pool is running under, as outlined above.
If any changes are made to the encryption keys on the machine on which the Blue Prism application server is running, you will need to make sure these are copied across to the machine on which the Blue Prism API is running.
-
In the Internet Information Services (IIS) Manager, right-click the Blue Prism API application pool and select Recycle.
The API is now configured to read the private keys.
If any changes are made to the server encryption schemes that the application server uses, or to the certificate used to encrypt the config file, then you will need to carry out all these steps again.
Enable Swagger UI
To enable interaction with the Blue Prism API, Swagger UI has been included alongside the Blue Prism API install. Swagger UI is disabled by default, and must be enabled should an administrator want users to interact with the Blue Prism API using this tool.
To enable the Swagger UI:
-
Decrypt the API web.config file (located in C:\Program Files (x86)\Blue Prism Limited\Blue Prism API) by running run Windows PowerShell as an administrator and using the following command:
CopyC:\Windows\Microsoft.NET\Framework\v4.0.30319\aspnet_regiis.exe -pdf "appSettings" "C:\Program Files (x86)\Blue Prism Limited\Blue Prism API" - Once decrypted, open the API web.config file and change the Swagger.Enable property to true. This property is set to false by default.
-
Re-encrypt the API web.config file by running Windows Powershell as an administrator and using the following command:
CopyC:\Windows\Microsoft.NET\Framework\v4.0.30319\aspnet_regiis.exe -pef "appSettings" "C:\Program Files (x86)\Blue Prism Limited\Blue Prism API" -
Launch the Swagger UI using a link in the format:
https://[hostname]:[portnumber]/swagger/ui/index, for example https://bpapi.local:443/swagger/ui/index.
Generate a self-signed SSL certificate for non-production environments
Self-signed certificates can be used but are only recommended for POC \ POV \ Dev environments, and not production environments. It is recommended that you contact your IT Security team for guidance on obtaining an appropriate certificate.
To generate a self-signed certificate:
-
Run PowerShell as an administrator on your web server and use the following command, replacing [Website] and [ExpiryYears] with appropriate values:
CopyNew-SelfSignedCertificate -CertStoreLocation Cert:\LocalMachine\My -DnsName "[Website].local" -FriendlyName "MySiteCert[Website]" -NotAfter (Get-Date).AddYears([ExpiryYears])For example:
CopyNew-SelfSignedCertificate -CertStoreLocation Cert:\LocalMachine\My -DnsName "blueprismapi.local" -FriendlyName "MySiteCertAPI" -NotAfter (Get-Date).AddYears(10)This example creates a self-signed certificate called MySiteCertAPI in the Personal Certificates store, with blueprismapi.local as the subject and is valid for 10 years from the point of creation.

-
Open the Manage Computer Certificates application on your web server (type manage computer into the search bar).
-
Copy and paste the certificate from Personal > Certificates to Trusted Root Certification > Certificates.
This is to comply with the requirement for SSL certificates to be trusted when used with a website.


Add the API URL to the Hub database connection
If you want to use the browser-based Control Room plugin in Hub, you must add the API URL to the Hub database connection.
The Blue Prism API powers the browser-based Control Room within Blue Prism Hub. To ensure the Control Room can retrieve information from the environment, the API location needs to be defined within Hub's Environment management. Blue Prism Hub Control Room will then utilize the API to retrieve data and trigger actions initiated through the Control Room. When logged into Hub, you will have the same permission within Control Room as you do in Blue Prism Enterprise.
-
In Blue Prism Hub, click your profile icon to open the Settings page, and under Platform Management click Environment management.
Only administrator users will have access to this option.
-
On the Environment management page, click the Edit icon on the database connection that you would like to update.
The Edit connection page displays.
-
Enter the URL under the API configuration section.
You must enter the full URL including the protocol, such as, http:// or https://. For example: https://bpapi.yourdomain.com
-
Click Save.
-
On the Environment management page, click the refresh icon on your updated connection. This updates the information in Hub with the digital workers and queues held in the database.
For more information, see the Hub Environment management guide.
