 Docs
DocsRepository
The Process Intelligence repository is a tool for processing, transforming, and uploading data to your project. The Repository can store both compressed data and large data files, including archives. Once uploaded, data that has not been transformed yet will be presented in the form of database tables. Once transformed, these tables can be uploaded to one or more projects for further analysis.
Add files to a repository and upload them to a project
- Log into Process Intelligence.
-
Click View in the toolbar, then click Repository.
If this is the first time you are using the repository, a new repository will be created.
If you have already created one or more repositories, the one that you worked on most recently will open.
- Upload the data manually as follows:
From the navigation menu, select Upload.
The Upload dialog opens.
Click Choose file and specify the path to your CSV file.
See example below for a CSV file data table.
TimelineID Timestamp Event type Registered by Location A 1/16/2017 7:20:15 Student Applied John Boston A 03.10.2017 16:54 Student Accepted Mary Boston A 04.11.2017 15:04 Bill Generated Anna Charlotte B 02.01.2017 9:15 Student Applied John Boston B 03.02.2017 16:20 Student Accepted Mary Boston The Table name field will be completed in using the name of the uploaded file. You can modify this value if required.
Click Upload.
Once the upload has completed, the number of files processed and the time taken to process the files display.
Click OK to close the Upload dialog.
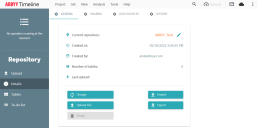
-
From the navigation menu, select Tables.
-
Click a table to open it, see the example below.
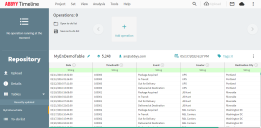
-
Edit the data if required. For more information about operations when working with data, see ETL in the cloud.
-
In order for other analysis tools to become available, upload data from the table to one or more projects as follows:
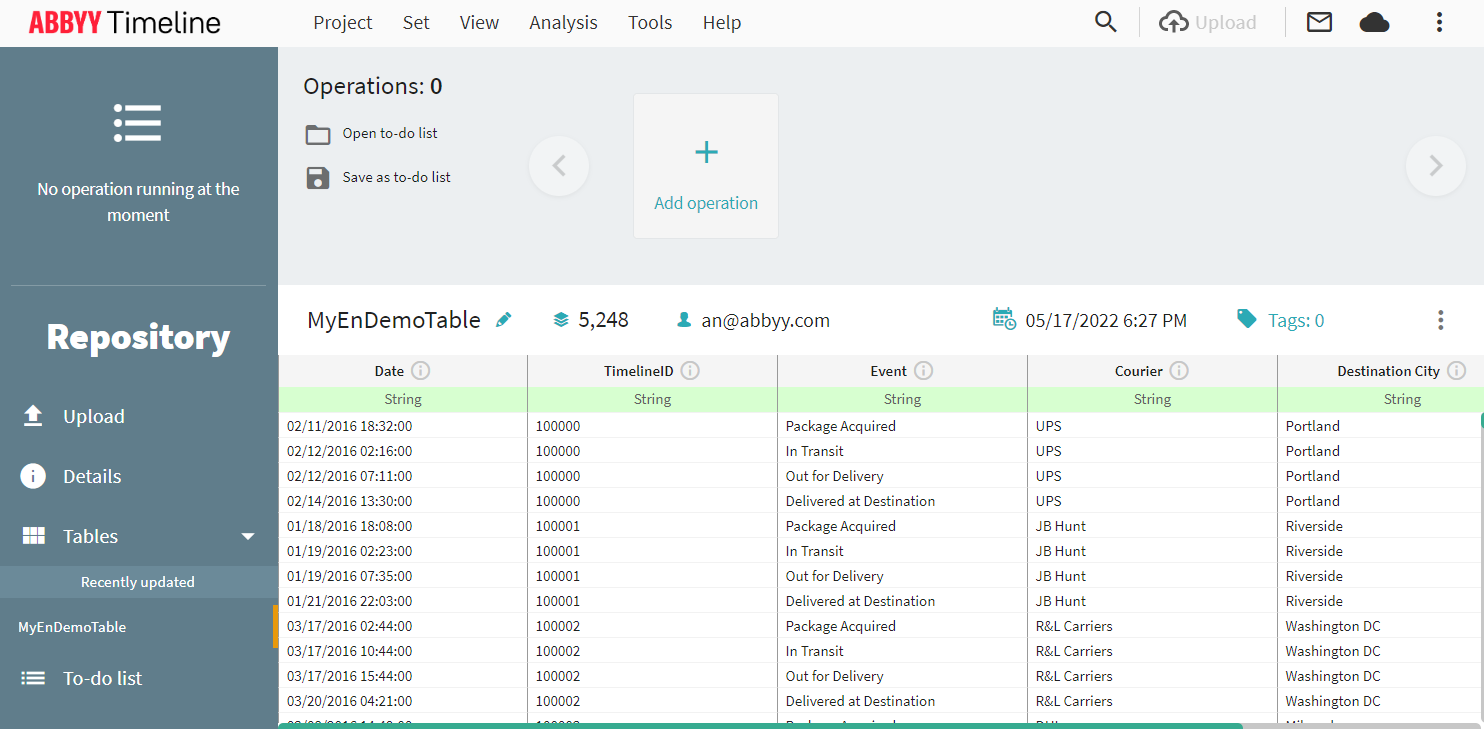
-
Click Add operation in the top panel.
A list of available operations displays.
-
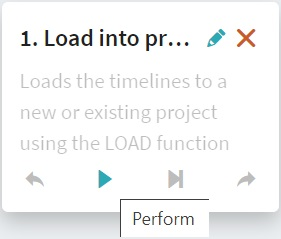
Select Load into project.
The Operation editor dialog displays.
-
Select a project from the list or create a new project. If required, map the table's key fields.
-
Click Save.
The Operation editor dialog closes and the new operation displays in the top panel.
-
Click Perform.
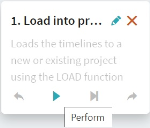
-

The data is uploaded to the selected project.
