 Docs
DocsUsing the forms in Interact
- Submitting a form – Enter information into a form with Interact and submit it to the Blue Prism work queue.
- Viewing a submitted form – View the submissions and their statuses.
- Approving a form – Approve submissions that have been completed by other Interact users. Your organization may require some of the information to be approved by a manager or another member of your team before the information is processed. You may have permissions to review the submissions and approve, or decline, the submitted form.
- Saving a form as a draft – You can start to complete the information on a form and then save it as a draft to complete it at later time.
- Completing a form from a digital worker – Enter information into forms received from a digital worker.
- Updating submissions – A general overview providing information about what happens to the form after it is submitted.
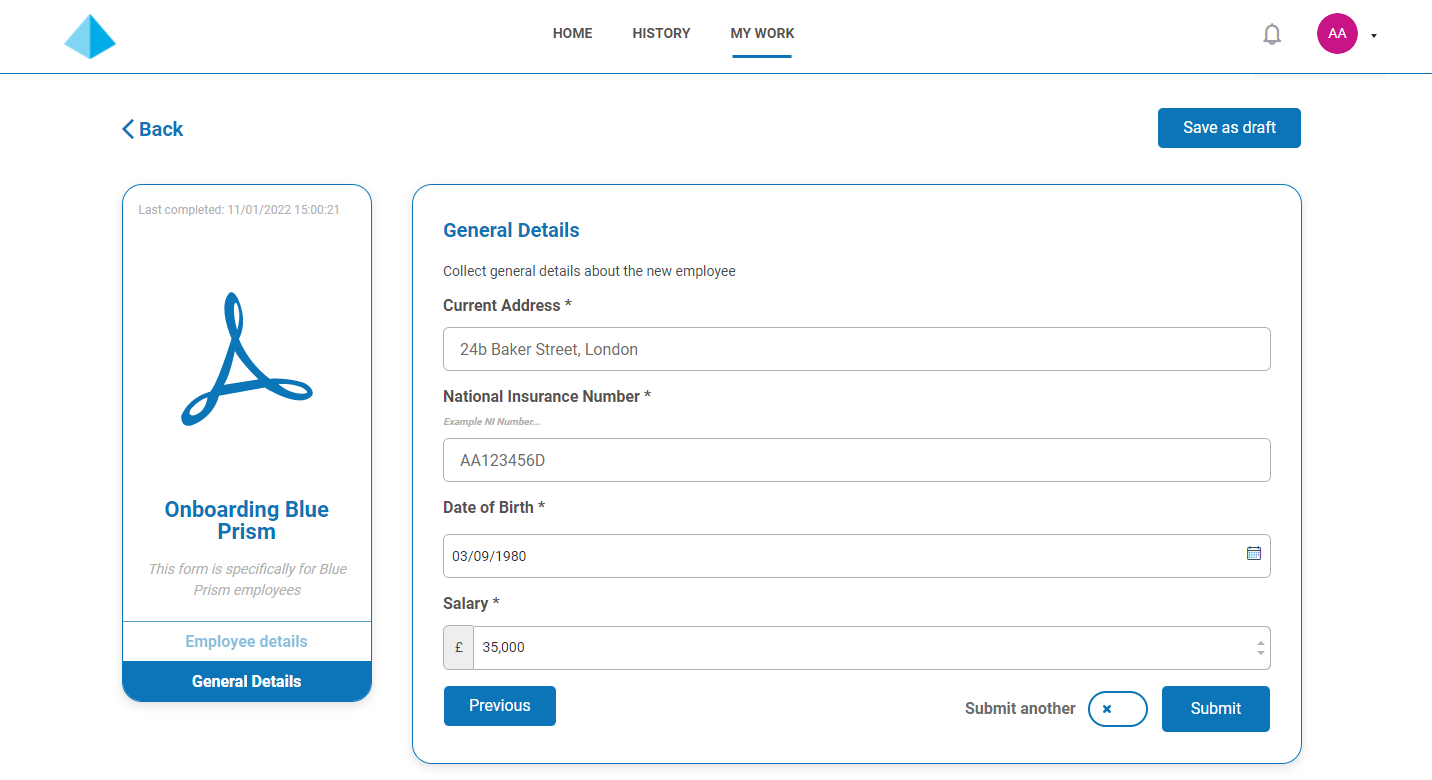
Submit a form
-
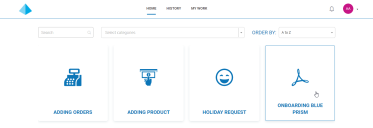
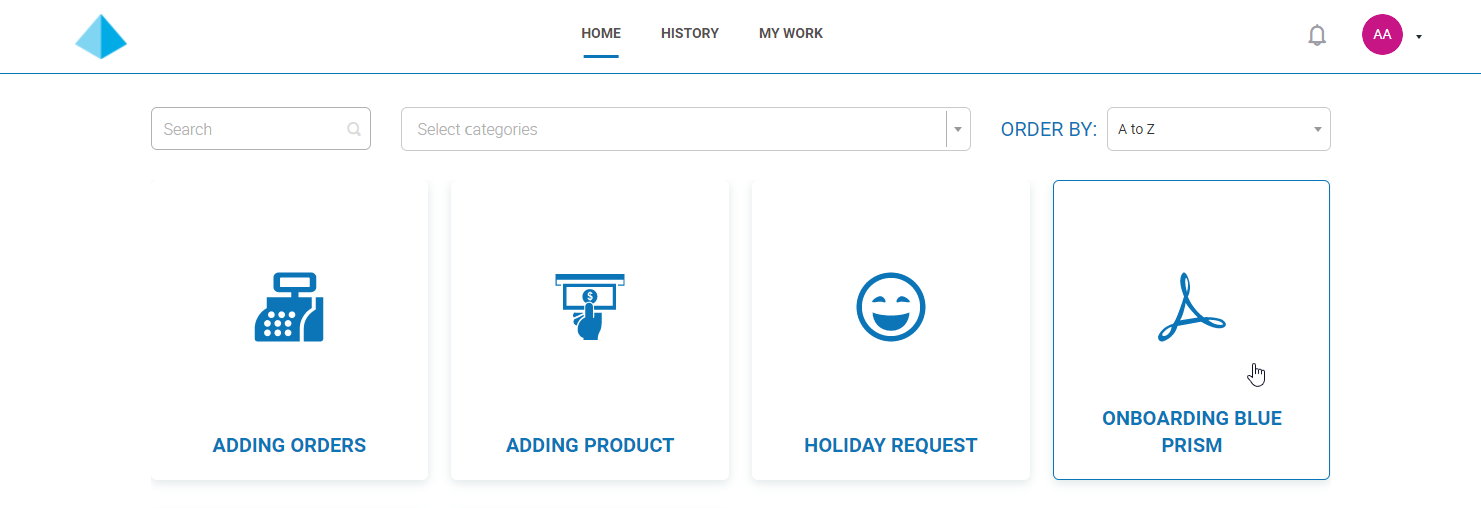
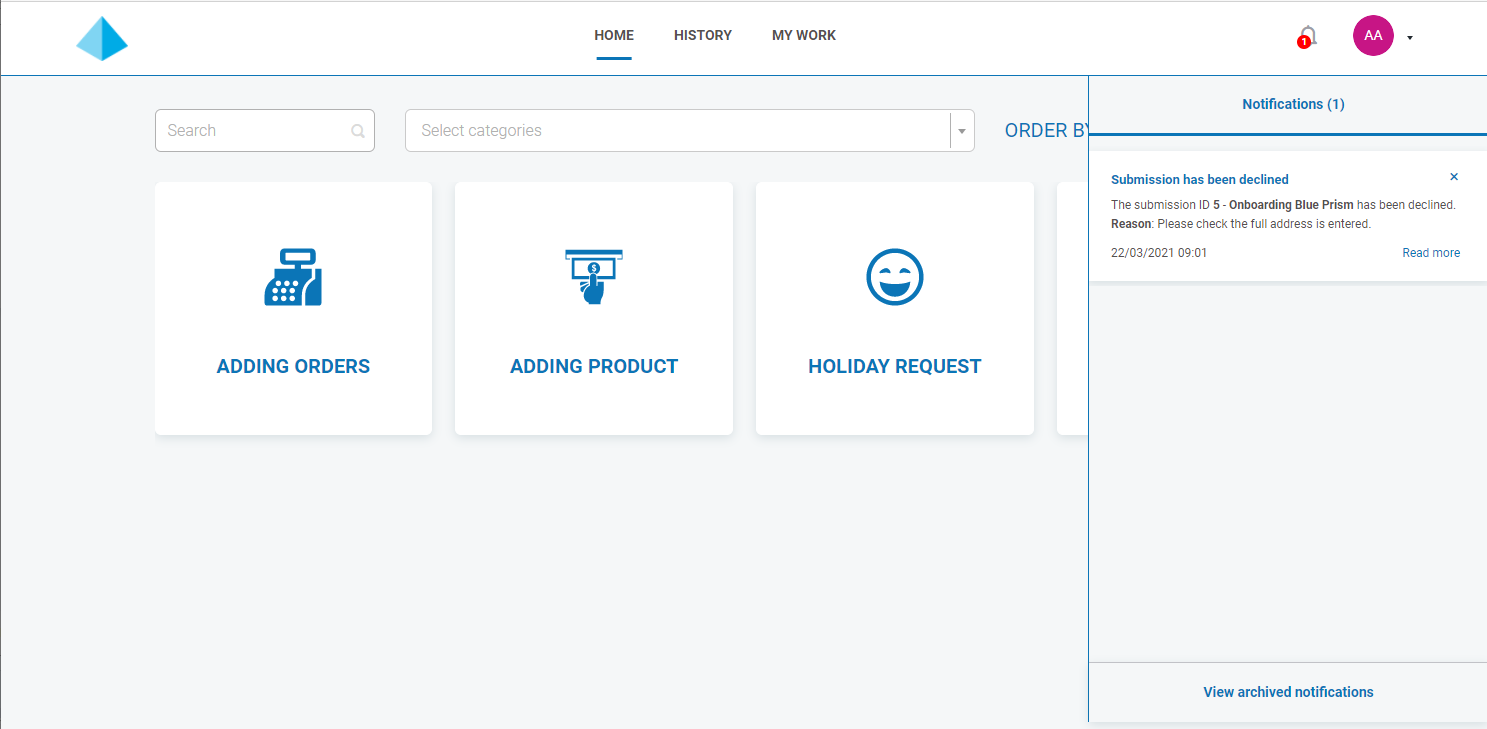
On the Interact Home tab, click on the required form.
-
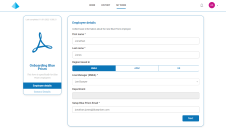
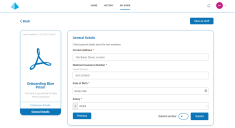
Complete the form. If there is more than one page, click Next to display the next page.
If an information icon
 appears next to a field label, the information you enter into this field will be purged when the form is submitted and approved. This means that the entered information will only be stored in the Blue Prism database, and any additional storage destinations configured as part of the automation process for the form, and will not be stored in the Interact database or be viewable in the audit logs.
 -
Once all pages of the form are complete, click Submit.
If you want to use the same form again to enter another set of information, set the Submit another slider to on.
When the form is submitted, a confirmation notification displays. If you have set the Submit another slider to:
- On (a tick displays), you are taken to a new first page of the form, so you can enter the next set of information.
- Off (a cross displays), you are returned to the main Interact screen.

View a submitted form
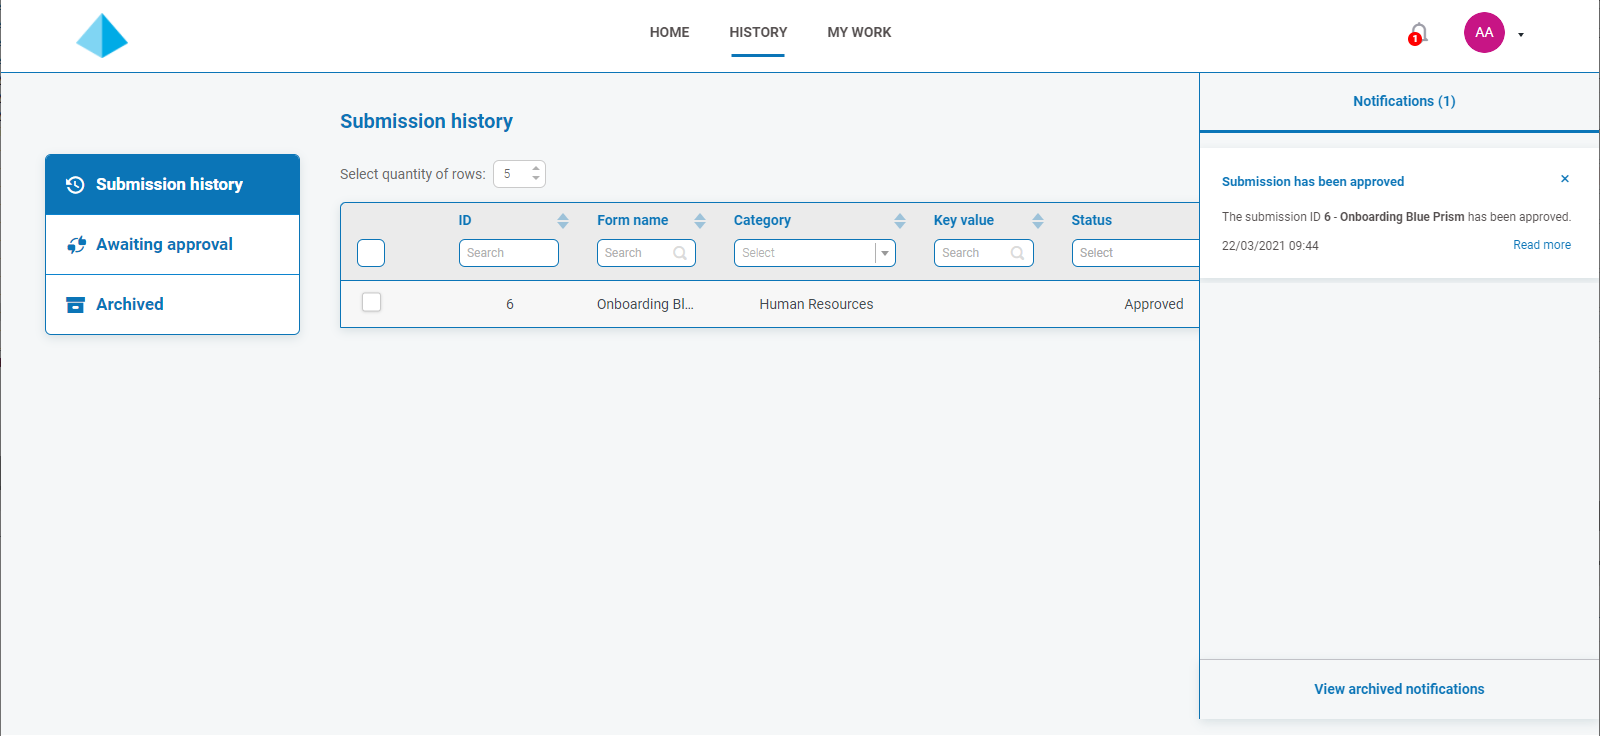
To see all your submitted forms, select the History tab.
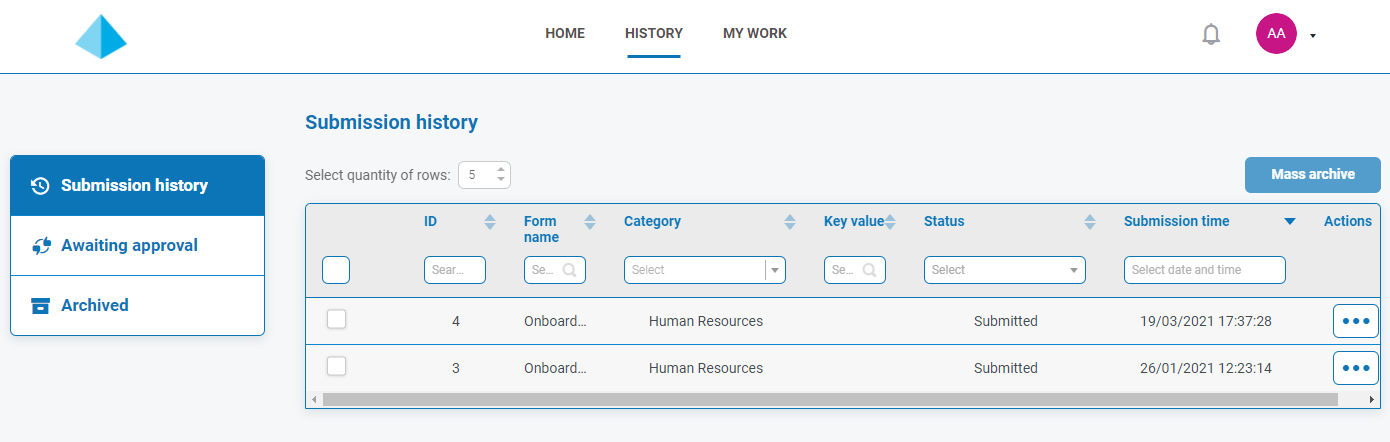
The submitted forms appear in the Submission history section of the History tab.
If a field was identified using the Make key field option when the form was designed, the value from this field will appear in the Key value column.
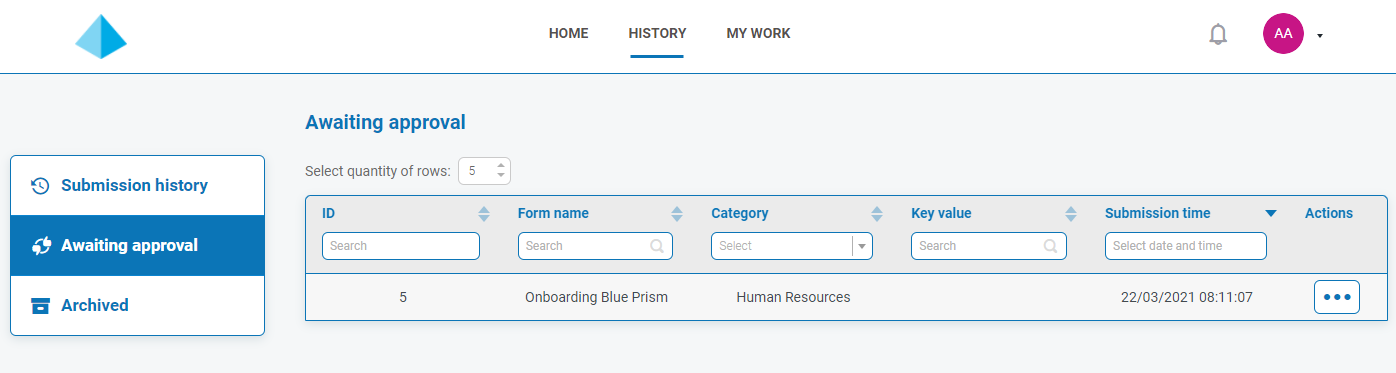
If the submitted request needs approving before submission, it is added to the Awaiting Approval section of the History tab and the approver is notified.
If the form is:
-
Approved – The form is added to the Submission history section of the History tab showing the Status as Approved. A notification is received showing that the submission was approved, which can be viewed by clicking the bell icon.
-
Declined – The form is returned to you as the submitter and is added to the Submission history section of the History tab showing the Status as Declined. A notification is received showing the reason for the decline, which can be viewed by clicking the bell icon.
Regardless of the status, if you click the ellipsis (...) next to the form, you have three options available:
- View – View the form and the entered information.
- Clone – This clones the form and allows you to make any changes and then submit it again.
- Archive – Moves the form to the Archive folder without resubmitting it.
Approve a form
When forms are submitted for your approval, a notification is received with the approval information, which can be viewed by clicking the bell icon. A flag also displays next to the My Work tab and the Approvals option on the associated side menu.
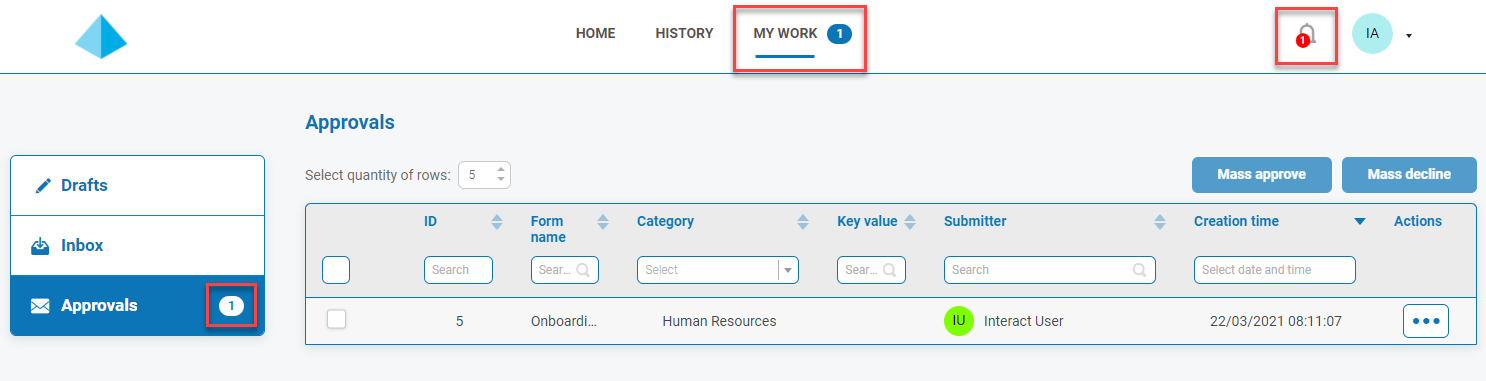
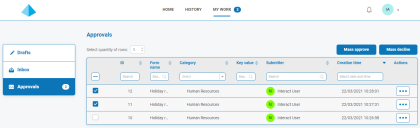
- To view the forms that require your approval, click My Work and then click Approvals.
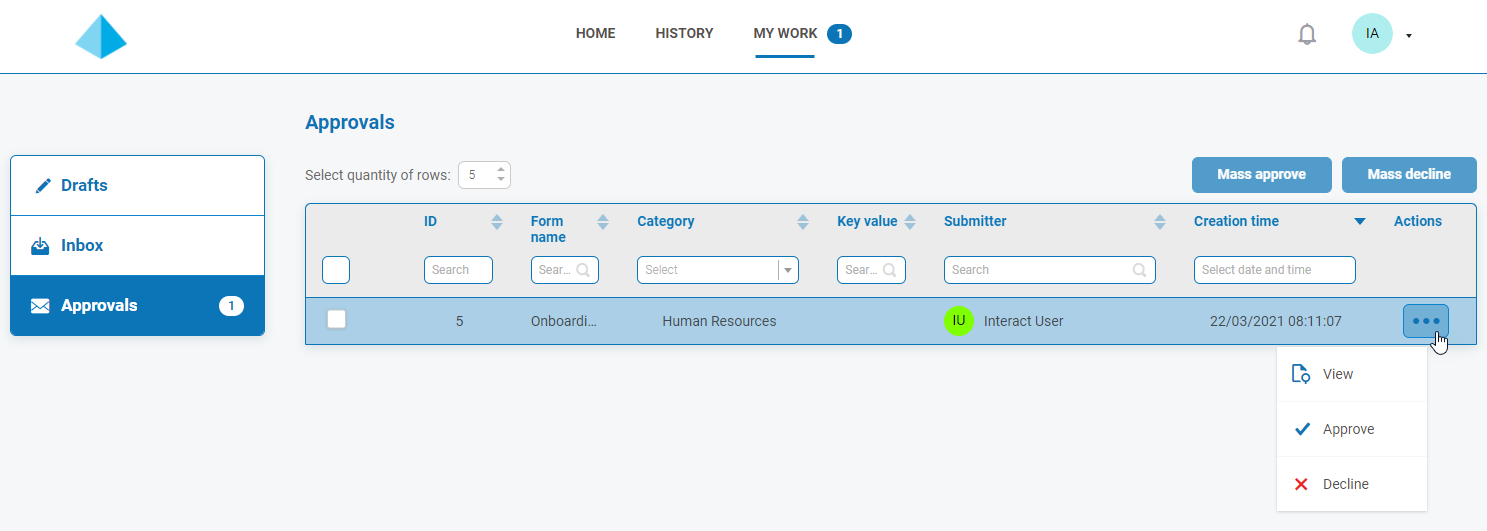
- To approve or decline an individual form:
Click the ellipsis (...) to open the approvals menu for the required form.

Click the required option:
- View – View the form and the entered information.
- Approve – Approving the request allows the request to be submitted to the queue or email as detailed when the form was created.
- Decline – The request is not submitted to a queue or email. If you decline the form, you are prompted to enter a reason and the form is then returned to the submitter for action.
-
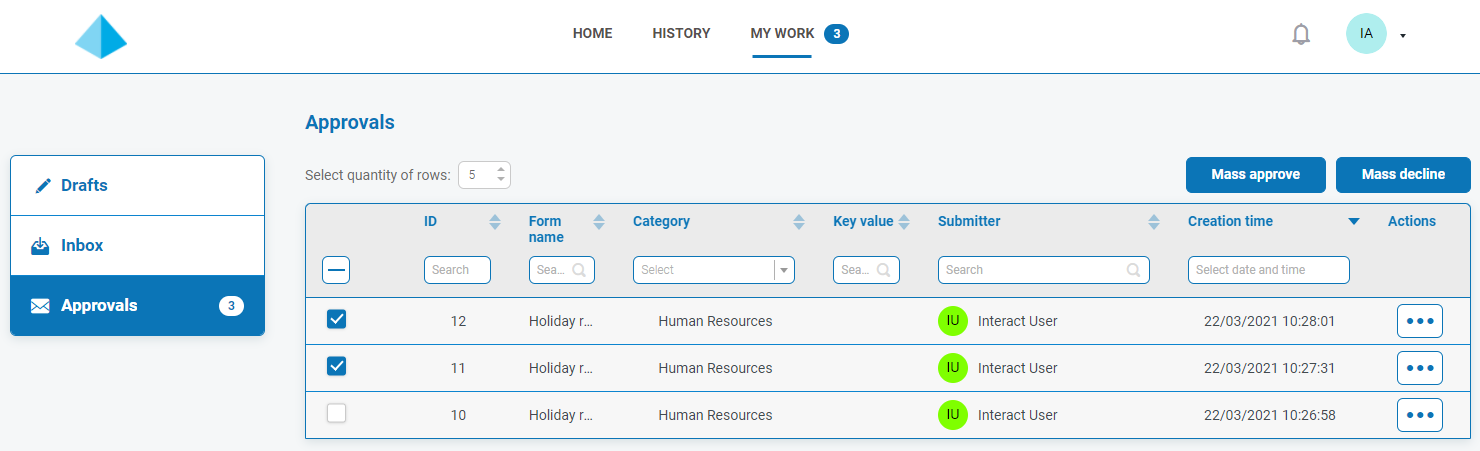
To approve or decline multiple forms:
You should ensure you have reviewed each forms details before you carry out a mass approve.
-
Select the check box at the start of the row for the forms you want to approve.
-
Click Mass approve, or Mass decline depending on the action you want to take.
A message displays asking you to confirm.
-
Click Yes.
-
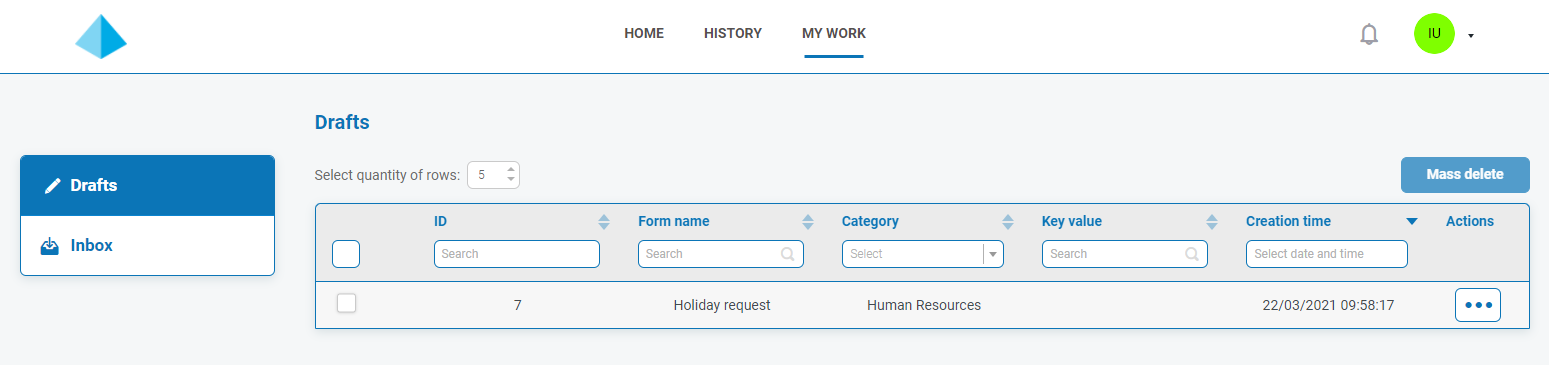
Save as draft
If you only have some of the information required to complete a form, you can complete the fields you have the information for and then select Save as draft to preserve the partially completed form.
Any information entered into date fields will not be saved when you save as draft. This is due to restrictions that may apply to date fields on the form. When you open a draft, any dates will appear blank and will need to be re-entered.
The information is stored under the My Work tab in the Drafts section.
Once you have the missing information, you can complete the form and then submit the request for processing.
Saving a draft enables you to capture the information you have at that time and then, at a later date, open the draft, complete the submission, and submit, or delete the draft if it is no longer required.
Update a submission from a digital worker
As part of automated processes, you may be assigned forms by digital workers that require you to enter or update information. When a form is received, a notification is displayed, which can be viewed by clicking the bell icon. A flag also displays next to the My Work tab and the Inbox option on the associated side menu.

Forms can be assigned directly to you, or to an Interact group that you belong to. If a form is assigned to the group, anyone in that group can update the form. If someone else starts working on it, their name will display in the Locked by column in the Inbox section.
You can also delete the submission. If you do this and the form has been assigned to an Interact group, it is deleted for everyone in the group.
Enter information in a form
- Click My Work and then click Inbox.
-
Find the form you want to update, click the ellipsis (...) and then click Open.
The form displays. If the form was assigned to an Interact group, the form is now locked by you and no one else in the group can edit it.
- Enter the required information.
-
Click Submit.
The form is submitted and either sent for approval or back to the digital worker, depending upon the form setup and automation process.
Delete a form
-
In your Inbox, find the form you want to delete, click the ellipsis (...) and then click Open.
The form displays.
-
Click Delete Submission.
A message displays asking you to confirm the deletion.
-
Click Yes to confirm the deletion.
If the form has been submitted to an Interact group, it will be deleted for all members of the group.
Update submissions
The updating of submissions, with information being fed back from Blue Prism, is a dynamic process. You can look at the form as the process is running in Blue Prism, and as the information is updated by the process, the form is automatically updated. The whole mechanism of updating submissions and setting submissions to a different state, such as moving to the Inbox, is detailed in the Interact Web API Service User Guide.
