Docs
DocsConfigure Digital Workers for Interact
This section provides the steps that must be performed on each Digital Worker to enable it to connect to Interact.
The steps to be completed are:
These instructions assume that the user is familiar with Blue Prism.
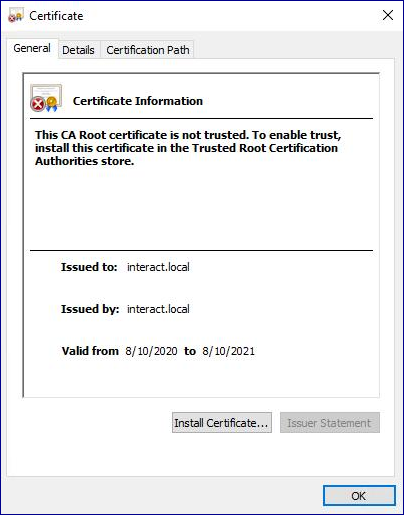
Install SSL certificates
On each Digital Worker, log in and copy across the SSL Certificates for Interact, IADA, Interact Remote API,
As this needs to be performed on each Digital Worker the use of third-party tools or GPOs can be used to perform this task at scale.
-
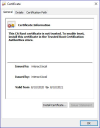
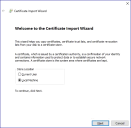
Double-click each SSL Certificate and select Install Certificate.
-
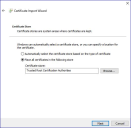
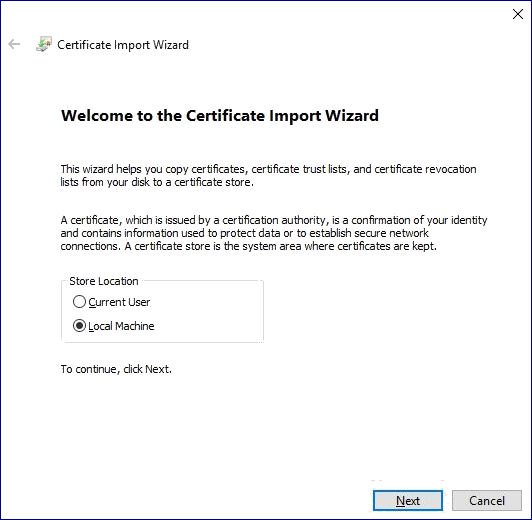
Change the Store location to Local Machine.
-
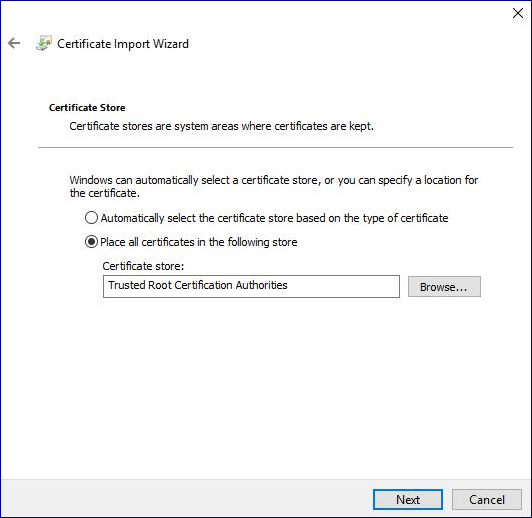
Select Place all certificates in the following store, click Browse and select Trusted Root Certification Authorities store.
-
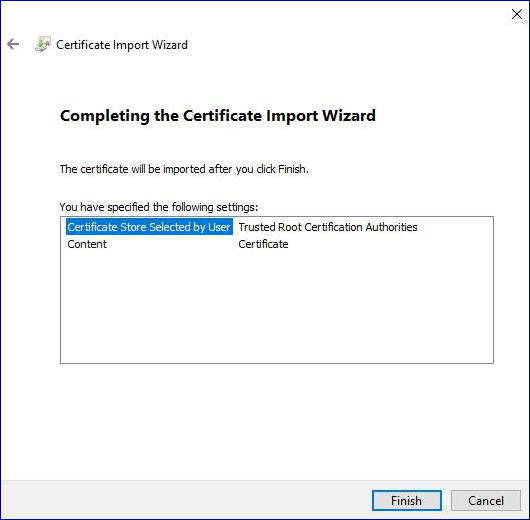
Check that the SSL Certificate is allocated in the correct store, then click Finish.

- Acknowledge the message confirming success.
- Repeat the steps for all the SSL Certificates.
Configure the network
It is important that the Interact website and in particular the Interact Remote API site can be reached.
This is dependent on the architecture structure that was deployed, so this could already be established if the systems are domain joined and the IT organization has configured the servers. Alternatively the local hosts file may need to be adjusted to ensure that the sites can be reached.
The sites that need to be reachable from each Digital Worker are as follows:
|
Website in IIS |
Default URL |
|---|---|
|
Blue Prism – Interact |
https://interact.local |
|
Blue Prism – |
https://authentication.local |
|
Blue Prism – IADA |
https://iada.local |
|
Blue Prism – Interact Remote API |
https://interactremoteapi.local |
|
Blue Prism – SignalR |
https://signalr.local |
Install and configure the Interact Web API service
Blue Prism and Interact communicate through the Blue Prism Interact Remote API. To use this API, the Interact API Service release file should be imported into Blue Prism, this includes a Web API Service and VBO. Once imported it will need to be updated with the appropriate base URL and authorization codes to enable secure communication.
In the web service there are a number of defined actions, see the Interact Web API Service user guide for more information.
To configure Blue Prism to use Interact, you need to:
- Set up a service account in Hub and generate a secret key.
- Import the Interact API Service VBO into Blue Prism.
- Set up the credentials for the Interact Web API service account in Blue Prism.
- Configure the Interact API Service to enable Blue Prism to communicate with Interact.
Set up a service account
To set up the Interact Remote API credentials in Blue Prism, a secret key is required. This is generated from the associated service account in Hub for use with the Interact Remote API. If you lose the key, you can regenerate another key from the service account. For more information, see Service accounts.
To create a service account:
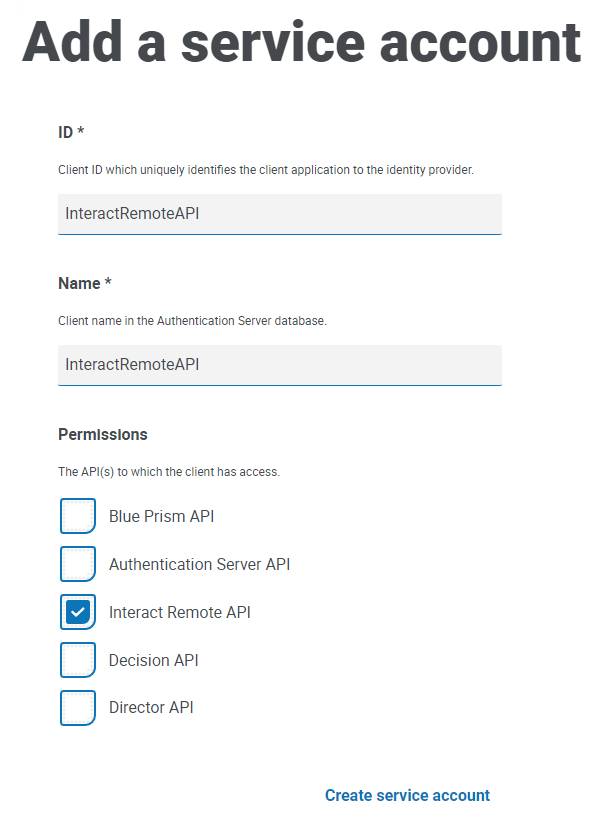
- In Blue Prism Hub, on the Service accounts page, click Add account.
-
Enter a unique ID and a friendly name, for example, InteractRemoteAPI.
Do not use InteractRemoteClient. This name is allocated internally in the system.
-
Under Permissions, select Interact Remote API.

-
Click Create service account.
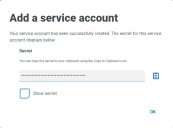
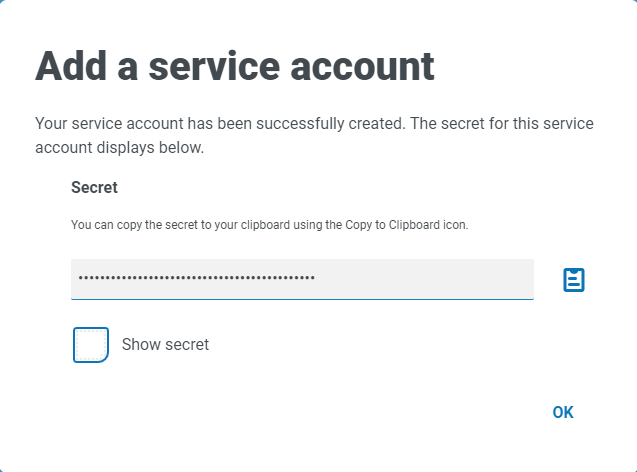
The Add a service account dialog displays with a generated secret key. You will need to enter this key into the Blue Prism interactive client when configuring the associated credential.
-
Copy the generated secret key to your clipboard ready to paste into the Blue Prism interactive client.
-
Click OK to close the dialog.
The Service accounts page displays with the newly created account shown.
Import the VBO
- Download the Interact API Service release file from the Blue Prism Portal.
- In Blue Prism, select File and click Import > Release / Skill and follow the prompts to import the release file into Blue Prism. For more information, see Import a file.
Set up credentials in Blue Prism
- Log into the Blue Prism interactive client, select System and then click Security > Credentials. See Security > Credentials for additional information.
-
Click New.
The Credential Details dialog displays.
-
On the Application Credentials tab of the Credential Details dialog:
- Enter a name.
- Change the Type to OAuth 2.0 (Client Credentials).
-
In Client ID, enter the ID that you used to create the service account above in Configure Digital Workers for Interact, for example, InteractRemoteAPI.
- In Client Secret, enter the secret key that was generated for the service account.
- On the Access Rights tab of the Credential Details dialog, set up the required access permissions.
- Click OK.

Configure the web service
-
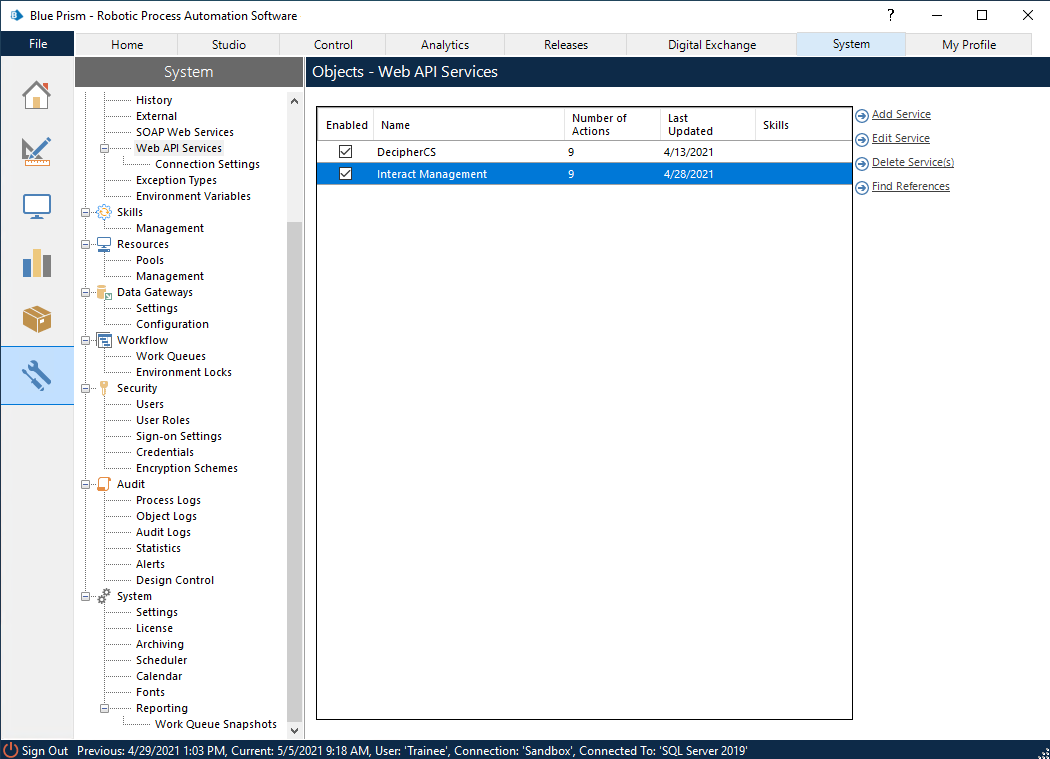
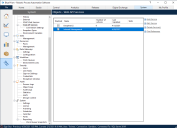
In Blue Prism, select System and then click Objects > Web API Services.
The Objects - Web API Services screen displays. For example:
-
Select Interact Management and click Edit Service.
The Web API: Interact Management screen displays.

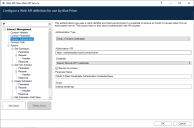
-
On the Web API: Interact Management opening screen, in Base URL, enter the URL for your organization's Interact API service. This was defined during the installation of Interact.
-
Select Common Authentication in the navigation tree, then complete the following:
-
Ensure that Authentication Type is set to OAuth 2.0 (Client Credentials)
-
In Authorization URI, enter the Authentication Server URL in the format:
<Authentication Server URL>:<port if specified during install>/connect/token
For example, https://authentication.blueprism.com:5000/connect/token
Or, if the default port was used, https://authentication.blueprism.com/connect/token.
If you have upgraded from a version earlier than 4.3, your system will still be using IMS. In this case, you should enter the information in the format:
<IMS URL>:<port if specified>/connect/token
For example, https://ims.blueprism.com:5000/connect/token.
-
In Credential, select the credential you created in Set up credentials in Blue Prism.
-
- Click OK to save and complete the setup of the Web API Service.