Docs
DocsConfigure Blue Prism to use Decision
To configure Blue Prism to use your Decision models, you need to:
- Set up a service account in Hub and generate a secret key.
- Set up the credentials for the Decision service account in Blue Prism.
- Import the Blue Prism Decision API Release VBO to communicate with Decision.
Set up a service account
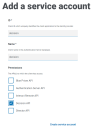
- In Blue Prism Hub, on the Service accounts page, click Add account.
- Enter a unique ID and a friendly name, for example, Decision.
-
Under Permissions, select Decision API.
-
Click Create service account.
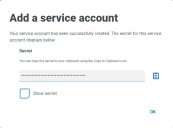
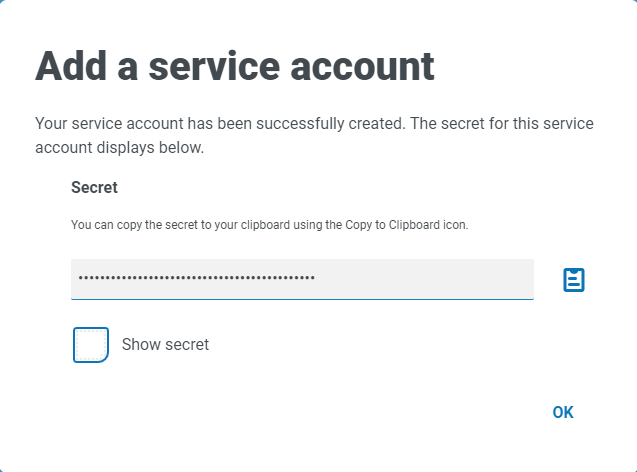
The Add a service account dialog displays with a generated secret key. You will need to enter this key into the Blue Prism interactive client when configuring the associated credential.
-
Copy the generated secret to your clipboard ready to paste into the Blue Prism interactive client.
-
Click OK to close the dialog.
The Service accounts page displays with the newly created account shown.

Set up credentials in Blue Prism
- Log into the Blue Prism interactive client, select System and then click Security > Credentials. See Security > Credentials for additional information.
-
Click New.
The Credential Details dialog displays.
-
On the Application Credentials tab of the Credential Details dialog:
- Enter a name.
- Change the Type to OAuth 2.0 (Client Credentials).
-
In Client ID, enter the ID that you used to create the service account above in Set up a service account.
- In Client Secret, enter the secret key that was generated for the service account.
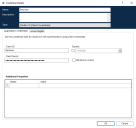
- On the Access Rights tab of the Credential Details dialog, set up the required access permissions.
- Click OK.

Import the Blue Prism Decision API Release VBO
-
If you haven't already, download the Decision API.bprelease file from the Blue Prism Portal.
-
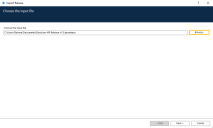
In Blue Prism, select File and click Import > Release / Skill.
The Import Release dialog displays.
- Click Browse.
-
Locate and select the Decision API.bprelease file.
For example:
-
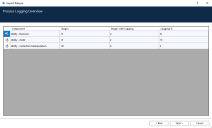
Click Next.
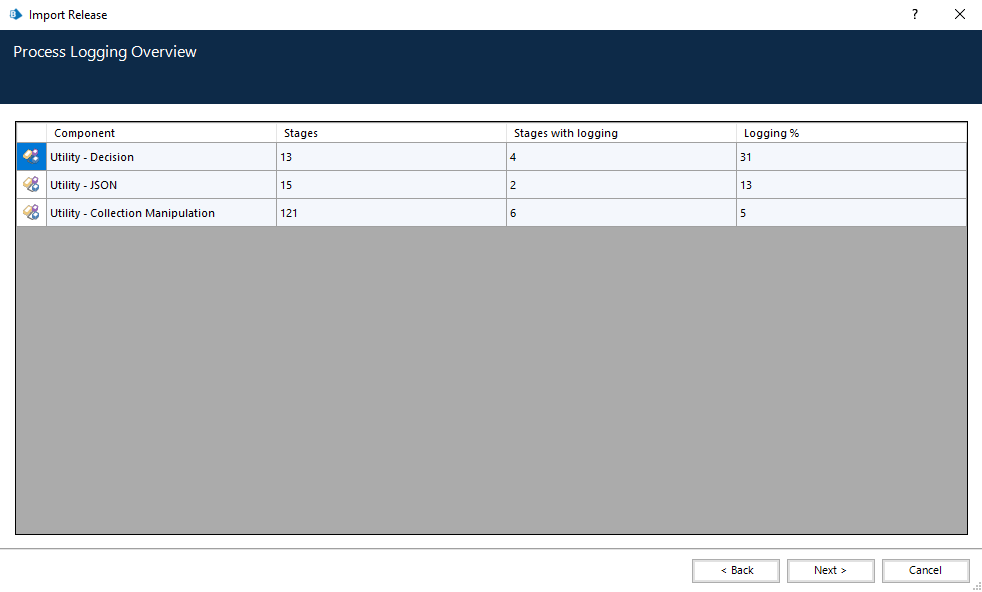
The Process Logging Overview screen displays with a summary of the components that will be imported.
-
Click Next.
A progress screen displays.
- When the import has completed, click Finish.
- In Blue Prism, select System and then click Objects > Web API Services.
- Select DecisionAPI and click Edit Service.
-
On the Web API: DecisionAPI opening screen, in Base URL, enter the URL of the Decision API service in the format:
<Hub host URL>:<port if specified during install>/api/blueprism-decision
For example, https://hub.blueprism.com:5002/api/blueprism-decision
Or, if the default port was used, https://hub.blueprism.com/api/blueprism-decision.
- Select Common Authentication in the navigation tree, then complete the following:
- Ensure that Authentication Typeis set toOAuth 2.0 (Client Credentials)
In Authorization URI, enter the Authentication Server URL in the format:
<Authentication Server URL>:<port if specified during install>/connect/token
For example, https://authentication.blueprism.com:5000/connect/token
Or, if the default port was used, https://authentication.blueprism.com/connect/token.
If you have upgraded from a version earlier than 4.3, your system will still be using IMS. In this case, you should enter the information in the format:
<IMS URL>:<port if specified>/connect/token
For example, https://ims.blueprism.com:5000/connect/token.
- In Credential, select the credential you created in Set up credentials in Blue Prism.
- Click OK to save and complete the setup of the Web API Service.