 Docs
Docs
ALM – Business processes
The Business processes option allows you to define the business processes within your organization.
Once the business processes have been created, they can be viewed, edited, retired or deleted using the icons on the page.
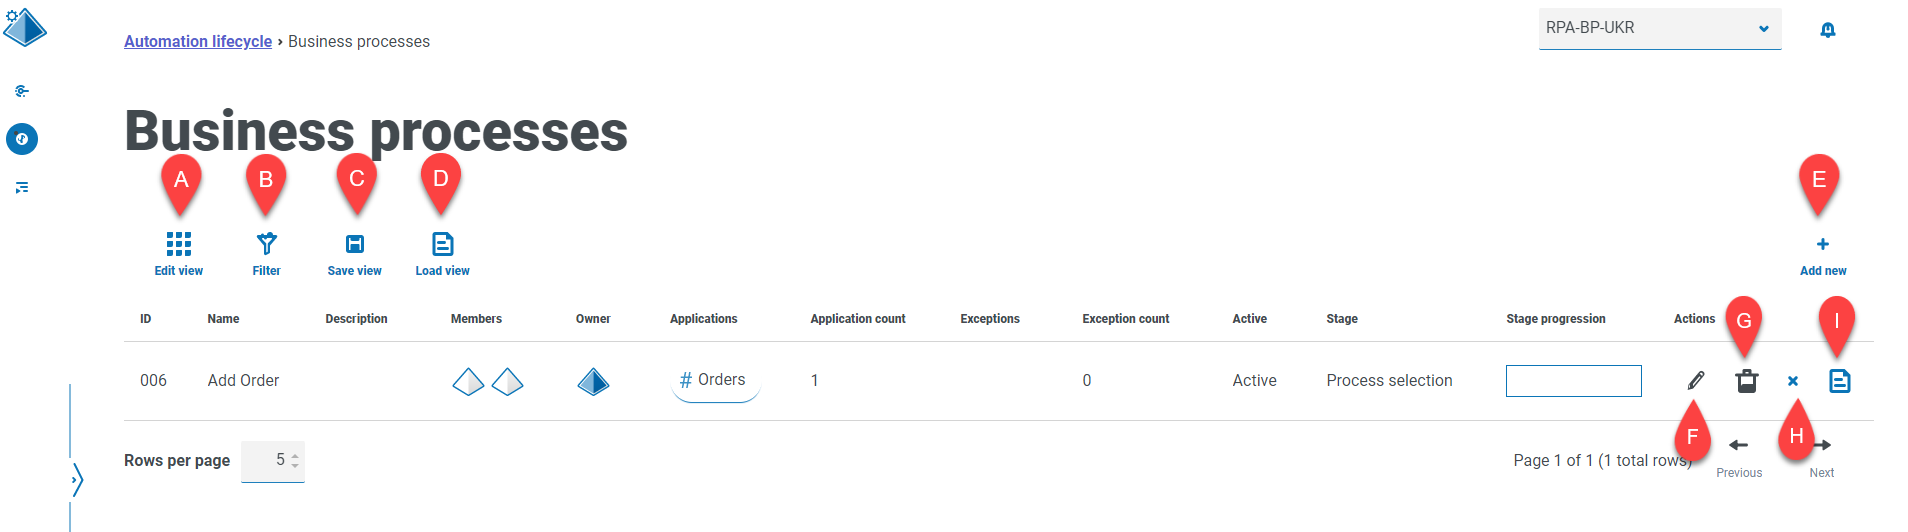
The Business processes page provides you with the following information and functions:
-
Edit view – Define the columns that are displayed. You can then show or hide the columns using the toggle switches.
- Filter – Filter the information that is displayed. You can turn on the required filters and enter or select the appropriate information for display, for example, you could turn on the Active filter. By default, the filters are set to show you only your business processes. If you want to see them all, you must change the Business processes filter to all.
-
Save view – Save your current column settings. You can enter a name for your view to make it easily identifiable when loading views.
-
Load view – Load a saved view. You can select the required view and click Apply.
- Add new – Add a new business process.
- Edit – Edit the details of the selected business process.
- Delete – Delete a retired business process. This icon is only active when you select a business process that meets specific criteria.
-
Retire/Re-instate – A check mark allows you to make a retired business process active, and a cross allows you to retire a business process. See Retire and reinstate business process for more information.
- View – View the details of the selected business process.
Add a business process
- On the Automation lifecycle page, click Business processes, and then click Add new.
-
- ID – A unique number to identify the business process. Companies can define their own identification system which could assist in identifying processes for different departments, for example, Finance, Sales, and so on, or just a unique identification across the organization’s processes generally.
- Name – A name for the business process.
- Descriptions – An optional description of the business process.
-
Stage – The stages involved in capturing the business process:
- Process Selection (default option)
- Deep Dive
- Design
- Development
- Internal UAT
- External UAT
- Live Proving
- Live
- Stage Progression – A slider that allows you to set what percentage of the stage has been completed.
- In the Members section, add any key stakeholders that will contribute towards the automation of the business process throughout the lifecycle. If you create a business process, you will be automatically added as a member.
- In the Notes section, add information about the business process.
-
Click Create business process.
If the business process has been successfully created, a notification displays in the top right corner.
Edit a business process
You can only edit business processes that you created yourself. Business processes created by anyone else are read only.
- On the Business processes page, select the pencil icon for the required application.
- Edit the information as required.
- Click Save.
Retire and reinstate a business process
If you retire a business process, any process definitions associated with the business process are also retired.
-
On the Business processes page, select the retire/re-instate icon to retire or re-instate the process for the required business process.
If the process is:
- Live, the retire/re-instate icon displays as a cross.
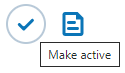
- Retired, the retire/re-instate icon displays as a tick.
- To retire a business process:
Click the cross.

A message displays asking you to confirm.
Click Yes.
The business process is retired and the cross changes to a tick.
-
To make a retired business process live, click the tick.
The business process is instantly reinstated and tick changes to a cross.
You can use the Active filter to filter the list for retired business processes.


Delete a business process
You can permanently delete obsolete business processes that adhere to the following:
- The business process is retired.
- It does not have any items attached to it, such as an ALM Process Definition or an Interact Form – If the business process has any of these, you will need to remove the items by either linking them to another business process or deleting them first.
- You are defined as the owner on the business process.
If you delete a business process, it is permanently deleted. You cannot restore a deleted business process.
If the business process is eligible for deletion, the Delete icon displays blue. If the icon is gray, this indicates the criteria mentioned above has not been met.
You can use the Active filter to find retired business processes.
To delete a business process:
-
In a business process row, click Delete (the trash can).
A message displays asking you to confirm that you want to delete the business process.
-
Click Yes to permanently delete the business process.
Use the filters
The filters enable you to easily find a specific business process or similar processes based on the selected criteria.
- On the Business processes page, click Filter to open the Filter panel.
-
Use the toggle to turn on the required filter and complete the information to find the required business process. You can apply multiple filters at the same time.
The available filters are:
Filter
Description
Business processes
Select the business processes you want to view from the drop-down list; the options are:
- My business processes – Displays the business processes of which you are an owner or a member.
- All business processes – Displays all the business processes that are available.
By default, the Business processes filter is already turned on and set to My business processes.
ID
Enter the full or partial identifier for the business process. Name
Enter the full or partial name of the business process.
Description
Enter a term or word to search against the text in the business process description.
Members
Enter the user's username, or part of their username.
Owner
Enter the user's username, or part of their username.
Applications
Enter the full or partial name of the application to see the business processes that are linked with that application.
Application count
Enter a numerical range. If you want to see business processes that are linked with a set number of applications, enter the same number in both fields, for example, 1.
Exceptions
Enter the full or partial name of the exception.
Exception count
Enter a numerical range. If you want to see business processes that are linked to a specific number of exceptions, enter the same number in both fields, for example, 10.
Active
Select the status of the business process from the following options:
- Active – Displays the active business processes; these are processes that have not been retired.
- Retired – Displays the business processes that have been retired by an administrator.
Stage
Select the stage from the drop-down list. The available options are the same as those available when adding the business process. For more information, see Add a business process.
Stage progression
Enter a numerical range reflecting the stage progression percentage. For example, enter 0 in the first field and 50 in the second field to view all stage progression percentages under 50%.
The information on the Business processes page is immediately filtered.
If you have set the filters but want to view the unfiltered information again, either
- Click Close drawer to close the filter panel.
