 Docs
Docs
ALM – Applications
The Applications option allows the definition of applications.
Once an application have been created, it can be viewed, edited or retired using the icons on the page.
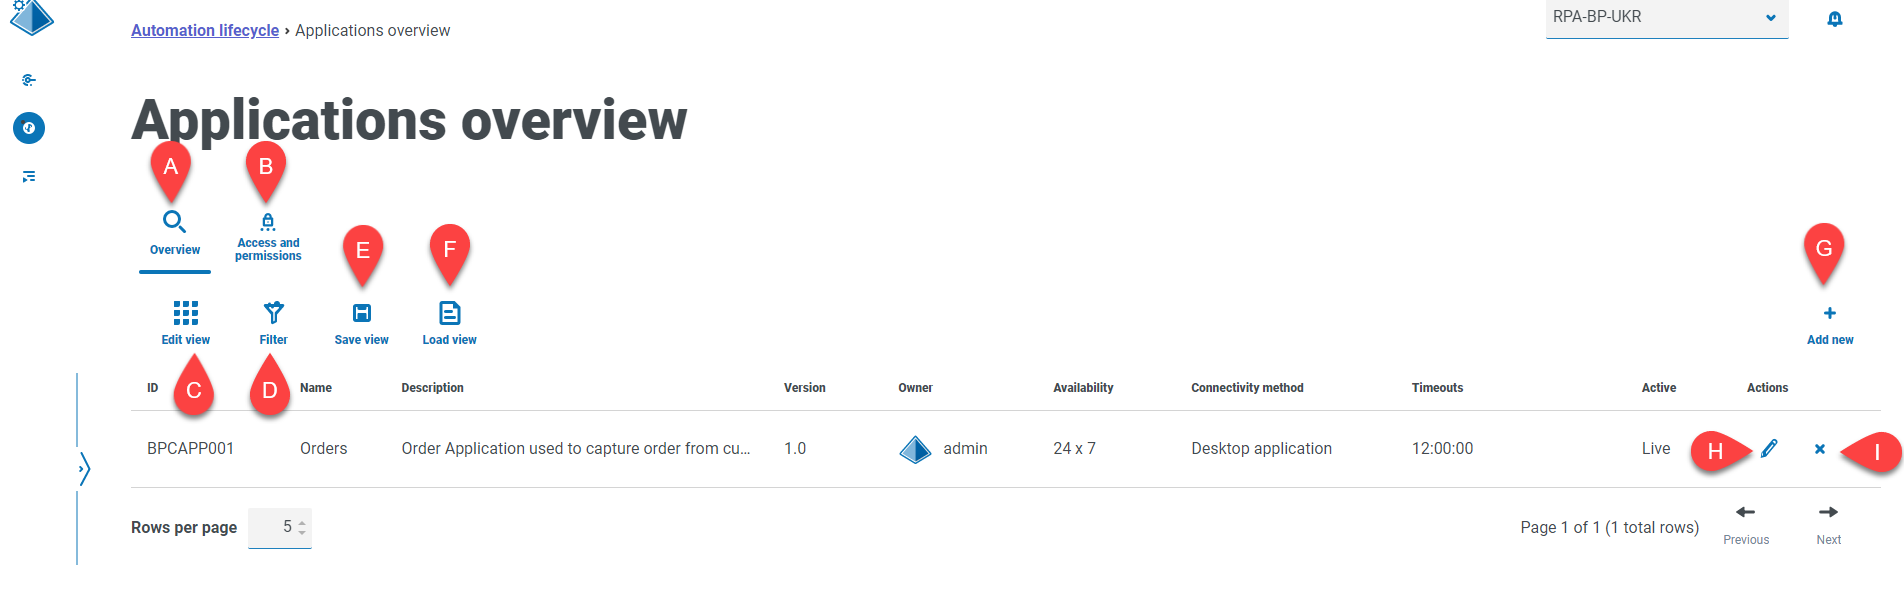
The Applications overview page provides you with the following information and functions:
- Overview – Changes the view to the Applications overview page. This shows the applications that have been defined within ALM. This is the default view.
- Access and permissions – Changes the view to the access rights and permissions page.
-
Edit view – Define the columns that are displayed. You can then show or hide the columns using the toggle switches.
- Filter – Filter the information that is displayed. You can turn on the required filters and enter or select the appropriate information for display, for example, you could turn on the Active filter.
-
Save view – Save your current column settings. You can enter a name for your view to make it easily identifiable when loading views.
-
Load view – Load a saved view. You can select the required view and click Apply.
- Add new – Add a new application.
- Edit – Edit the details of the selected application.
-
Retire/Re-instate – A check mark allows you to make a retired application active, and a cross allows you to retire an application. See Retire and reinstate an application for more information.
Add an application
-
On the Automation lifecycle page, click Applications, and then click Add new.
The Create application page displays.
- Complete the following fields:
- ID – A unique number to identify the Application. Companies can define their own identification system which could assist in identification of applications within different departments, for example, Finance, Sales, and so on, or just a unique identification across the organization’s applications generally.
- Name – The application name.
- Description– An optional description of the application.
- Version – The version number of the application.
- Owner –The person in your organization responsible for the version deployed and in operation. This could be the Finance Director for applications that are specific to the Finance team and not just an individual who oversees IT.
- Availability – The availability of the application. You could set the application to be constantly available or limit its availability to a specific day and/or time. For example, only between 09:00 to 17:30 on business days. This can be used to ensure that backups and maintenance periods are included in the definition of the application.
- Connectivity Method – The method of access for the application. Options include:
- Web Access (Internet Explorer)
- Web Access (Chrome)
- Desktop Application
- Citrix (Application)
- Citrix (Desktop Application)
- Remote Application
- Remote Desktop Application
- Other
- Timeouts – The period of time after which the application will timeout and exit if unused.
-
Click Create application to store the information in the Hub database.
A notification displays to confirm a the application has been successfully created. The application is added to the list in the Application overview page.
Edit an application
- On the Applications overview page, select the pencil icon for the required application.
- Edit the information as required.
- Click Save.
Retire and reinstate an application
-
On the Applications overview page, select the retire/re-instate icon for the required application.
If the application is:
- Live, the retire/re-instate icon changes to a cross.
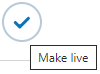
- Retired, the retire/re-instate icon changes to a check mark.
- To retire an application:
Click the cross.

A message displays asking you to confirm.
Click Yes.
The application is retired and the cross icon changes to a tick.
-
To make a retired application live, click the tick.

The application is instantly reinstated and the cross changes to a tick.
You can use the Active filter to filter the list for retired applications.

Set permissions on an application
For the on-premise version of the product, the Access and Permissions capability is non-operational. This functionality will be re-introduced in a later version.
Once an application has been added, access rights can be defined.
-
On the Applications overview page, click Access and Permission.
The Applications access and permissions page displays.
-
Click Add new.
The Create application access page displays.
- Complete the following fields:
- Application Name – Allows you to select a defined application.
- Integrated Authentication – If single sign-on is enabled for the Digital Workers then this option should be selected. This will enable the Digital Worker to directly authenticate inside the application without the need to complete username fields.
- Environment – Allows you to select the environment that the credentials apply to, for example, Production, Development, and so on.
- Digital Workers – Allows you to select the Digital Workers that will be accessing the application.
- Expiry Period – The period defining the frequency that the password is updated. Most organizations utilize Active Directory and Group Policy to define a password expiration date, this field is used to notifying the password expiration period.
- Notes – Allows you to capture any additional information relating to the application access or permissions.
-
Click Create application process.
You will not be able to perform this step as the functionality is not operational.
Use the filters
The filters enable you to easily find a specific application based on the selected criteria.
- On the Applications overview page, click Filter to open the Filter panel.
-
Use the toggle to turn on the required filter and complete the information to find the application. You can apply multiple filters at the same time.
The available filters are:
Filter
Description
ID
Enter the full or partial identifier for the application. Name
Enter the full or partial name of the application.
Description
Enter a term or word to search against the text in the application description.
Version
Enter the version number of the application. The will also filter against partial matches, for example, if you enter 1, the filter will also display applications which have versions such as 1.0 and 10.
Owner
Enter the user's username, or part of their username.
Availability
Enter the full or partial text to match against the availability of the application.
Connectivity
Select the connectivity
Timeouts
Enter a time range. The time must be in the format hh:mm:ss.
Active
Select the status of the application from the following options:
- Live – Displays the active applications; these are applications that have not been retired.
- Retired – Displays the applications that have been retired by an administrator.
The information on the Applications overview page is immediately filtered.
If you have set the filters but want to view the unfiltered information again, either
- Click Close drawer to close the filter panel.
