Docs
DocsInitial Hub configuration
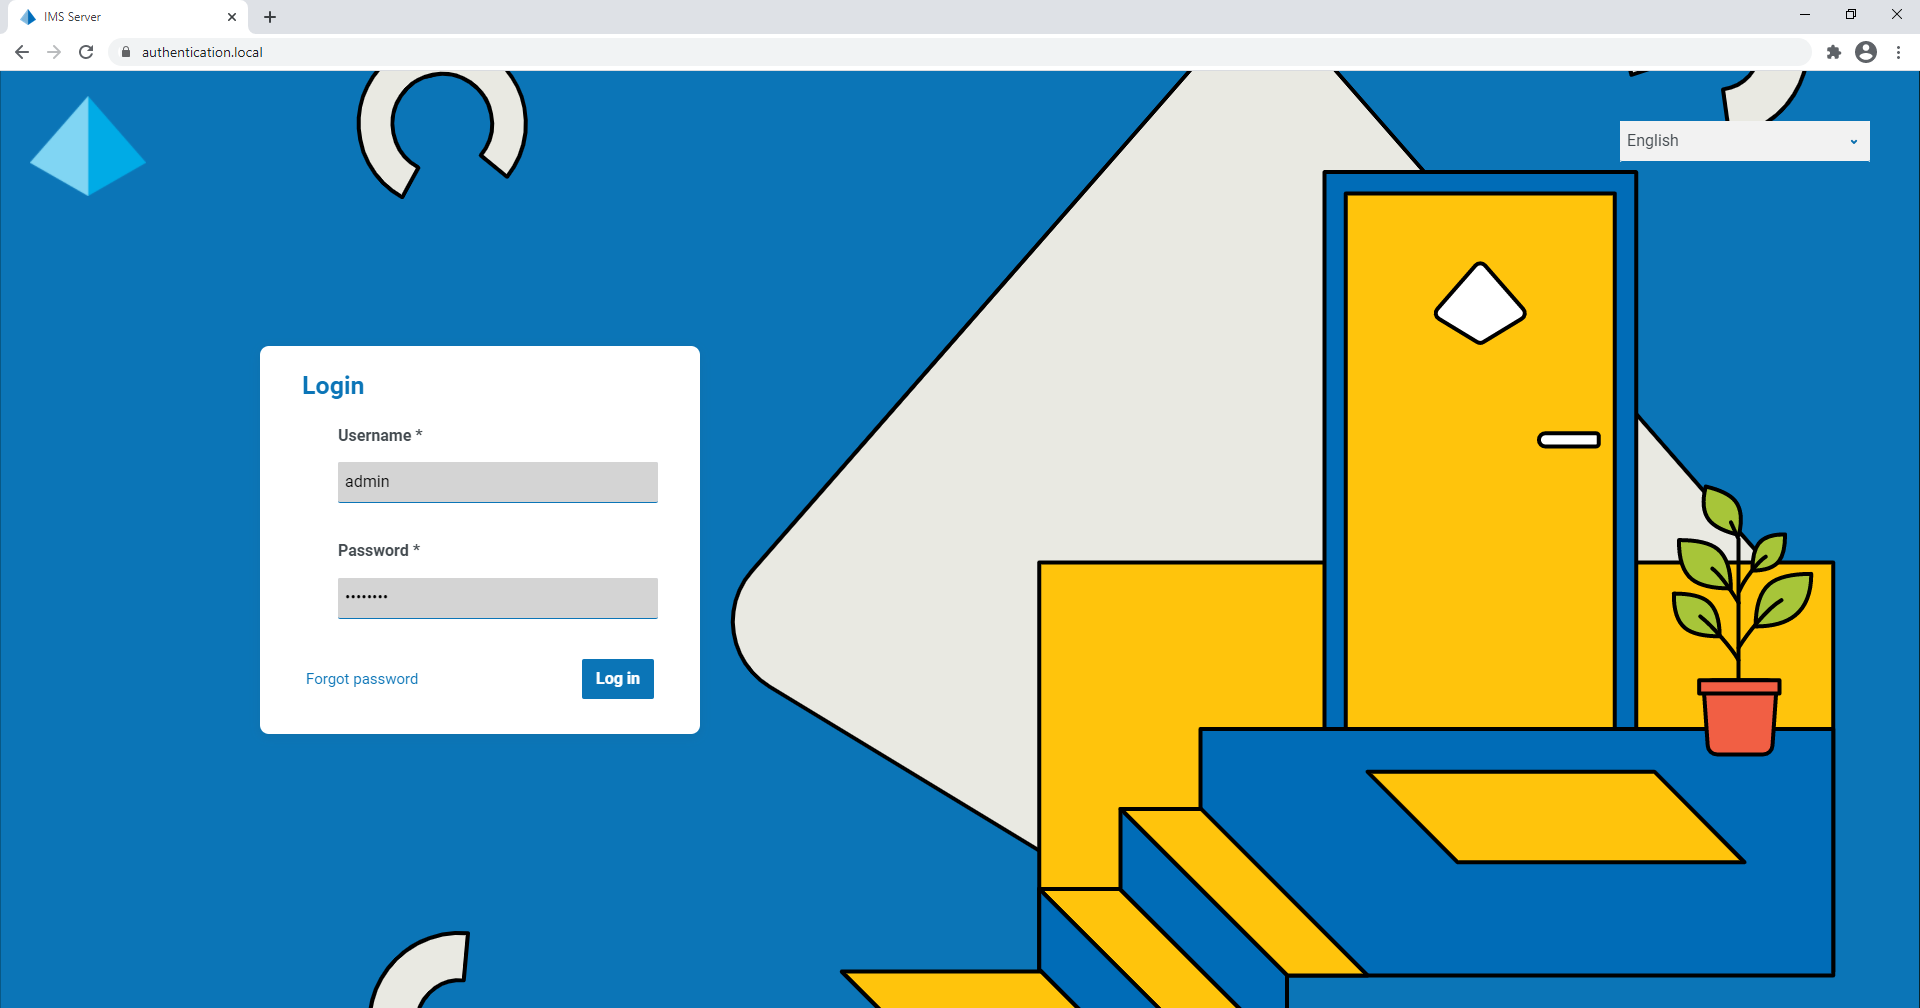
You can now log in for the first time and carry out some system-wide configuration.
When you open the login page for
To watch the Hub installation and configuration process, see our Blue Prism Hub installation video.
|
|
Database settings
To configure access to the Blue Prism database:
-
Click your profile icon to open the Settings page, and then click Environment manager.
The Environment management page displays.
-
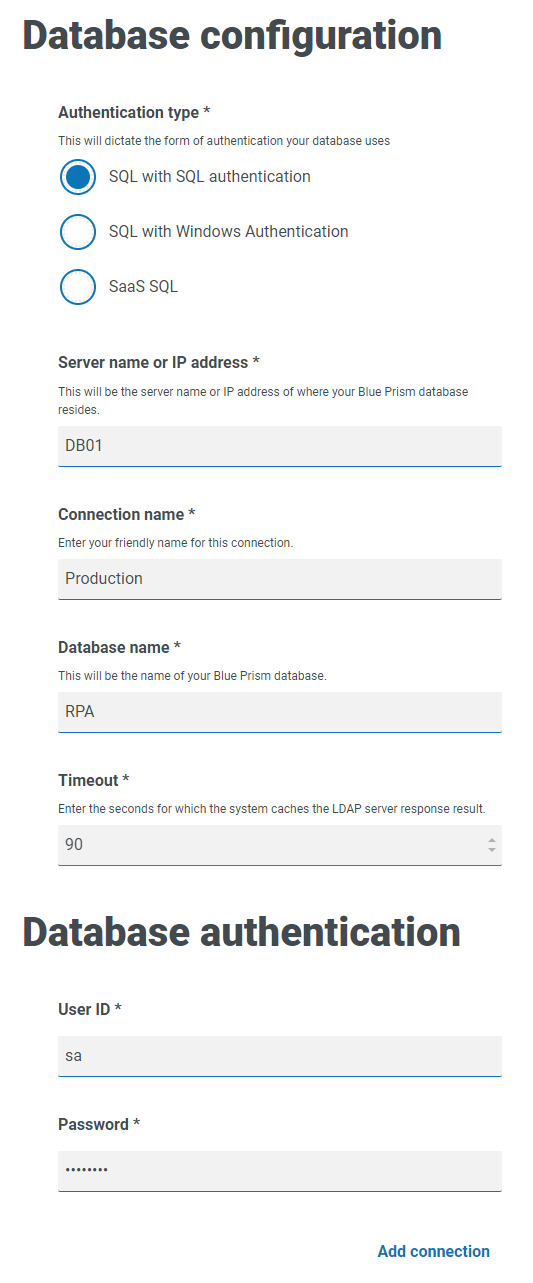
Click Add connection and enter the details of the Blue Prism database. An example is shown below:
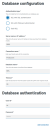
The Timeout value is in seconds.
-
Click Add connection to save the details.
The connection is created and displays in the Environment manager.
-
In the Environment manager, click the refresh icon on your new connection. This updates the information in Hub with the digital workforce and queues held in the database.
If the connection is successful, the following message displays in the top right corner of the Hub user interface, which verifies the installation.
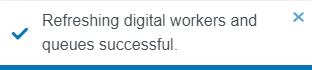
If the message does not display, see Troubleshoot a Hub installation for more information.

Create an administrator
You will need to create an administrator account with valid information to finish the Hub configuration. You should not use the generic admin account to complete the configuration, this is because:
- A real email address is needed in order to test the email configuration.
- For a complete audit trail, a named user should be used to make configuration changes, rather than the generic account.
To create a new administrator:
- Click your profile icon to open the Settings page, and then click Users.
-
On the Users page, click Add user.
The Create user section displays.

- Enter the following details:
- Username
- First name
- Last name
Email address
-
Select the Hub and Hub Administrator permissions.
-
Click Create user.
The Create password dialog displays.
-
Select Manually update the user’s password.
Passwords must obey the restrictions within Hub.
- Click Continue and follow the instructions on screen.
-
Finally, click Create to create the user.
The new user displays in the list of users.
-
Log out of Hub and log back in using your new account.

Email settings
It is recommended that the SMTP setup is completed. This enables system emails to be sent, such as forgotten password emails.
The email address used to send emails is configured when setting up your profile.
To configure the email settings, you must log in with the user you created in Create an administrator. This is because the configuration process sends a test email, and therefore requires a user with an active email address.
You can configure your email settings using one of the following authentication methods:
-
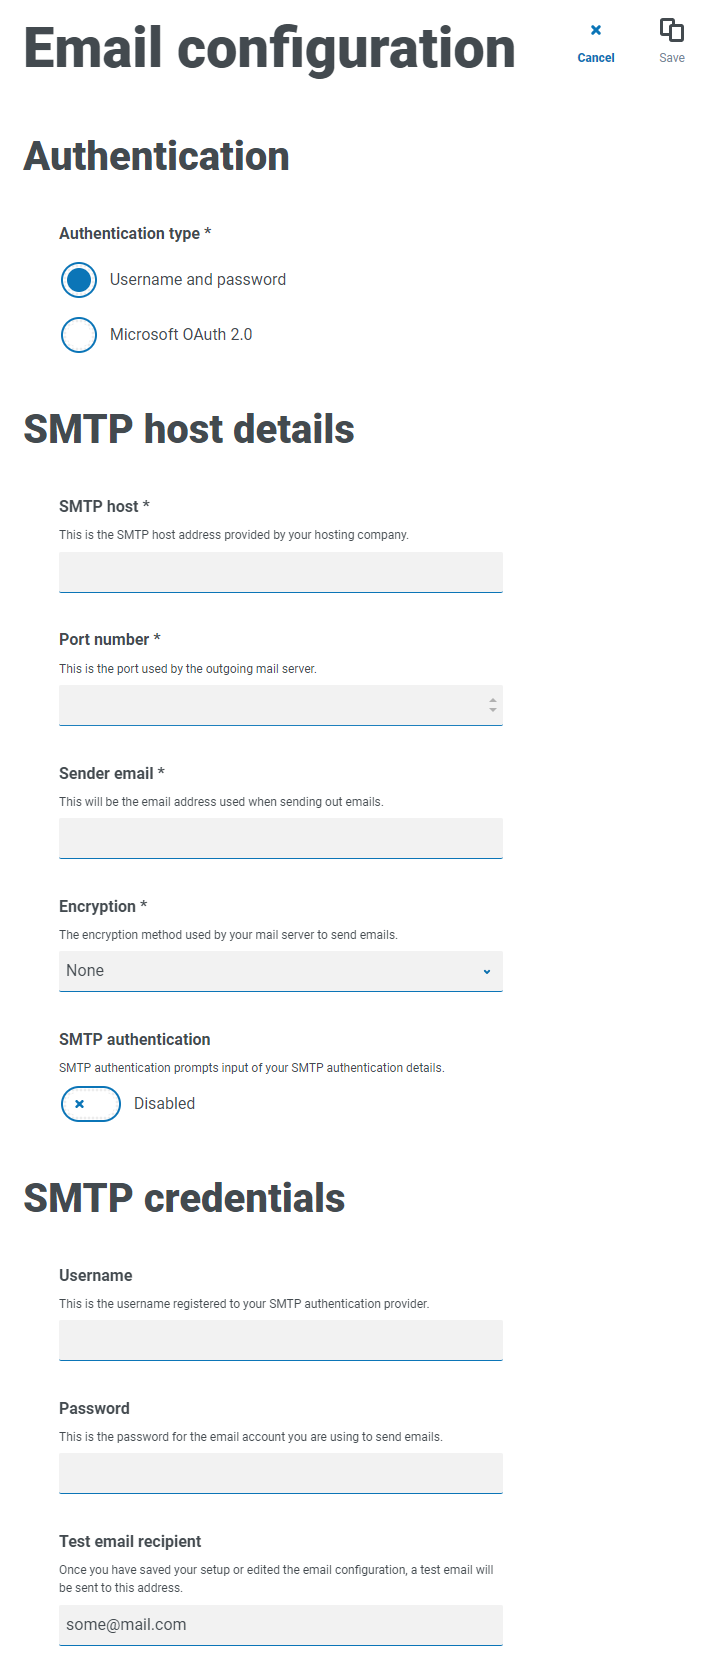
Username and password – This authentication method requires the following information:
-
SMTP host – The address of your SMTP host.
-
Port number – The port number used by the outgoing mail server.
-
Sender email – The email address that is used when sending emails. The email recipients will see this as the From address.
-
Encryption – The encryption method used by the email server to send the emails.
-
Username – The username for the SMTP authentication.
-
Password – The password for the account.
-
Test email recipient – The test email will be sent to this email address. This defaults to the email address of the user who is making the changes and cannot be changed.
-
-
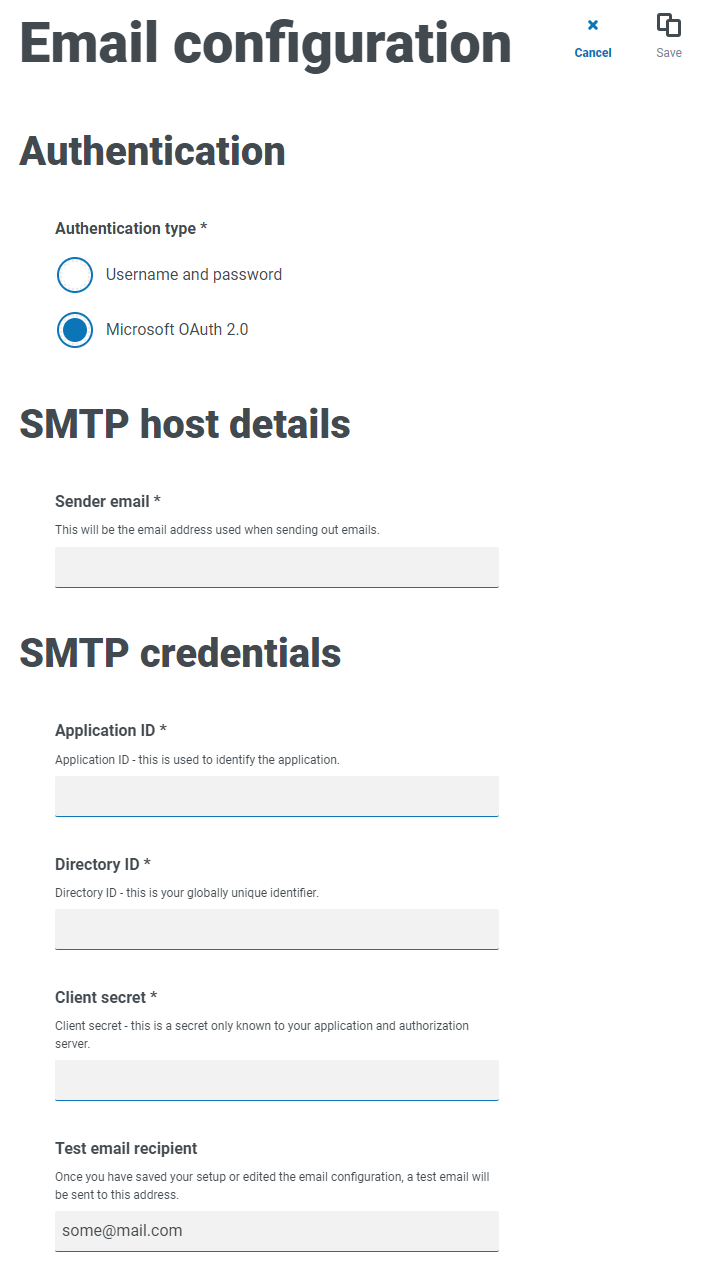
Microsoft OAuth 2.0 – This authentication method requires the following information:
-
Sender email – The email address that is used when sending emails. The email recipients will see this as the From address.
-
Application ID – This information is the Application (client) ID defined in Azure AD and will be provided to you by your IT Support team.
-
Directory ID – This information is Directory (tenant) ID defined in Azure AD and the will be provided to you by your IT Support team.
-
Client secret – This is the client secret as generated by Azure AD and will be provided to you by your IT Support team and controls the authentication process
For information about finding these details in Azure AD, see the Microsoft documentation.
-
Test email recipient – The test email will be sent to this email address. This defaults to the email address of the user who is making the changes and cannot be changed.
If you are using Microsoft OAuth 2.0, the Mail.Send permission in Azure Active Directory must be enabled. This is found in the API Permission tab under the application properties in Azure Active Directory. For more information, see Troubleshoot a Hub installation.
-
To configure the email settings:
- Click your profile icon to open the Settings page, and then click Email configuration.
- Click Edit.
-
Select the authentication type you want to use.
The fields on the page depend upon your selection as detailed above. If you select:
-
Username and password, the Email configuration page displays as follows:
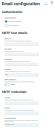
-
Microsoft OAuth 2.0, the Email configuration page displays as follows:
-
- Enter the required information.
- Click Save.
If the email settings cannot be successfully configured, it is likely that the Message Broker server cannot be reached
For more information about configuring email settings, see
Configure Authentication Server
|
Authentication Server enables users to log into Blue Prism, Hub, and Interact using the same credentials. Authentication Server is compatible with Blue Prism 7.0 and later. With Blue Prism 6If your organization is using Blue Prism 6:
With Blue Prism 7If your organization is using Blue Prism 7, you should consider whether your organization wants users to use the same account for the Blue Prism applications.
To watch the configuration steps, see our Configure Authentication Server video. |
|
Authentication settings
Blue Prism Hub comes with the ability to add Hub users and control their access. Additionally, if your organization wants to sync your users from Active Directory to enable them to use their existing credentials to log into Hub, you can do so using an LDAP connection configured using the Authentication settings page.
For more information about configuring an LDAP connection, see Authentication settings.
To configure the authentication settings:
-
Click your profile icon to open the Settings page, and then click Authentication settings.
The Authentication settings page displays.
-
Click Add new.
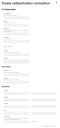
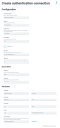
The Create authentication connection page displays.
-
Complete the Configuration fields:
-
Connection Name – A name that you want the connection to be known as.
-
Domain – The name of the domain you are connecting to, for example “bp”.
Do not use the fully qualified domain name (FQDN) of your domain. You must use the short name format.
-
LDAP Server – The hostname of the LDAP server, for example blueprism-srv1.local.
-
Port Number – The port number it operates on, by default this is port 389.
-
Encrypt port – Select this option if you want to encrypt the port. If you use port 636 (the LDAPS port), you should turn on this option.
-
Base DN – The starting point within the Active Directory where the system begins to look for users, for example dc=blueprism, dc=local.
-
-
Complete the Query Bind fields:
- Time Out – The timeout period in seconds that the system will wait to get a response from the Active Directory server.
- Query Bind Username – An Active Directory user that has access to the organization’s LDAP system.
- Query Bind Password – The password for the Active Directory user.
-
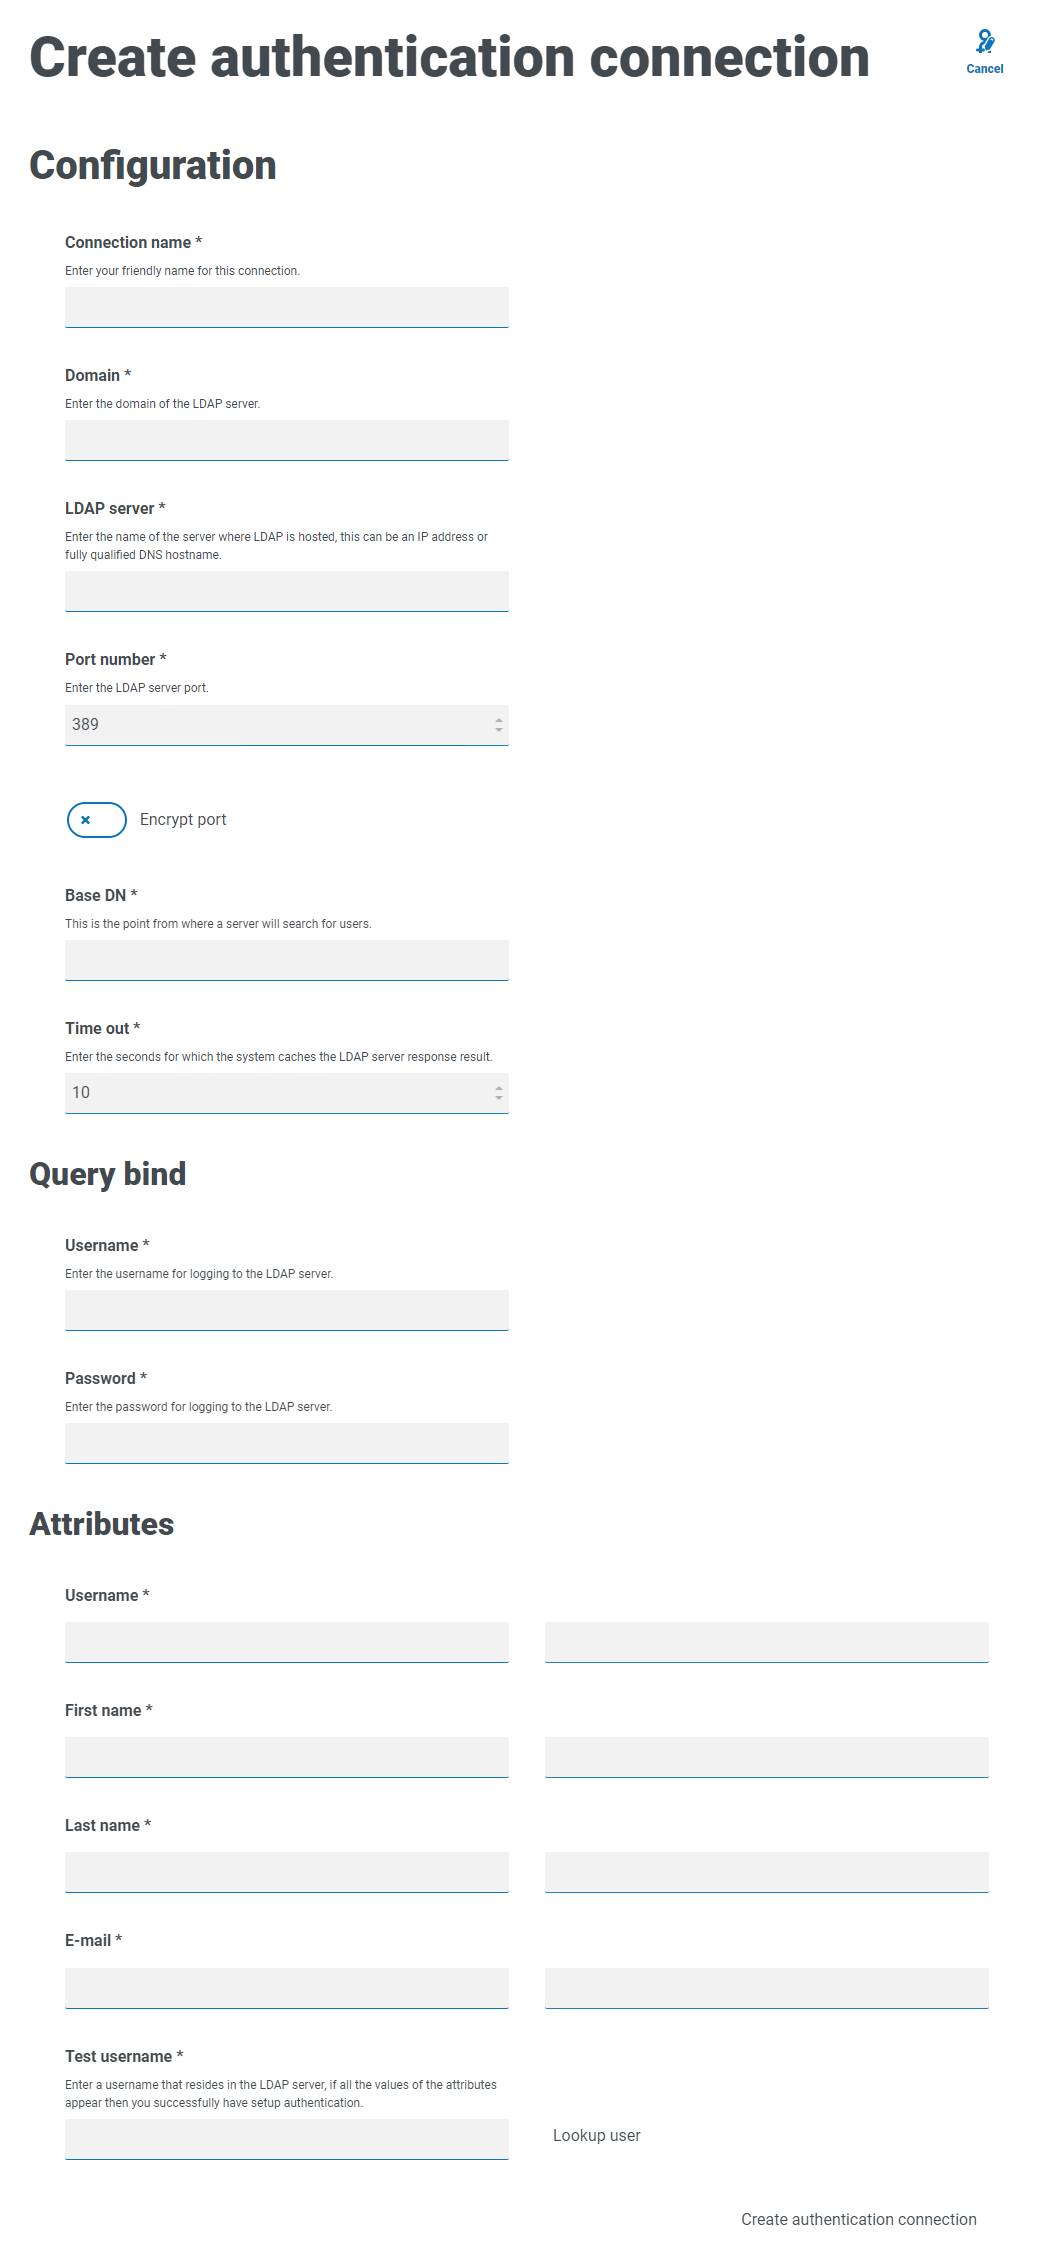
Complete the Attributes fields. The purpose of this section it to map the Active Directory attributes to the Hub fields. The text entered in these fields must match named attributes within the user profile in Active Directory. You can use the Active Directory Users and Computers (ADUC) tool to find the user attributes by selecting a user and then clicking the Attribute Editor tab to view the mapping of attributes to values.
- Username – The Active Directory attribute name for the username, for example, ‘SAMAccountName’.
- First Name – The Active Directory attribute name for the user's first name, for example, ‘givenname’.
- Last Name – The Active Directory attribute name for the user's last name, for example, ‘sn’.
- E-mail – The Active Directory attribute name for the user's email, for example, ‘mail’.
-
To test that everything is set up correctly, enter the username in the Test Username field and click Lookup User. The text entered in the Test Username field must match the text format of the Active Directory Attribute. For example, if the username is set to:
- ‘SAMAccountName’, then the test data is likely to be in the format domain\user.
- ‘name’, then the test data is likely to be in the format user.
The associated information will be retrieved and populated in the corresponding Attributes fields
-
Click Create authentication connection.
A notification message displays confirming the connection is successful and you are prompted to import users.
-
Click Yes to synchronize now. Alternatively, you can select No and synchronize later.
A message displays indicating the number of users found.
When importing a large number of users (for example, tens of thousands), the database transaction log files for the databases AuthenticationServerDB, HubDB and InteractDB will increase in size. If the size of the transaction log file of any of these three database is restricted by either a maximum file size that is too small or the file is not permitted to increase in size, the import may fail. It is therefore recommended that you enable the autogrow setting for the database transaction log files and set the growth setting to 1024 MB, whilst ensuring a sufficient maximum size is set to prevent the import from failing. For more information on autogrowth, see Microsoft's documentation.
-
Click Proceed.
A list of users display. These have not yet been imported to Hub as you need to configure the permissions and roles for the required users.
-
Select a user to import and assign the appropriate Hub roles and/or any Interact responsibilities.
If you configure a user to have a Hub Administrator role, they will have access to all the plugins and features of Hub, including the ability to create new Database and LDAP connections and other security features so it is important to assign this role with care.
-
Repeat for all required users.
-
Click Save access and roles.
Only the users that have had their roles and permissions defined are saved and the Users page displays with the new users shown.
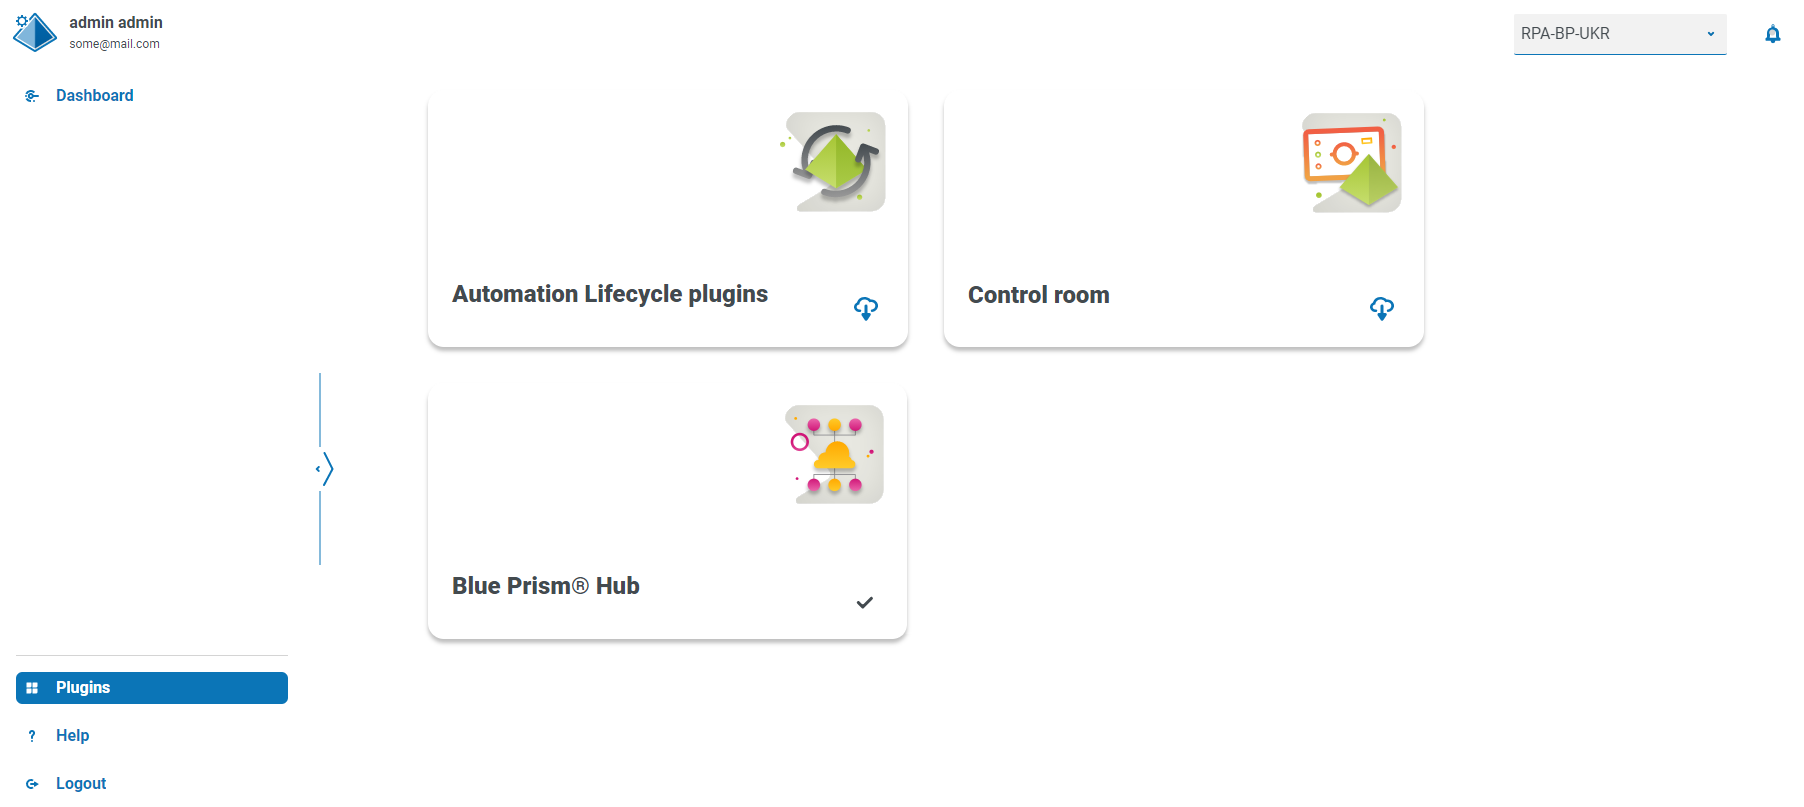
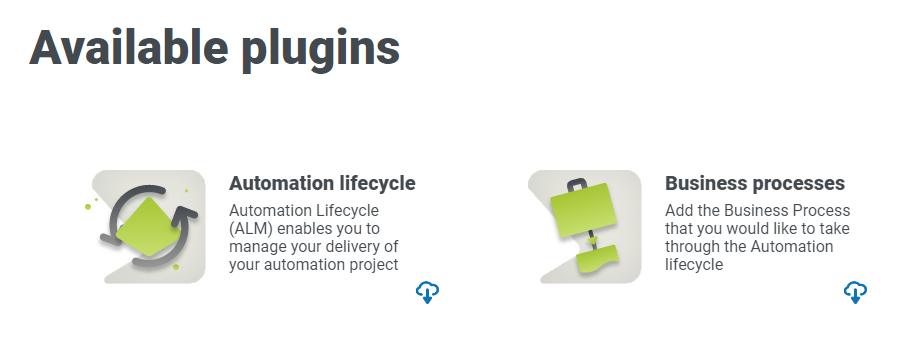
Install Plugins
|
As part of the installation, Hub automatically installs the Hub plugins. However, if you want to use ALM or Interact, you will need to install the freely available Business processes plugin first. To watch this installation step, see our Business Processes plugin installation video.
|
|