 Docs
DocsAuthentication settings
To open the Authentication settings page, click your profile icon to open the Settings page, and then click Authentication settings.
The
-
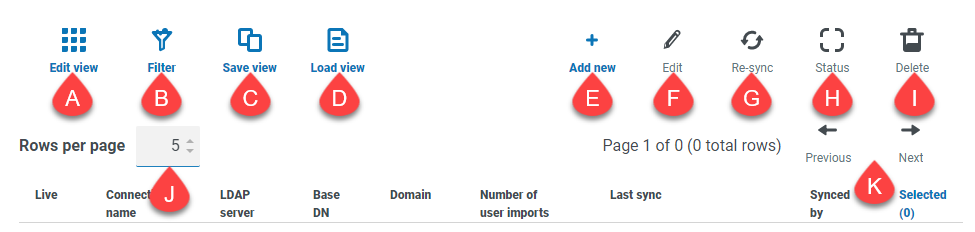
Edit view – Define the columns that are displayed. You can then show or hide the columns using the toggle switches.
- Filter – Filter the information that is displayed. You can turn on the required filters and enter or select the appropriate information for display, for example, you could turn on the Domain filter and enter the domain name.
-
Save view – Save your current column settings. You can enter a name for your view to make it easily identifiable when loading views.
-
Load view – Load a saved view. You can select the required view and click Apply.
- Add new – Add a new connection.
- Edit – Edit the selected connection details.
- Re-sync – Re-sync the users with Hub. You need to do this if new users are added to Active Directory.
-
Status – This icon changes when you select a connection based on the status of the connection.
- Delete – Delete the selected connection. You can only delete a retired connection.
-
Rows per page – Enter a number, or use the up and down arrows, to change the number of rows seen on a page.
- Previous and Next – Click Previous or Next to move through the pages.
Add a new connection
If you add more than one LDAP connection into Hub which contain the same users (such as name, email address, and domain), duplicate users will be created which could lead to login issues. When synchronizing the users in the procedure described below, ensure that you only select the users that you require to prevent duplicate users from being imported.
-
On the
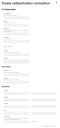
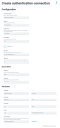
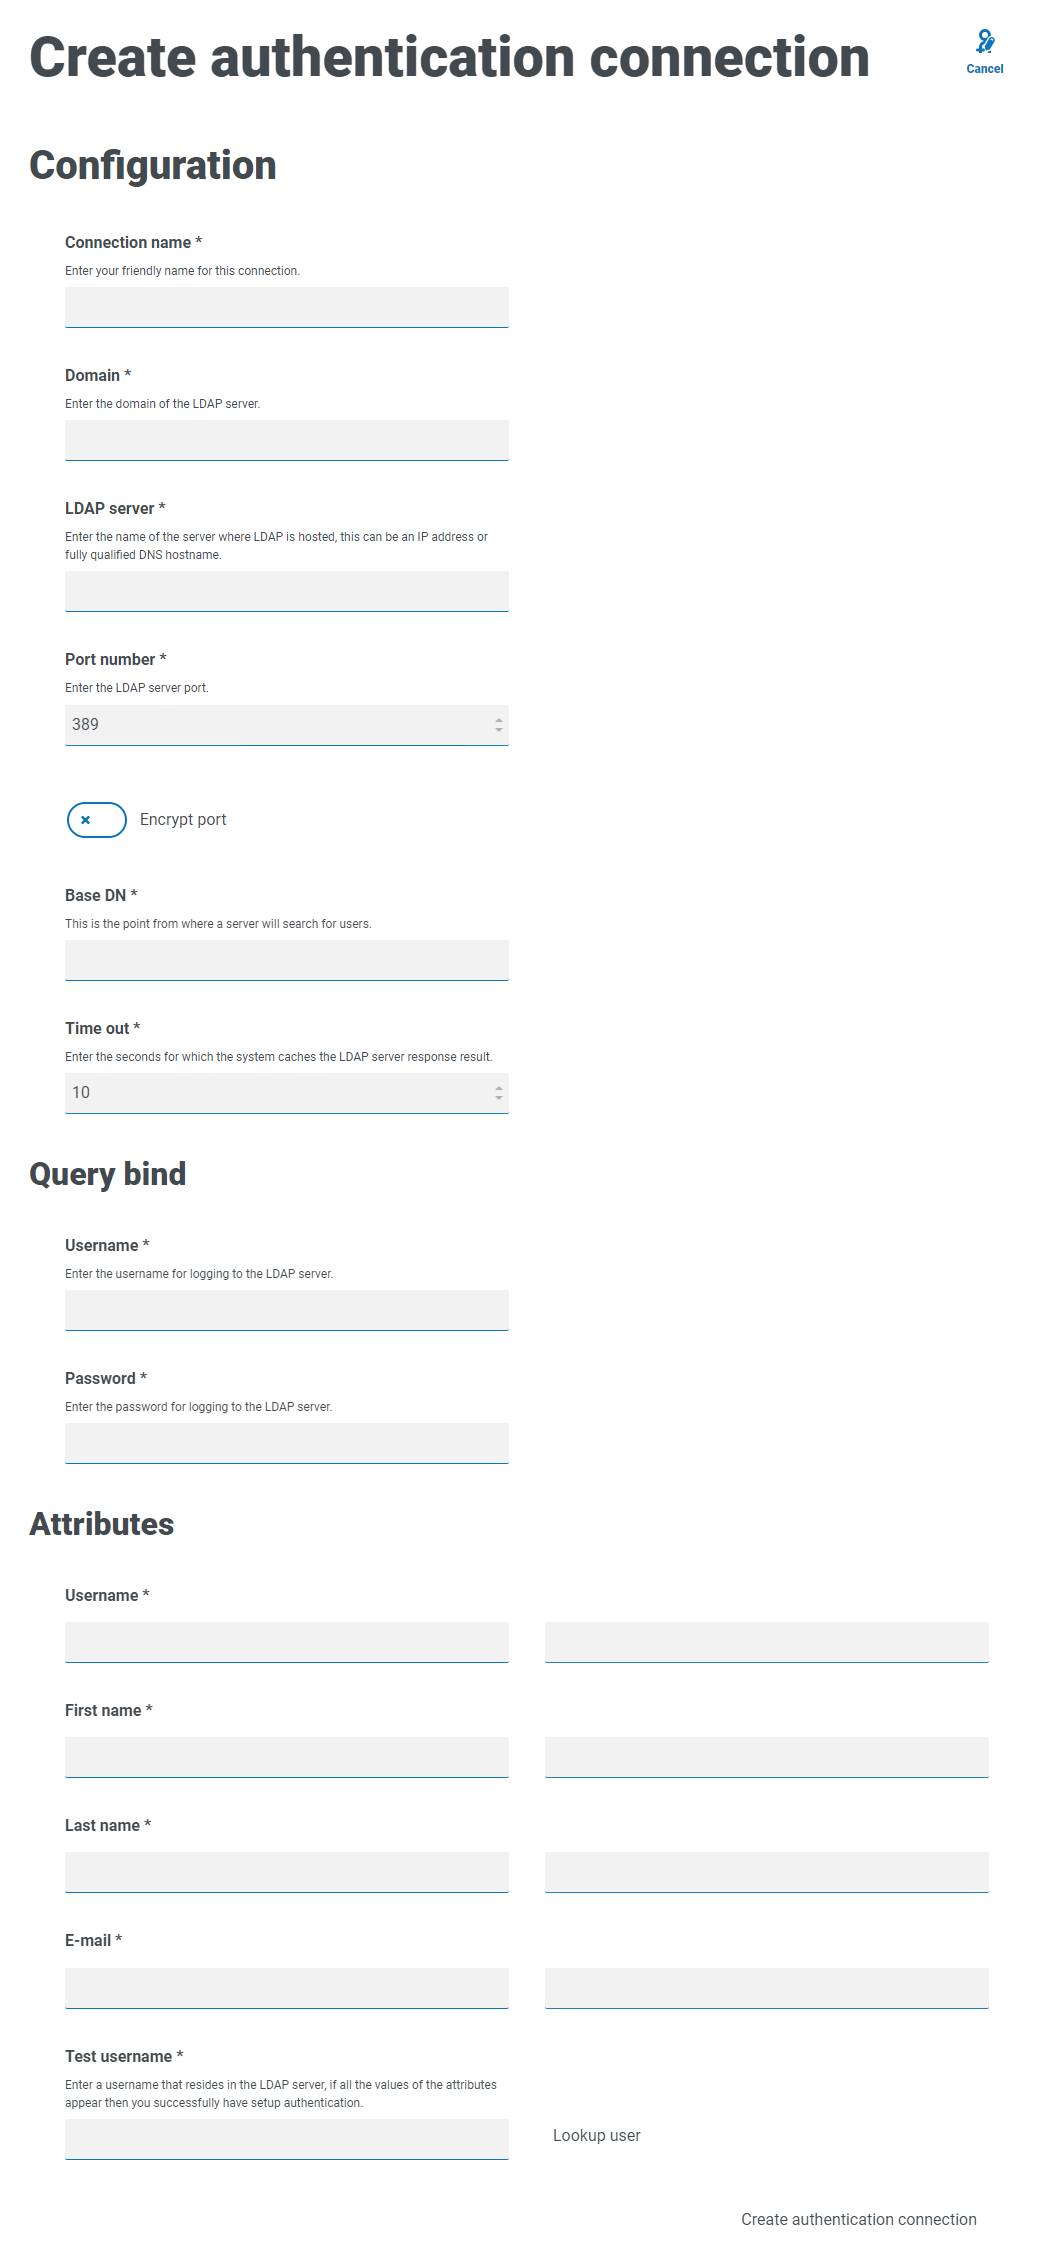
The Create authentication connection page displays.
-
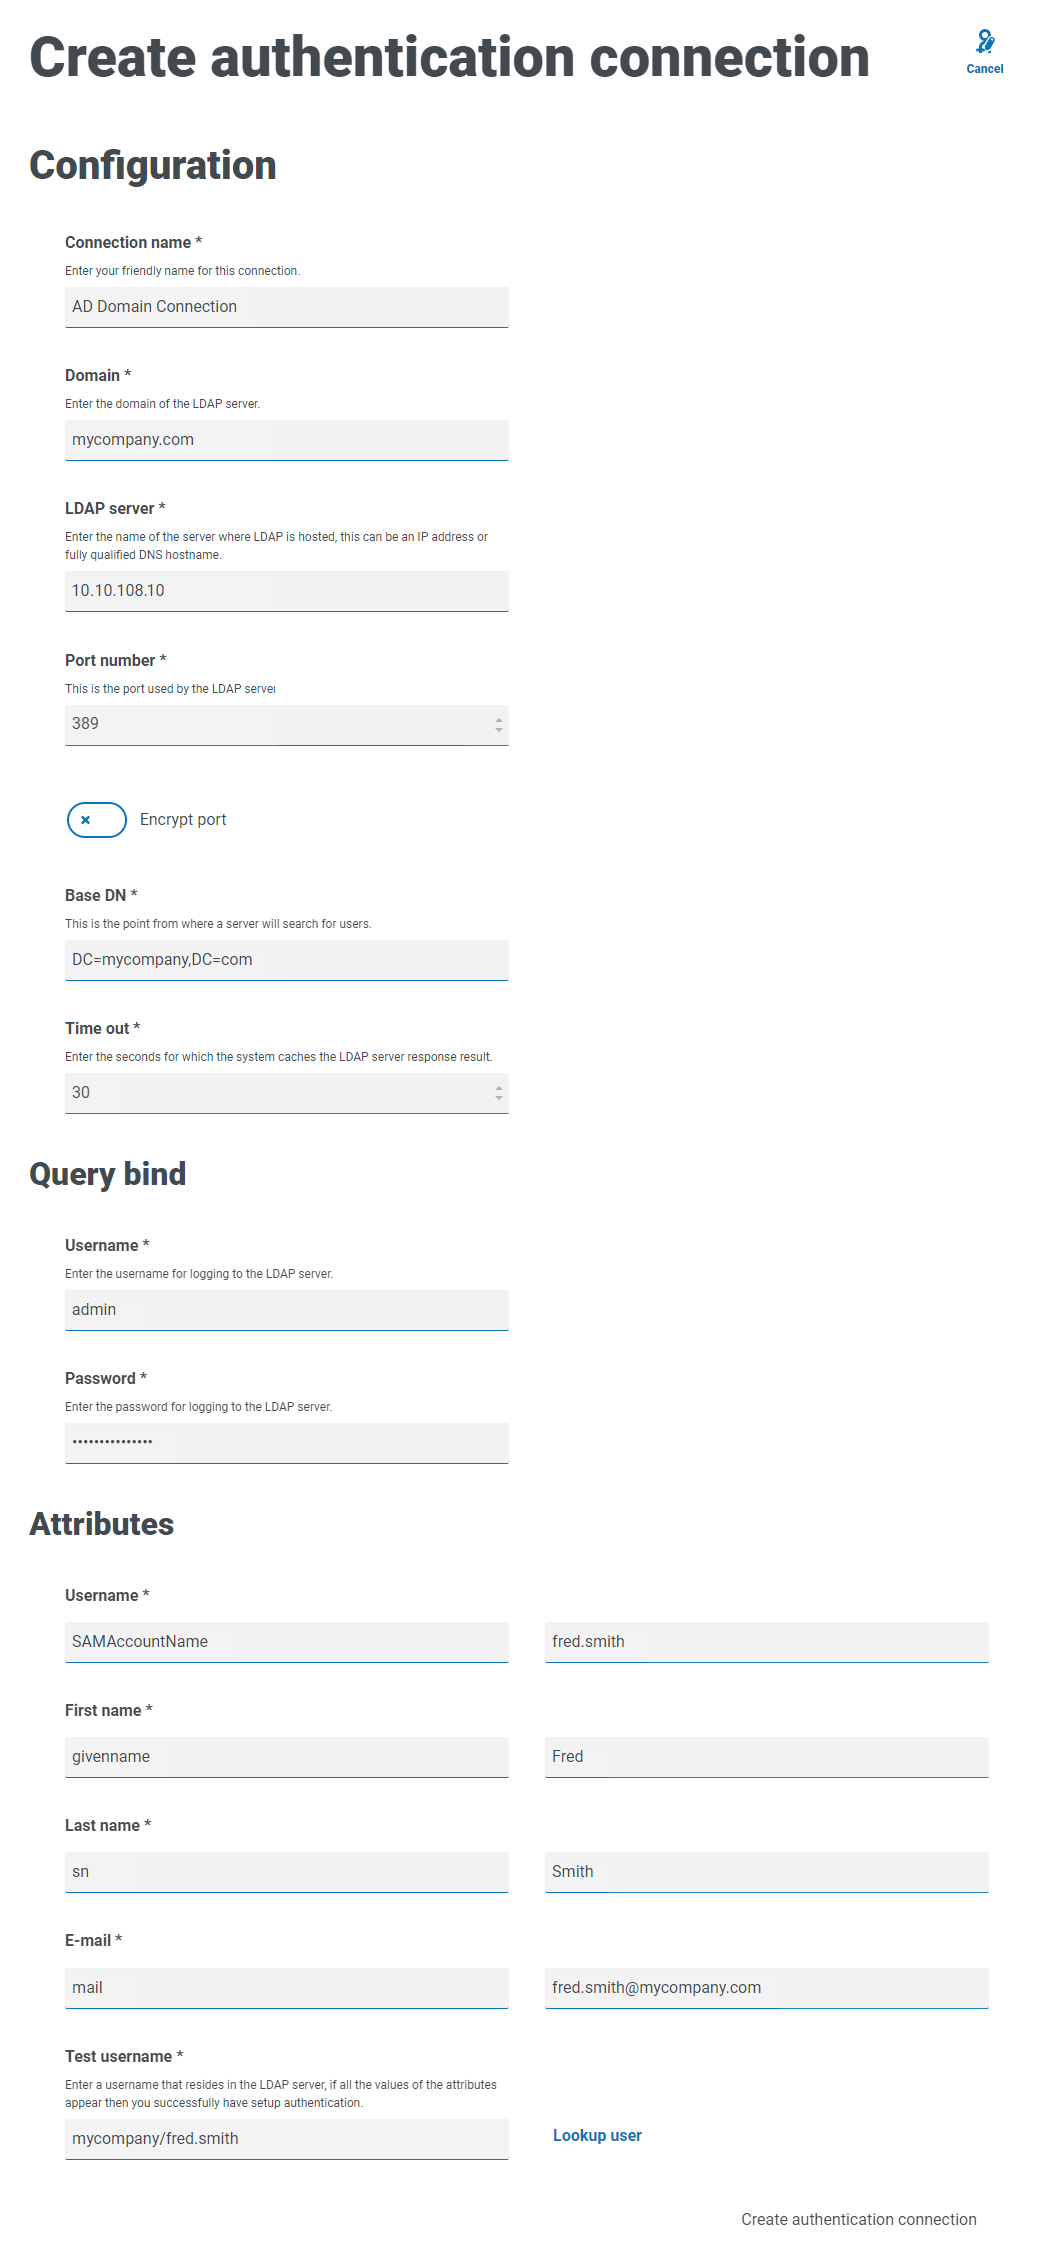
Complete the Configuration fields:
-
Connection Name – A name that you want the connection to be known as.
-
Domain – The name of the domain you are connecting to, for example “bp”.
Do not use the fully qualified domain name (FQDN) of your domain. You must use the short name format.
-
LDAP Server – The hostname of the LDAP server, for example blueprism-srv1.local.
-
Port Number – The port number it operates on, by default this is port 389.
-
Encrypt port – Select this option if you want to encrypt the port. If you use port 636 (the LDAPS port), you should turn on this option.
-
Base DN – The starting point within the Active Directory where the system begins to look for users, for example dc=blueprism, dc=local.
-
-
Complete the Query Bind fields:
- Time Out – The timeout period in seconds that the system will wait to get a response from the Active Directory server.
- Query Bind Username – An Active Directory user that has access to the organization’s LDAP system.
- Query Bind Password – The password for the Active Directory user.
-
Complete the Attributes fields. The purpose of this section it to map the Active Directory attributes to the Hub fields. The text entered in these fields must match named attributes within the user profile in Active Directory. You can use the Active Directory Users and Computers (ADUC) tool to find the user attributes by selecting a user and then clicking the Attribute Editor tab to view the mapping of attributes to values.
- Username – The Active Directory attribute name for the username, for example, ‘SAMAccountName’.
- First Name – The Active Directory attribute name for the user's first name, for example, ‘givenname’.
- Last Name – The Active Directory attribute name for the user's last name, for example, ‘sn’.
- E-mail – The Active Directory attribute name for the user's email, for example, ‘mail’.
-
To test that everything is set up correctly, enter the username in the Test Username field and click Lookup User. The text entered in the Test Username field must match the text format of the Active Directory Attribute. For example, if the username is set to:
- ‘SAMAccountName’, then the test data is likely to be in the format domain\user.
- ‘name’, then the test data is likely to be in the format user.
The associated information will be retrieved and populated in the corresponding Attributes fields
-
Click Create authentication connection.
A notification message displays confirming the connection is successful and you are prompted to import users.
-
Click Yes to synchronize now. Alternatively, you can select No and synchronize later using the process in Synchronize Active Directory users.
A message displays indicating the number of users found.
When importing a large number of users (for example, tens of thousands), the database transaction log files for the databases AuthenticationServerDB, HubDB and InteractDB will increase in size. If the size of the transaction log file of any of these three database is restricted by either a maximum file size that is too small or the file is not permitted to increase in size, the import may fail. It is therefore recommended that you enable the autogrow setting for the database transaction log files and set the growth setting to 1024 MB, whilst ensuring a sufficient maximum size is set to prevent the import from failing. For more information on autogrowth, see Microsoft's documentation.
-
Click Proceed.
A list of users display. These have not yet been imported to Hub as you need to configure the permissions and roles for the required users.
-
Select a user to import and assign the appropriate Hub roles and/or any Interact responsibilities.
If you configure a user to have a Hub Administrator role, they will have access to all the plugins and features of Hub, including the ability to create new Database and LDAP connections and other security features so it is important to assign this role with care.
-
Repeat for all required users.
-
Click Save access and roles.
Only the users that have had their roles and permissions defined are saved and the Users page displays with the new users shown.
Edit a connection
- On the Authentication settings page, select the check box for the required connection.
- Click Edit.
- Edit the information as required. You can not change the domain, LDAP server, port number or base DN.
- Click Save.
Synchronize Active Directory users
When importing a large number of users (for example, tens of thousands), the database transaction log files for the databases AuthenticationServerDB, HubDB and InteractDB will increase in size. If the size of the transaction log file of any of these three database is restricted by either a maximum file size that is too small or the file is not permitted to increase in size, the import may fail. It is therefore recommended that you enable the autogrow setting for the database transaction log files and set the growth setting to 1024 MB, whilst ensuring a sufficient maximum size is set to prevent the import from failing. For more information on autogrowth, see Microsoft's documentation.
When additional users are added to Active Directory, those users must be synchronized with Hub.
- On the Authentication settings page, select the check box for the required connection.
-
Click Re-Sync.
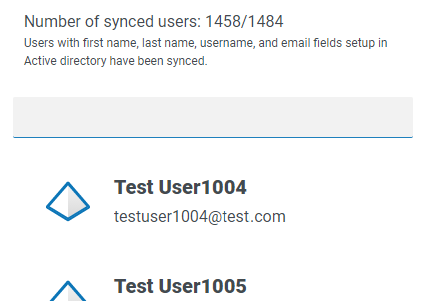
A message displays above the list of users showing the number of synced users (those with valid information in Active Directory – first name, last name username and email) against the total number of users found. Only synced users are displayed in the list. You will need to configure the permissions and roles for the required users.
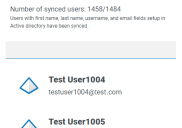
For more information about the Active Directory Attributes that supply Hub with the first name, last name username and email, see Add a new connection. Hub will only sync users which have information in all the mapped attributes.
- Select the required user to add to the Hub user base, assigning the appropriate Hub roles and/or any Interact responsibilities.
- Repeat for all required users.
-
Click Save access and roles.
Only the users that have had their roles and permissions defined are saved and the Users page displays with the new users shown.
Retire and reinstate a connection
Retiring a connection does not affect the status of the associated users – users can still log in and use the applications. All users associated with an LDAP connection can be retired by deleting the connection.
-
On the Authentication settings page, select the check box for the required connection.
If the connection is:
- Live, the Status icon displays as Retire.
- Retired, the Status icon displays as Make Live.
- To retire a connection:
Click Retire.
A message displays asking you to confirm.
Click Yes.
The connection is retired and Retire changes to Make Live.
-
To make a retired connection live, click Make Live.
The connection is instantly reinstated and Make Live changes to Retire.
You can use the Live filter to filter the list for retired connections.
Delete a connection
You can only delete a retired connection.
- On the Authentication settings page, select the check box for the required connection.
-
Click Delete.
A message displays asking you to confirm.
-
Click Yes.
The connection is deleted and all users associated with it are retired.
Use the filters
The filters enable you to easily find a specific connection or similar connections based on the selected criteria.
- On the
-
Use the toggle to turn on the required filter and complete the information to find the required connection. You can apply multiple filters at the same time.
The available filters are:
Filter
Description
Live
Select the status of the connection from the following options:
- Live – Displays the active connections; those that have not been retired.
- Retired – Displays the connections that have been retired by an administrator.
Connection name
Enter the full or partial name of a connection.
LDAP Server
Enter the hostname of the server, or part of the server hostname.
Base DN
Enter the Base DN, or part of the Base DN to match against.
Domain
Enter the full or partial name of a domain.
Number of user imports
Enter a numerical range:
- In the first field, enter the lowest number of imports.
- In the second field, enter the highest number of imports.
This displays any connections that have imported users within that range.
Last sync
Enter a date range:
- In the first field, select the earliest date.
- In the second field, select the latest date.
- If required, adjust the time fields. By default, the earlier date has the time 00:00:00 and the later date has the time 23:59:59, thereby including the full day.
This displays any connections that have synced during this time frame.
Synced by
Enter a user's username, or part of their username.
If you have entered part of a username, the results display for all partial matches. These may be for other users as well as the one you intended.
The information on the
If you have set the filters but want to view the unfiltered information again, either turn off the required filters, or remove any settings within the filter so that it is blank.
- Click Close drawer to close the filter panel.
