Docs
DocsInstall Blue Prism Interact
|
The steps below detail the process for installing the Blue Prism Interact software. This assumes that Blue Prism Hub has been installed which includes the Download and run the Blue Prism Interact installer, available from the Blue Prism Portal, and progress through the installer as shown below. The installer must be run with administrator rights. To watch the Interact installation and configuration process, see our Blue Prism Interact installation video. |
|
|
Step |
Installer page |
Details |
|---|---|---|
|
1 |
|
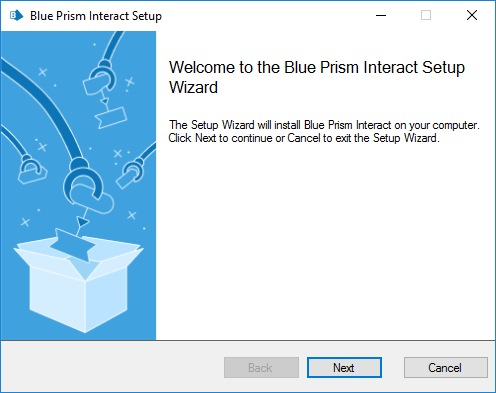
Welcome Click Next. |
|
2 |
|
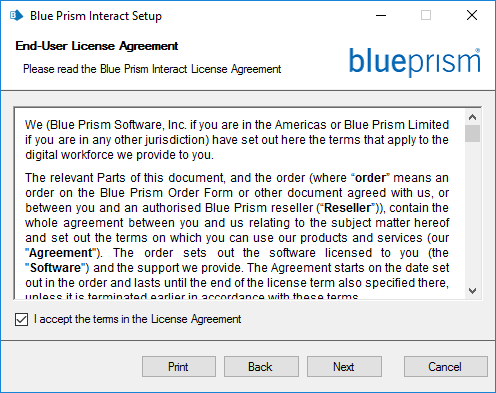
License agreement Read the End-User License Agreement and if you agree to the terms, select the check box. |
|
3 |
|
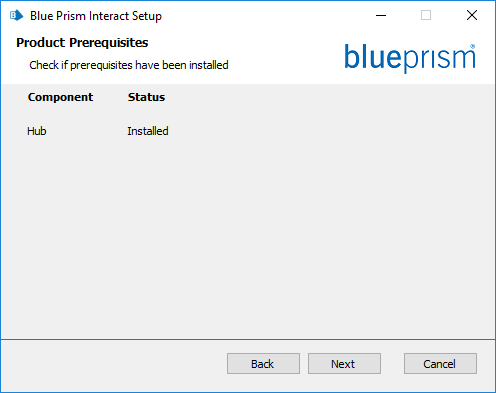
Product prerequisites The installer checks that the prerequisites have been installed. If the installer finds any prerequisites missing these will be notified to you. Otherwise, continue with the installation. You cannot proceed unless all prerequisites have been installed. |
|
4 |
|
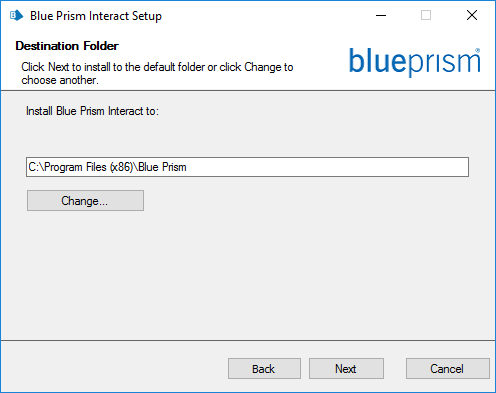
Destination folder Specify the required installation folder. The default location is C:\Program Files (x86)\Blue Prism, but you can choose your own using the Change button. |
|
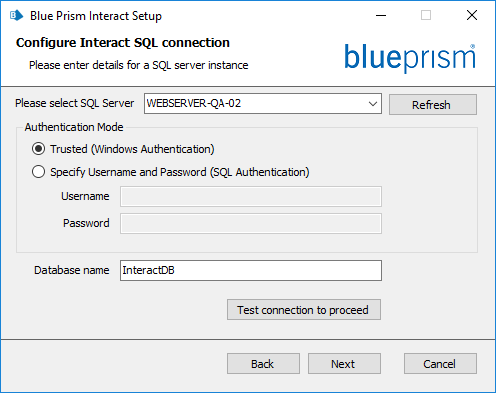
5 |
|
Configure Interact SQL configuration Configure the settings for the Interact Database by providing the SQL Server host name or IP address, and the credentials for the account to create the database:
Click Test connection to proceed |
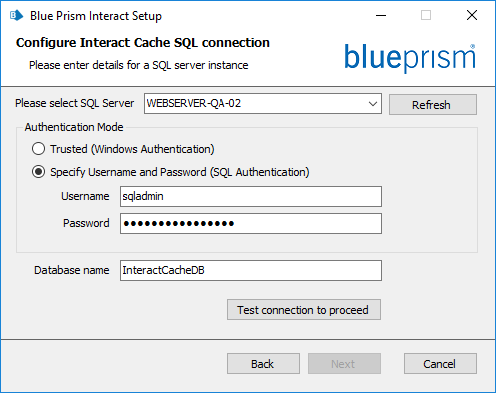
|
6 |
|
Configure Interact Cache SQL configuration Configure the settings for the Interact Cache Database by providing the SQL Server host name or IP address, and the credentials for the account to create the database:
The database name can be left as the default value or changed as required. Click Test connection to proceed |
|
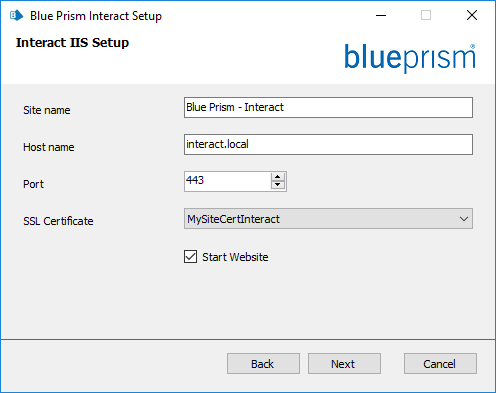
7 |
|
Interact IIS setup Configure the Interact website.
|
|
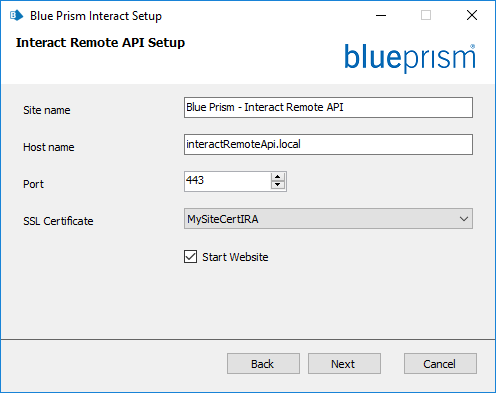
8 |
|
Interact Remote API setup
|
|
9 |
|
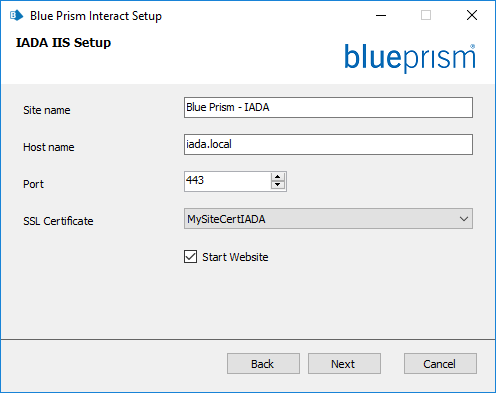
IADA IIS setup
|
|
10 |
|
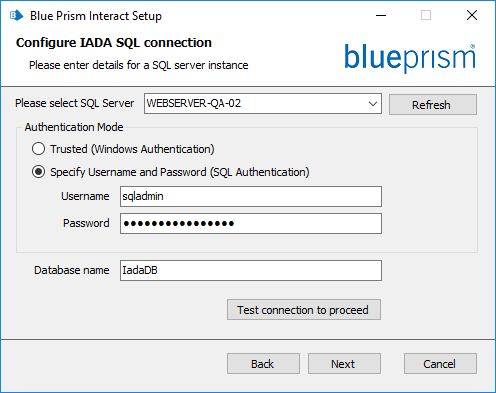
Configure IADA SQL configuration Configure the settings for IADA by providing the SQL Server host name or IP address, and the credentials for the account to create the database:
The database name can be left as the default value or changed as required. Click Test connection to proceed |
|
11 |
|
Ready for Installation Click Next to install Interact. |
|
12 |
|
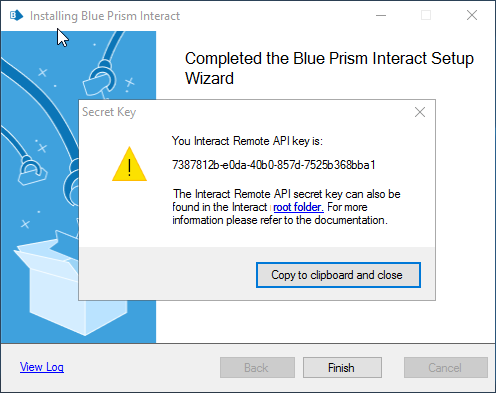
Installation complete When the installation completes successfully, the Interact Remote API secret key displays and you can copy it to your clipboard. This key is used to set up the Interact APIs in Blue Prism. The key is also stored in the installation root directory, for example, in C:\Program Files (x86)\Blue Prism\Interact Remote API secret key.txt. It is recommended that you back up the Interact Remote API secret key file. If the installation fails, the View Log option gives details of the error that was encountered. For more information, see Troubleshooting an installation. Click Finish. |