 Docs
DocsUsers
The Users page displays a list of existing users. You can click on a user to view their information. If only native authentication has been configured in your environment, the Authentication type field is hidden.
To open the Users page, click your profile icon to open the Settings page, and then click Users.
Find users
The Users page includes two methods for finding users:
- Search
- Filters – The filters enable you to easily find a specific user or types of users based on the selected criteria. Click Filter to view and use the filters.
Add users
-
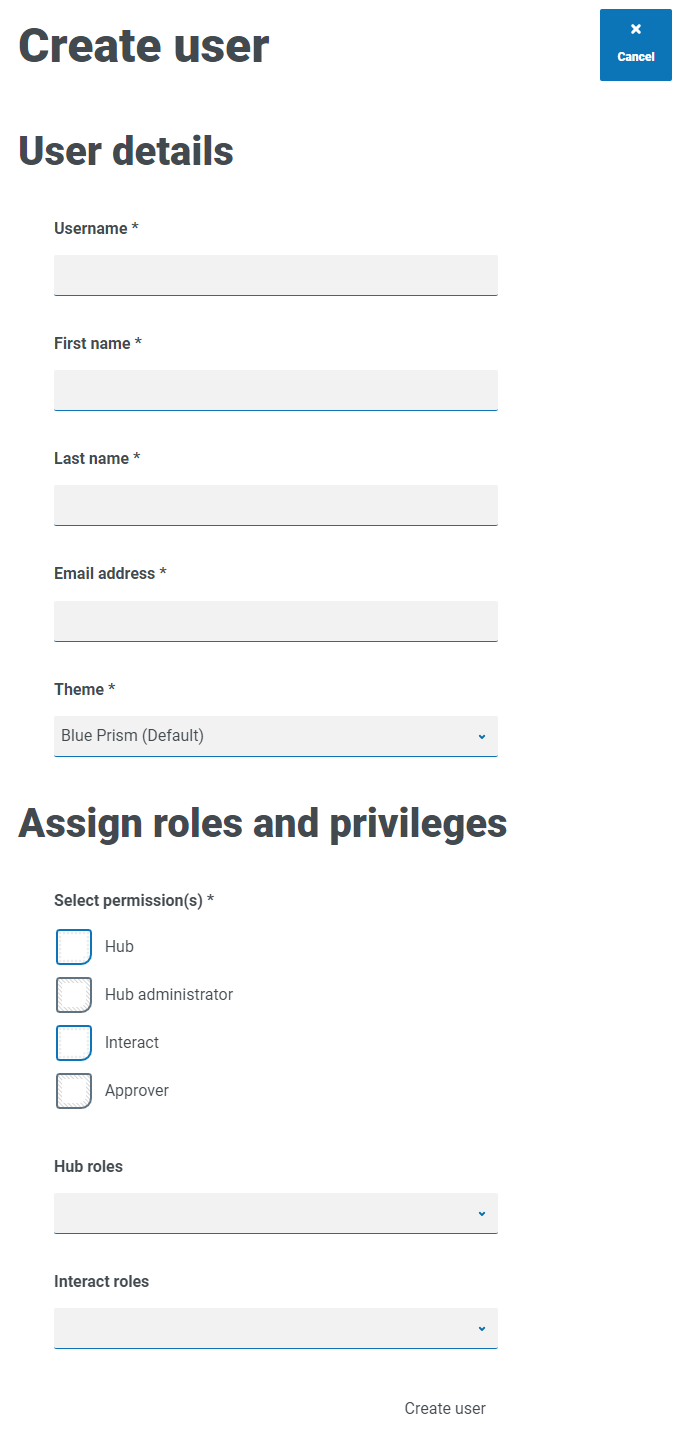
On the Users page, click Add user.
The Create user section displays.

- Enter the user's details:
- Username
- First name
- Last name
- Email address
- Theme – The default theme is automatically selected. You can select a different theme for the user. See Customization for more information about themes.
-
Select the permissions for the user:
- Hub – Select this check box for standard Hub users and administrators.
- Hub administrator – Select this check box to give administrator permissions to the user role. You must select Hub before this option becomes available.
- Interact – Select this check box to enable the user to be assigned Interact Forms. See the
- Approver – Select this check box to give approval rights for Interact to the user role. You must select Interact before this option becomes available.
-
Select the roles for the user:
-
Hub roles – Select the Hub roles required for the user. If the required role has not yet been created, you can edit the user at a later date to assign new roles.
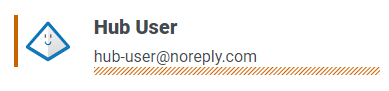
If the user is created without a Hub role, the user is underlined in the user list to indicate that the user setup has not been completed, for example:

The user will be able to log in to Hub, but they will not be able to perform any tasks as they will not have access to any plugins.
- Interact roles – Select the Interact roles required for the user. If the required role has not yet been created, you can edit the user at a later date to assign new roles. You can select more than one role.
Users can also be added to roles from the Roles and Permissions page.
-
-
Click Create user.
The Create password dialog displays.
-
Select one of the password options:
- Send the user a password update email – This sends the user an email prompting them to enter a password on login using a link.
- Manually update the user’s password – This enables you to set a password for the user.
Passwords must obey the restrictions within Hub.
- Click Continue
-
Finally, click Create to create the user.
The new user displays in the list of users.
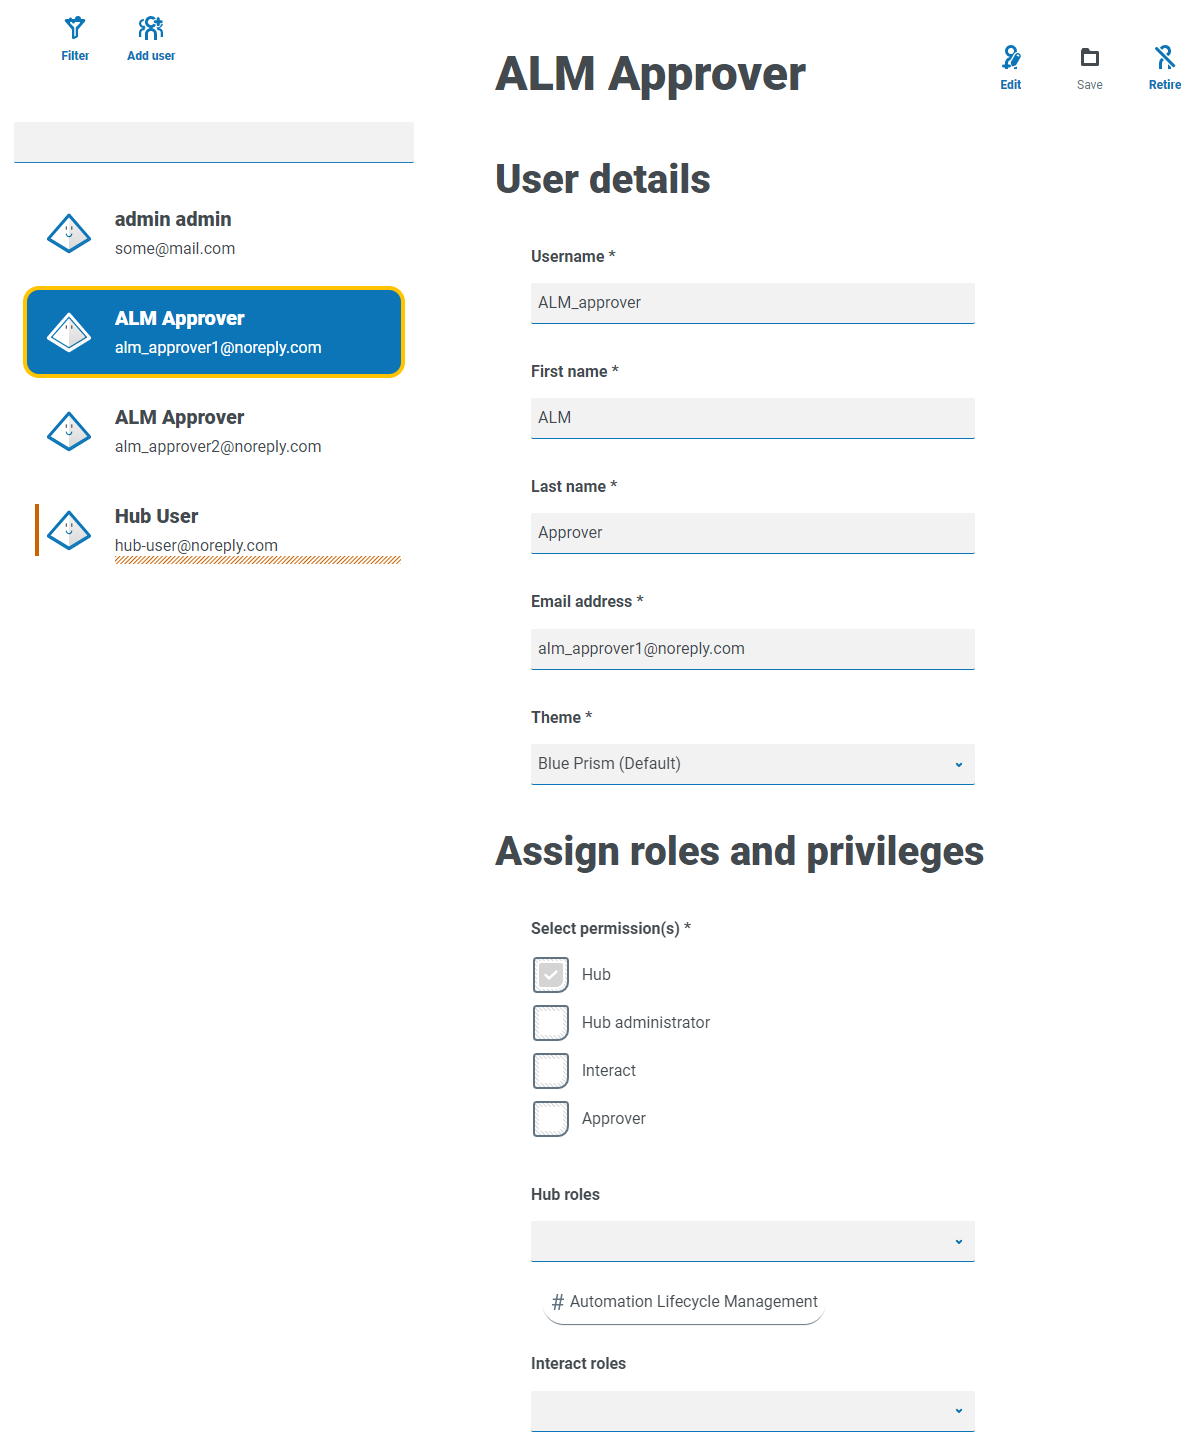
Edit users
- On the Users page, select the required user and click Edit.
-
Change the information as required.
You cannot change their username.
-
Click Save to apply your changes.
Retire users
-
On the Users page, select the required user and click Retire.
A message displays asking you to confirm.
You can use the Live filter to filter the user list for retired users. See Find users.
-
Click Yes.
The user is retired and the Retire icon is replaced with the Make live icon. You can use this to reinstate the user if required. The user is also underlined in the user list to indicate they are retired.
Unlock users
If a user enters their password incorrectly five times, they will be locked out of the system for three hours. Alternatively, you can unlock their account for them.
-
On the Users page, select the required user and click Unlock.
A notification message displays confirming the user has been successfully unlocked.
You can use the Locked filter to filter the user list for locked users. See Find users.
