Docs
DocsInstall Decipher IDP components
Before installing the
The following components are required to complete the Decipher IDP installation and steps below and must be installed in this order:
If you have already installed the beta version of Decipher IDP, you will need to use Windows Add/Remove Programs to remove all of the (beta) Decipher components from all devices, before installing this release. To avoid any issues, please then follow these installation instructions when re-installing Decipher IDP.
You can download these files from the Decipher IDP product page of our customer portal. You can see the component versions for each release in the
Depending on your current system setup you may need to restart your computer following installation before Decipher IDP can be used.
Install Decipher Licensing Service
RabbitMQ is installed using a default username and password. These credentials are then automatically populated during the installation of the Decipher licensing service. If you do not want to use the default RabbitMQ credentials, you will need to amend them before installing Decipher licensing service and enter the new credentials during installation.
For multi-device installations, this needs to be installed on the Decipher Licensing Service.
- Run the Decipher Licensing Service installer.
- Click through the install wizard, following the on-screen instructions as prompted.
-
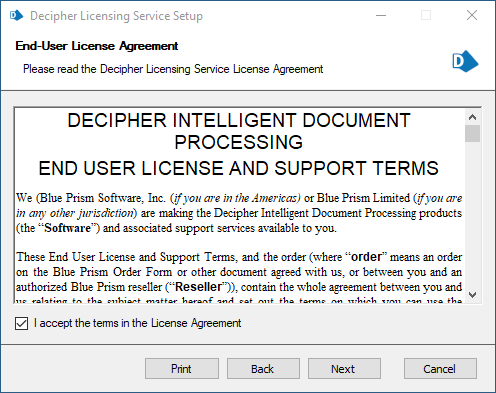
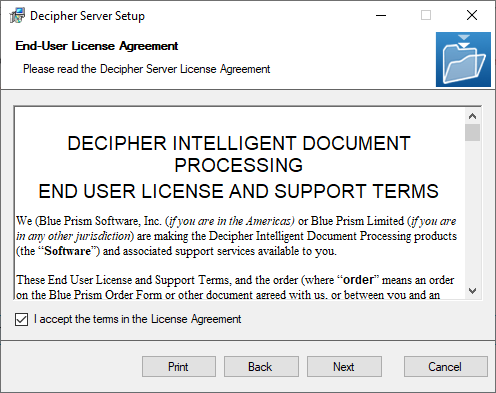
On the End-User License Agreement screen, read the license agreement and select I accept the terms in the License Agreement, if you accept these terms.
-
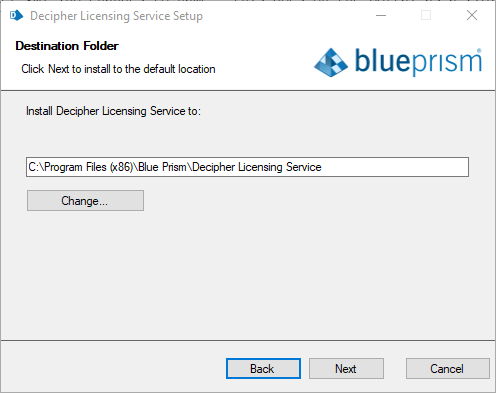
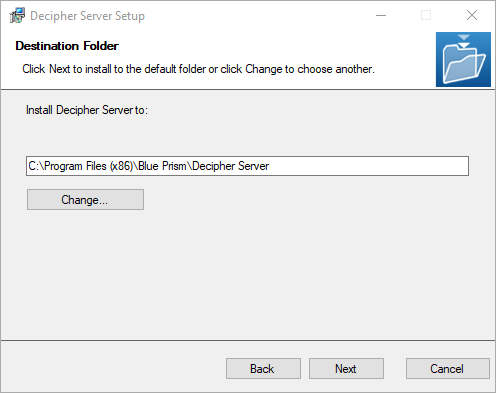
On the Destination Folder screen, click Next to accept the default location for Decipher Licensing Service or click Change to specify a different location.

-
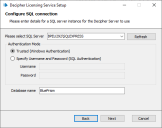
On the Configure SQL connection screen:
- Ensure the correct SQL server is specified.
- The Trusted (Windows Authentication) authentication mode is selected by default. This setting is recommended for Decipher IDP, but can be changed if required.
If using SQL Authentication, ensure your SQL password does not start with an equals (=) sign or a semi-colon (;) as they are not supported and may lead to a corrupted configuration file.
-
Enter the name of your existing Blue Prism database. The Database name defaults to BluePrism. If you have already created a Blue Prism database for Decipher using a different name, enter that name in the Database name field.
If you don’t enter the correct Decipher database name during this part of the installation, as described above, Decipher IDP will not successfully run.
-
On the RabbitMQ connection configuration screen the following details are completed by default:
Host name
The hostname of your RabbitMQ server. Commonly in development environments, all components are installed on the same server, and therefore the default is localhost. For multi-device environments, you will need to enter the name of the RabbitMQ server.
Port
Defaults to 5672.
Queue name
Defaults to DecipherLicensing.
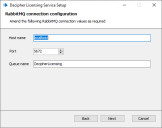
- Click Next to continue. A message displays notifying you that a queue using the name you have specified will be created in RabbitMQ. Click Yes to accept, or No if you want to go back and amend the name.
-
On the RabbitMQ connection configuration screen enter the username and password for RabbitMQ. The default is guest.
The RabbitMQ username and password entered here must match the RabbitMQ account – the default RabbitMQ username and password are guest. For standalone deployments, the default credentials are sufficient. If you created a different RabbitMQ user, enter the credentials for the new user. You will be prompted to enter these credentials when installing the Decipher server.
-
Click Next.
- On the Installation Summary screen, click Install to complete the installation, followed by Finish to exit the wizard.


The user account running the Decipher Licensing Service must be granted access to the Blue Prism database where the license is stored. For more information, see Grant Blue Prism database access to the Decipher Licensing Service.
Install Decipher Server
For multi-device installations, this needs to be installed on the Decipher server.
- Run the Decipher Server installer.
- Click through the install wizard, following the on-screen instructions as prompted.
-
On the End-User License Agreement screen, read the license agreement and select I accept the terms in the License Agreement, if you accept these terms.

-
On the Destination Folder screen, click Next to accept the default location for Decipher Server or click Change to specify a different location.
-
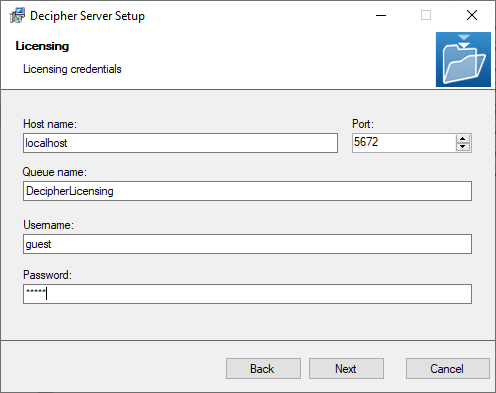
On the Licensing screen, enter the following licensing details:
- Host name – The hostname of your RabbitMQ server. Commonly in development environments, all components are installed on the same server, and therefore the default is localhost. For multi-device environments, you will need to enter the name of the RabbitMQ server.
- Queue name – The RabbitMQ queue name. The default is DecipherLicensing.
- Username and Password – The username and password for the RabbitMQ account that you entered when installing the Decipher Licensing Service. The default RabbitMQ username and passwords are guest, these credentials can only be used for standalone deployments.
For multi-device deployments, you will need to first create a new RabbitMQ user to access to RabbitMQ server remotely, see Create new RabbitMQ user and set permissions for details.

-
On the Database Server Configuration screen:
-
Ensure the correct SQL server is specified.
If the SQL server is the MSSQLSERVER default instance, enter the machine name or localhost. Entering the full name will result in the server not being found. Alternatively, if you need to provide a different instance name, enter the machine name or localhost, followed by \ and the instance name.
- The Trusted (Windows Authentication) authentication mode is selected by default. This setting is recommended for Decipher IDP, but can be changed if required.
- Click Test connection to proceed, followed by Next to continue.
-
-
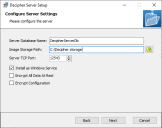
On the Configure Server Settings screen complete the following details:
Server Database Name
Enter a new name for the server database, or accept the default DecipherServerDb.
Image Storage Path
Enter the location in which to store the documents after they have been processed. This can be any location, including OneDrive, SharePoint, or a local drive. For example C:\Decipher storage.
Server TCP Port
Accept the default TCP port, or enter a different port number if required. You will need to enter this port number when installing the Decipher Web Client.
Install as Windows Service
This option is selected by default. Do not deselect this option.
Encrypt All Data At Rest
Select this option if you want to store all completed documents as encrypted files. This is only necessary if the documents being processed are confidential.
Encrypt Configuration
Select this option if you want to encrypt the server settings.
- Click Next.
- On the Installation Summary screen, click Install to complete the installation, followed by Finish to exit the wizard.


Install Decipher Web Client
For multi-device installations, this needs to be installed on the Decipher web server.
- Run the Decipher Web Client executable.
- Click through the install wizard, following the on-screen instructions as prompted.
-
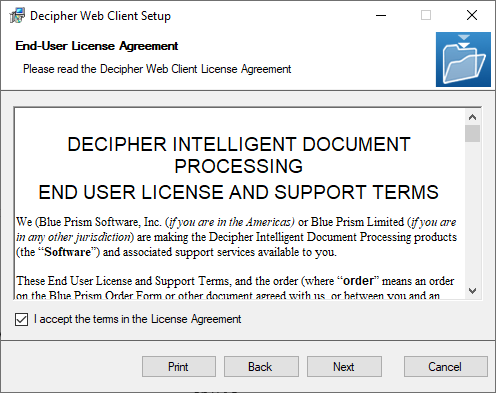
On the End-User License Agreement screen, read the license agreement and select I accept the terms in the License Agreement, if you accept these terms.
-
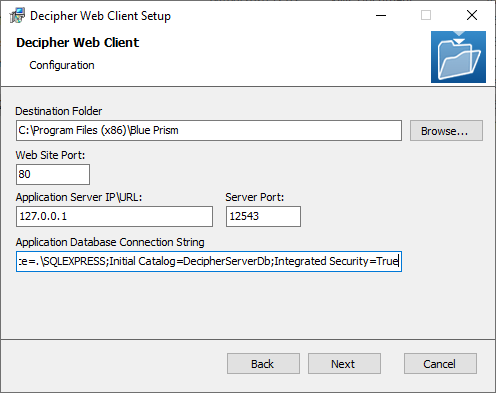
On the Configuration screen complete the following details:
Destination Folder
Accept the default install location.
Web Site Port
Accept the default web site port, or enter a different port number if required.
Application Server IP/URL
This IP address is required when you install the Decipher server.
Port
Ensure the same port number entered for Decipher Server is entered here.
Application Database Connection String
Enter the name of the SQL database connection. If you accepted the default settings whilst installing Decipher Server, this will be:
CopyData Source=.\SQLEXPRESS;Initial Catalog=DecipherServerDb;Integrated Security=TrueIf you didn’t accept the default options, this can be found in the SsiServer.exe.config file, which is located in C:\Program Files (x86)\Blue Prism\Decipher Server by default.
- Click OK to save the settings.
- Click Install to continue to install Decipher Web Client, which may take several minutes, followed by Close to exit the wizard.
Windows security alerts may display for the erl.exe and the epmd.exe. For Decipher IDP to work successfully you will need to allow them to communicate over your private networks.
Install Decipher Automated Clients
For multi-device installations, this needs to be installed on the Decipher clients server.
- Run the Decipher Automated Clients installer.
- Click through the install wizard, following the on-screen instructions as prompted.
-
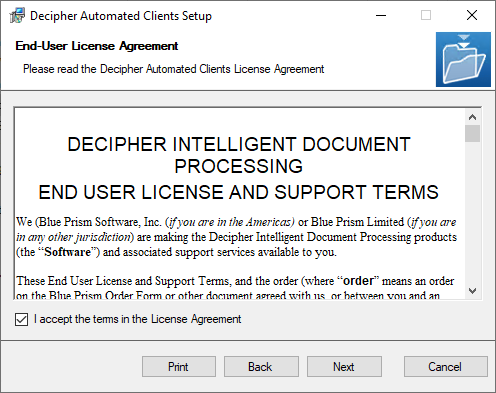
On the End-User License Agreement screen, read the license agreement and select I accept the terms in the License Agreement, if you accept these terms.

-
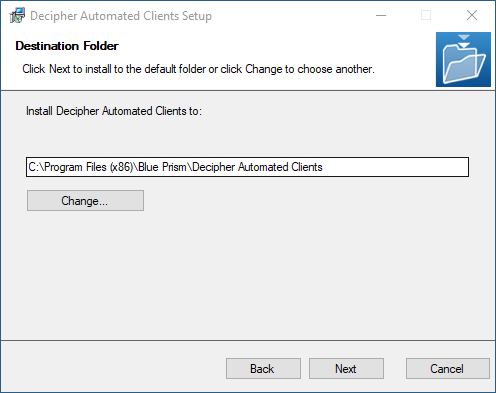
On the Destination Folder screen, click Next to accept the default location for Decipher Automated Clients or click Change to specify a different location.

-
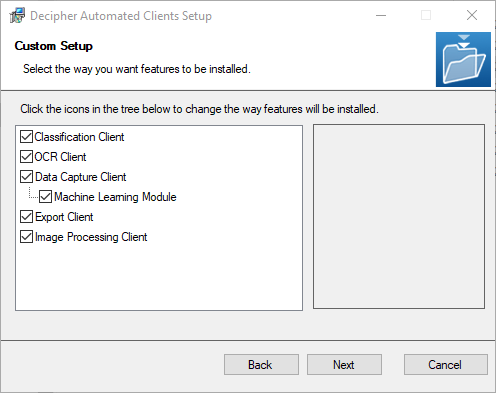
On the Custom Setup screen, select the relevant options.
For standalone deployments, select every option. For multi-device deployments, with multiple automated clients, select only the features required for each installation.

-
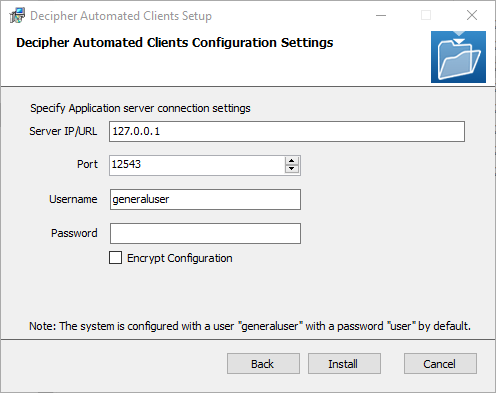
On the Decipher Automated Clients Configuration Settings screen complete the following details:
Server IP/URL
Ensure the same IP address entered in the Decipher Server is entered here. The default IP address is 127.0.0.1.
Port
Ensure the same port number entered for Decipher Server and the Decipher Web Client is entered here. The default port is 12543.
Username
generaluser This is the Decipher user that will run the different modules to extract data from a document.
Password
user
Encrypt Configuration
Select this option to encrypt the Automated Client configuration settings.

- Click Install to complete the installation, followed by Finish to exit the wizard.
Install Decipher Server Plugin
For multi-device installations, this needs to be installed on the Decipher server.
- Run the Decipher Server Plugin installer.
- Click through the install wizard, following the on-screen instructions as prompted.
-
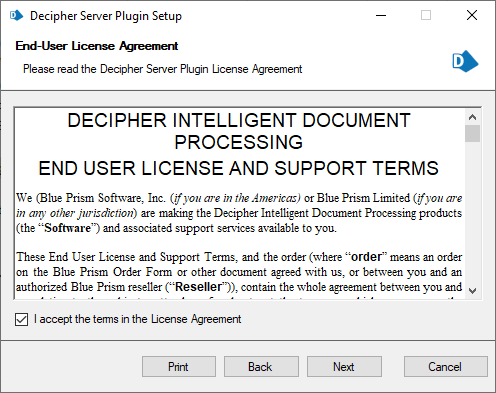
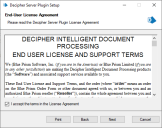
On the End-User License Agreement screen, read the license agreement and select I accept the terms in the License Agreement, if you accept these terms.
-
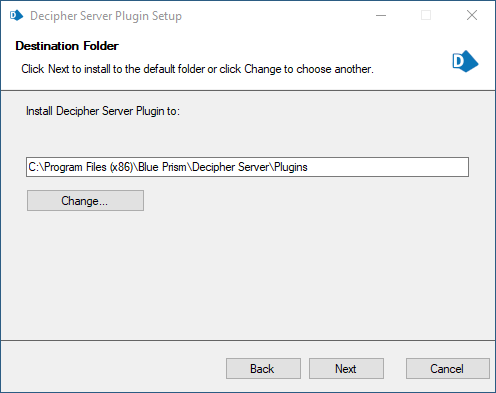
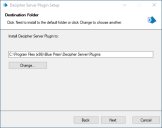
On the Destination Folder screen, click Next to accept the default location for Decipher Server Plugin or click Change to specify a different location.
- Click Install to complete the installation, followed by Finish to exit the wizard.