Docs
DocsEdit your process
You can edit your process at the group level, step level, and step action level.
Edit groups
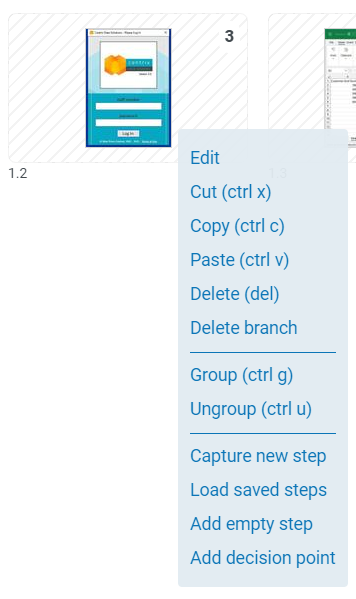
To edit groups on the main process screen, right-click any group to view a shortcut menu.
|
Name |
Description |
|---|---|
|
Edit |
Open the Edit panel, see Edit steps for details. Clicking the thumbnail will also open the Edit panel. |
|
Cut |
Cut a group. |
|
Copy |
Copy a group. |
|
Paste |
Paste a group. A pasted group will be placed to the right of the selected thumbnail. |
|
Delete |
Delete the selected group. See Delete step groups. |
|
Delete branch |
Delete the selected group. Any branches connected to that group will also be deleted. |
|
Group |
Group multiple groups together to form a single group (not a group of groups). See Group groups. |
|
Ungroup |
Split any group with two or more steps into individual steps. See Group groups. |
|
Capture new |
Capture an additional |
|
Load saved |
Load previously saved |
|
Add empty |
Add an empty placeholder step directly after the current |
|
Add decision point |
Add a decision point. |
Select groups
To select a single group:
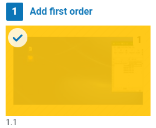
- Hover over the first group you want to select. A tick symbol displays in the corner of the group.
-
Click the tick symbol. The group is highlighted yellow to indicate that it is selected.
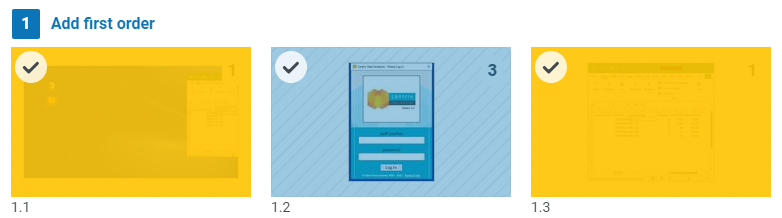
To select multiple step groups individually:
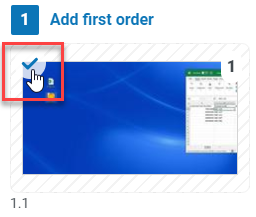
-
Select a single group. All step groups display a tick symbol.
-
Click the tick symbol on each group that you want to select. The selected step groups are highlighted yellow to indicate that they are selected.

To select multiple step groups at the same time:
-
Select a single group. This is the first group in the group that you want to select. All step groups display a tick symbol.
-
Press and hold Shift on your keyboard and select a group further along in the branch. This is the last group in the group that you want to select. All step groups between this one and the previously selected one are highlighted yellow to indicate that they are selected.

Cut, copy, and paste groups
To cut or copy selected step groups in the process map, right-click a group, or a highlighted selection of groups, and choose the required action.
To paste the copied step groups, select the one that you want your copied steps to follow, right-click and click Paste
Alternatively, you can use the following shortcut keys:
- Ctrl + C – Copy
- Ctrl + X – Cut
- Ctrl + V – Paste
Delete groups
To delete selected step groups in the process map, right-click a group, or on a highlighted group of selected step groups, and click Delete (Del).Alternatively, you can press the Delete key on your keyboard.
A dialog displays asking you to confirm the deletion.
Group groups
You can group or ungroup any groups or steps.
To group several step groups together:
-
Select
The selected groups display in yellow.
-
Right-click one of the selected groups and click Group.
Alternatively, you can use the following keyboard shortcut keys:
- Ctrl + G – Group
The selected groups now display as a single group.
Ungroup groups
To ungroup, select the grouped group, right-click and select Ungroup.
Alternatively, you can use the following keyboard shortcut keys:
- Ctrl + U – Ungroup
Edit steps
Click a group in the process map to open the step editor. Alternatively, the following shortcut keys can be used to open and close the step editor:
- Enter – Opens the selected group.
- Esc – Closes the selected group (without saving any changes).
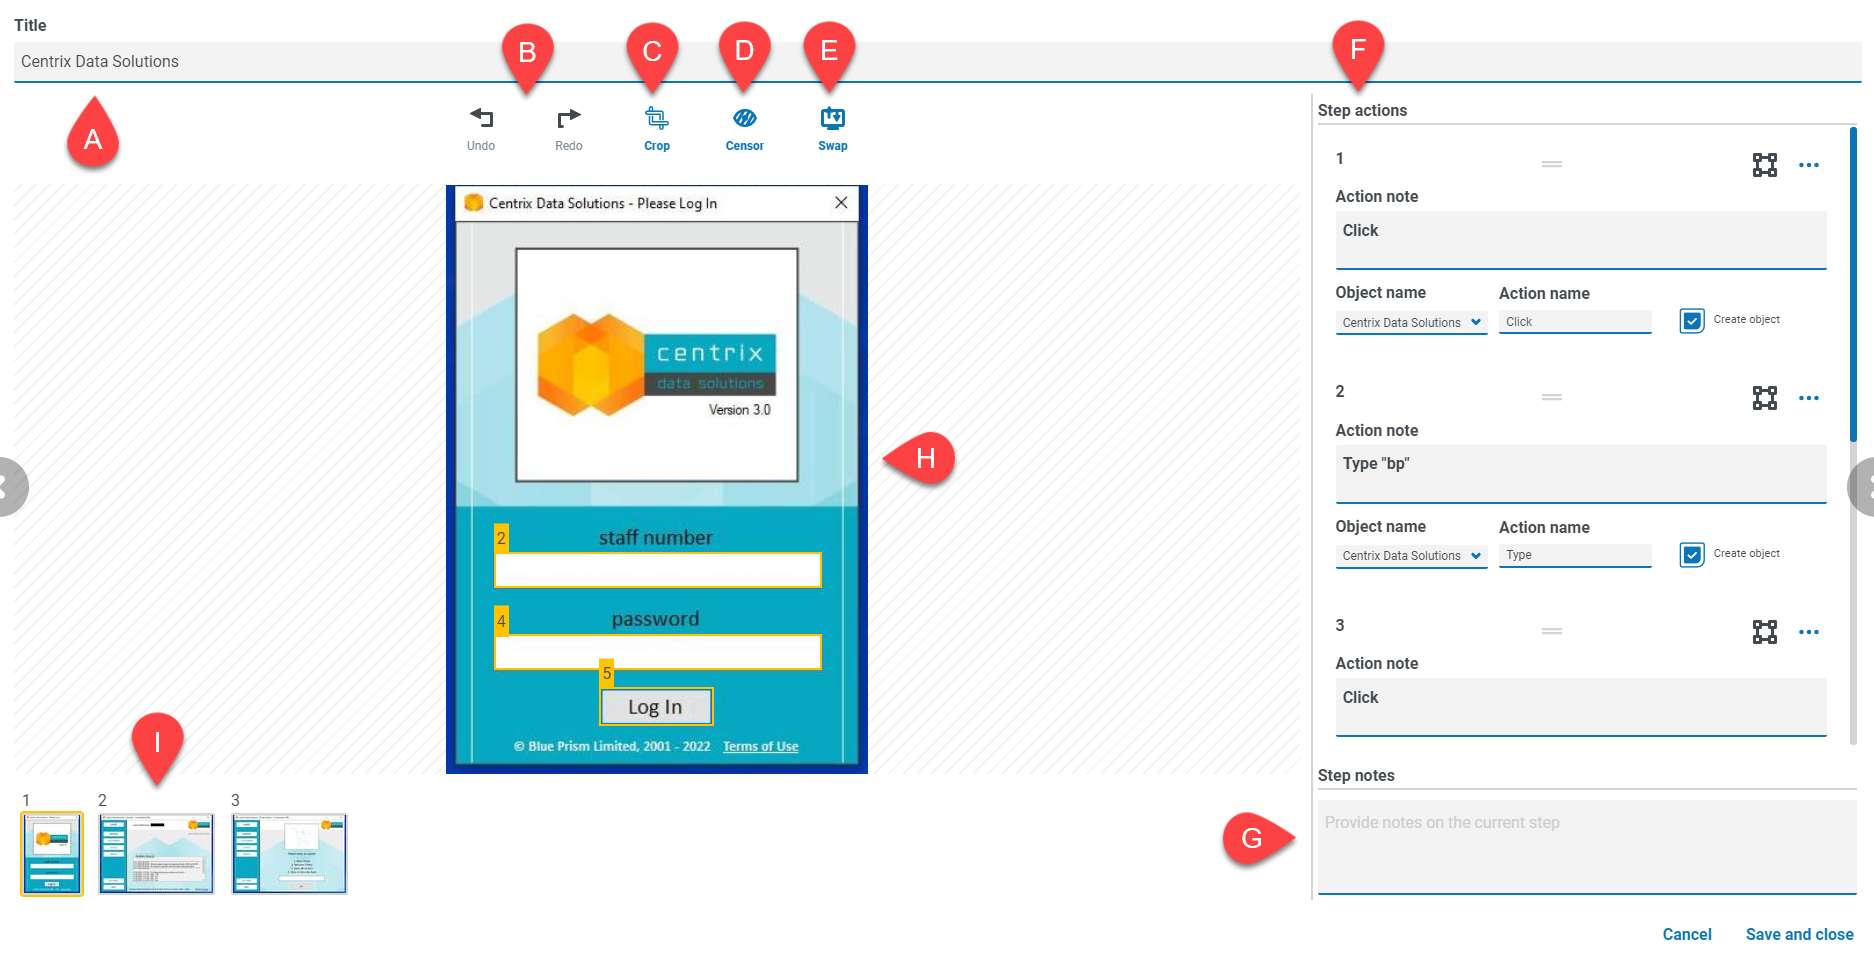
The step editor window allows you view each step and perform the following actions for each step:
|
Location |
Name |
Description |
|---|---|---|
| A | Step name |
Click the step name to edit it. By default it shows the application being used at the time. |
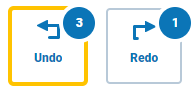
| B | Undo/Redo |
Undo/redo any edits you make to the screenshot. A number indicating how many actions are available to be undone or redone is displayed in the corner of the undo and redo icons.
|
| C | Crop |
Use the crop tool to trim the screenshot. |
| D | Censor |
Obfuscate sections of the screenshot for security. |
| E | Swap image |
Browse to a new image on your computer to replace the current one. |
| F | Step actions |
A sequentially numbered list of fully editable actions that occur in this step. These actions can have associated bounding boxes shown on the screenshot to indicate where interactions were made. If you have enabled Show business objects in the User settings, the step action panel displays a Create object check box and business object fields for defining an application and step action. See Create business objects for more details. |
| G | Step notes |
Add general notes to appear in the PDD. |
|
H |
Screenshot |
Screenshot captured at the time of these interactions. |
|
|
Thumbnails |
Shows steps within this group. |
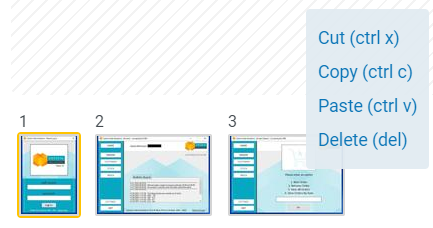
Cut, copy, and paste steps
Using the thumbnails displayed along the bottom of the edit panel you can cut, copy, and paste individual steps within a group of steps. Right-click a step thumbnail and choose the required action. Pasted steps are placed immediately after the highlighted step. Alternatively, the following shortcut keys can be used to copy and paste steps:
- Ctrl + C – Copy
- Ctrl + X – Cut
- Ctrl + V – Paste
Delete steps
To delete a step in the step editor, right click the step you want to delete and select Delete.
Alternatively, you can press the Delete key on your keyboard.
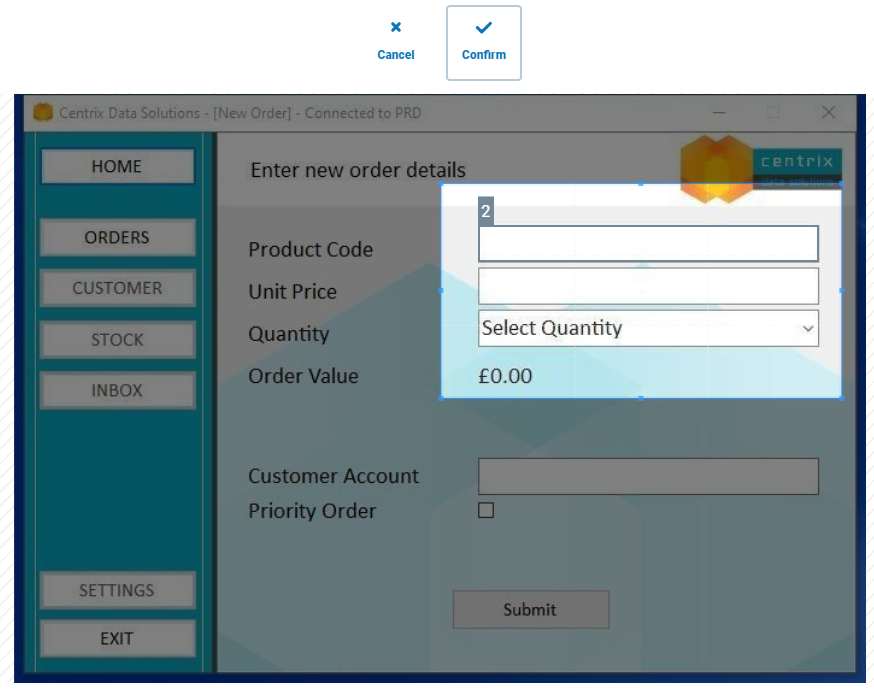
Crop steps
If required, you can crop the screen shot for each step.
-
Click a step to open it in the step editor.
-
Click the Crop icon and adjust the crop area as required.
-
After you have made the changes, click Confirm to apply the changes, or Cancel to discard the changes.
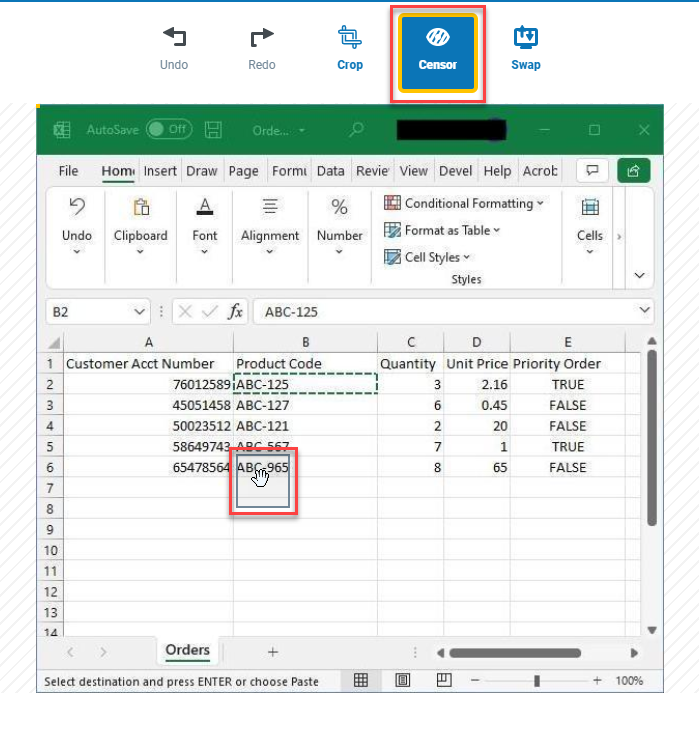
Censor steps
If a screenshot shows potentially sensitive or private information, you can use the censor tool to black it out.
-
Click the censor icon and select the area of the screenshot you want to obfuscate.
-
Resize/reposition it to cover the sensitive area. Once you have the correct placement you can confirm.
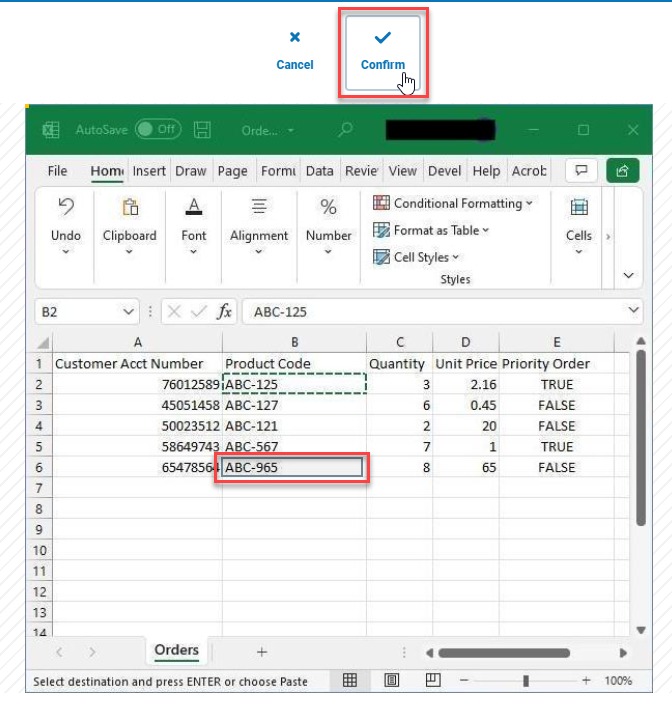
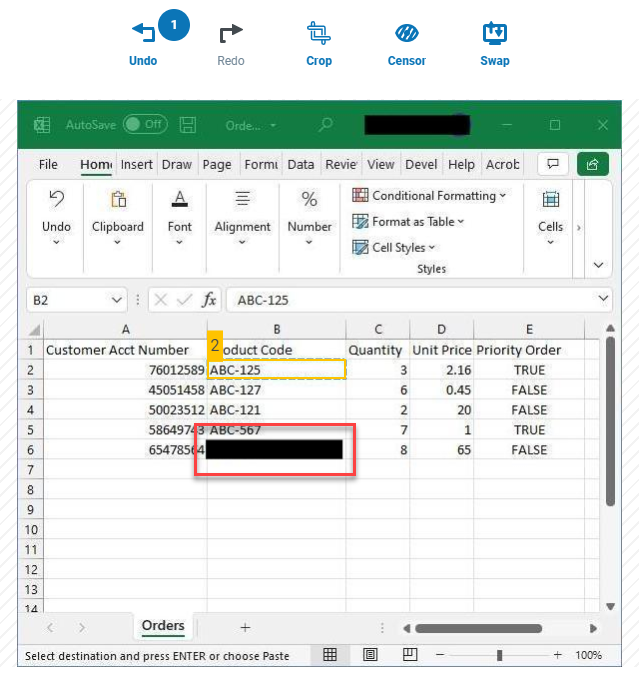
The censored area displays black.
Apply bounding boxes
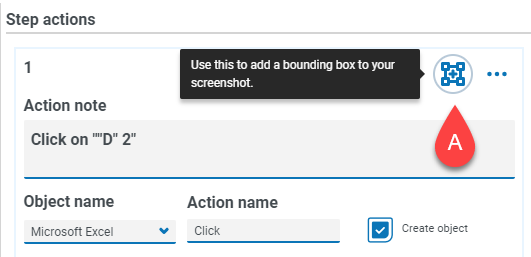
To add a new bounding box to the screenshot:
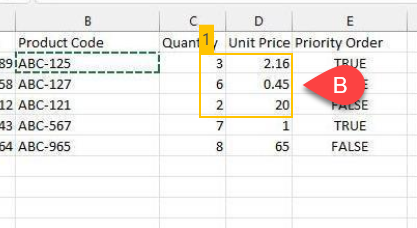
- Click the bounding box icon (A) then click the screenshot roughly where you want it to be placed (B).
-
After you have placed the new bounding box on the screenshot you can reposition and resize it as needed.

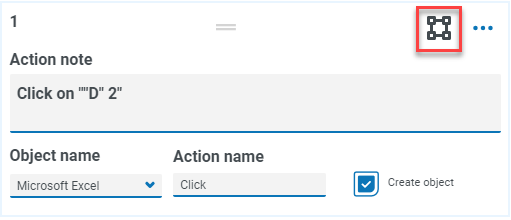
The bounding box icon is now
Delete bounding boxes
The following options are available when deleting bounding boxes:
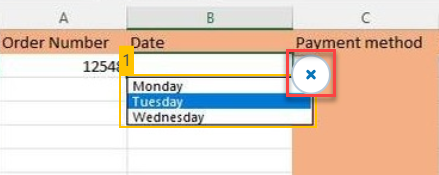
- To delete a bounding box, but not the action, hover the mouse over the box to display the X icon, and click the icon.
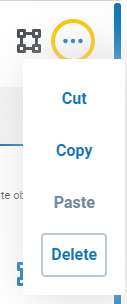
- To delete a bounding box and the action, click the ... (ellipsis) icon next to the icon and click Delete.
After a bounding box has been deleted, the bounding box icon changes to blue to indicate that it is available for use.
![]()
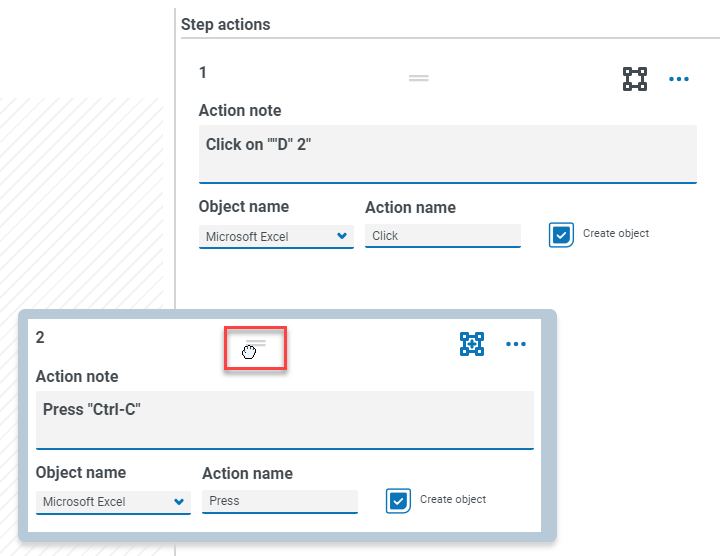
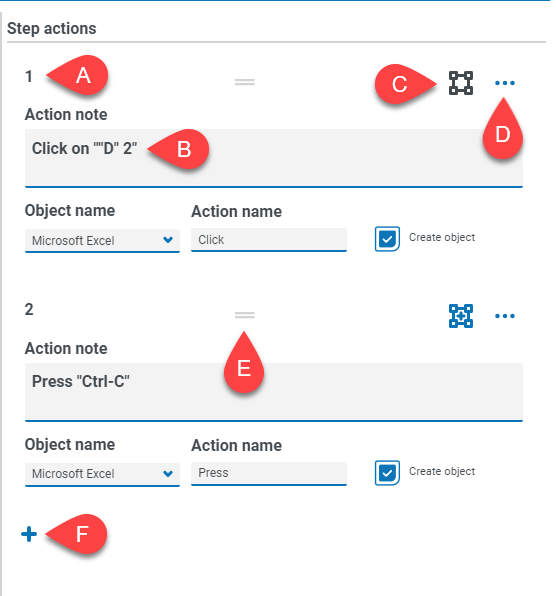
Edit step actions
Step action information displays on the right-hand side of the screen. This is a numbered list of editable actions in the step. These actions can have bounding boxes displayed on the screenshot to indicate where interactions were made.
If you have enabled Show business objects in the User settings, the step action panel displays a Create object check box and business object fields for defining an application and step action. See Create business objects for more details.
|
Location |
Name |
Description |
|---|---|---|
| A | Step number | Each action is given a number indicating the order in which the actions occurred. |
| B | Action note |
This editable note briefly describes the step action. The action note is automatically populated if Auto-generate business object fields is selected in the User settings. |
| C | Bounding box |
Each action can have a bounding box displayed on the screenshot to show where the interaction occurred. A gray icon indicates that the action already has a bounding box on the screenshot. You can remove bounding boxes from the screenshot without removing the action. |
| D | Step menu | You can cut, copy, paste and delete step actions from this menu. |
| E | Add an action |
More step actions can be added by clicking the + icon. New actions will be added to the bottom of the list. |
|
F |
Add an action |
More step actions can be added by clicking the + icon. |