 Docs
DocsBring your own storage/customer-side compatibility and configuration
The Blue Prism Cloud Data Vault & Partitioner solution gives RPA Developers and key operational stakeholders an automated solution to mitigate common issues encountered with the accumulation of Session data within the Blue Prism product database, hosted within Blue Prism Cloud. The solution primarily focuses on maintaining the session logs and work queue items and is being continuously developed to enhance and extend its operational effectiveness. This is accomplished through the use of an Azure Data Lake to transfer the archival data to a cost-effective columnar file format (Apache Parquet), with older session log entries being purged from the primary Blue Prism database routinely in order to maintain the database size.
As a secondary purpose, the solution also offers key stakeholders the ability to directly access and interrogate a synchronized copy of that archival data, for the purposes of BI reporting.
The solution is deployed in alignment with Blue Prism Cloud’s SOC 2 verified data segregation and integrity policies. No resources are shared between customer subscriptions or accounts and data is effectively secured at all transit stages.
This article aims to empower Blue Prism Cloud consumers to enhance the security of their product data, through the utilization of their own Azure Data Lake. For this, the guide can be used to deploy and configure an Azure Storage Account that's compatible with the Blue Prism Cloud deployment.
Intended audience
This guidance affects all stakeholders of the Blue Prism Cloud-hosted solution. Affected roles may include:
- RPA Developers
- Technical Architecture
- IT Operations
- IT Security, Compliance and Governance
- Database Administrators
Prerequisites
Before embarking on the setup and configuration of your Data Lake Storage Gen2 equivalent, ensure you have the following pre-requisite knowledge, experience, and tools in place:
- Microsoft Azure tenant & sufficient access – Ensure that you have access to a Microsoft Azure tenant and an associated account with sufficient permissions to create & configure resources
- Deployment location confirmation – Your Azure storage will require geographical/regional parity to your BPC instance. If you don’t know your BPC platform’s region (as elected on the Platform Config Form), please reach out to BPC support via emailing [email protected], or via our support portal portal.blueprism.com.
Deploying and configuring your BPC-compatible data lake
Via the Microsoft Azure UI
Any mandatory configuration for compatibility will be suffixed with an emboldened asterisk: *
- Log into the Microsoft Azure portal
- Access the Azure Portal and authenticate with your Azure account credentials.
- If applicable, navigate to your selected Azure tenant, within which you wish to deploy the resources.
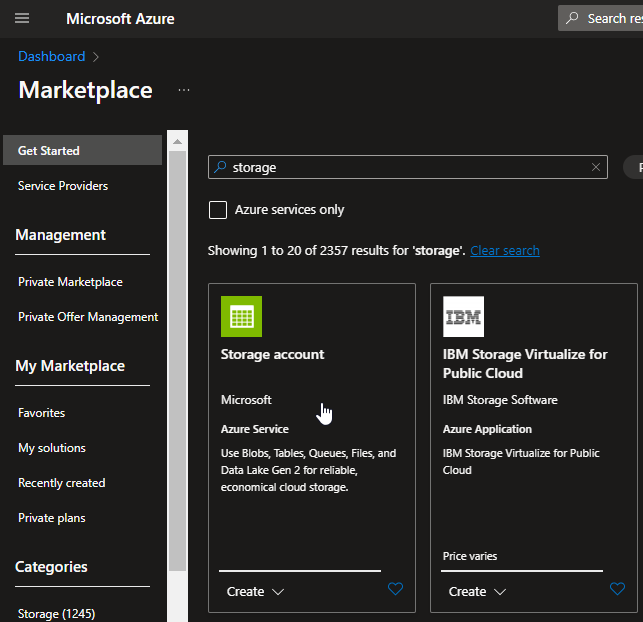
- Create new resource
- Initiate the process by selecting Create a resource from the hamburger menu in the Azure Portal.
In the search bar, locate and select Storage account and click Create.

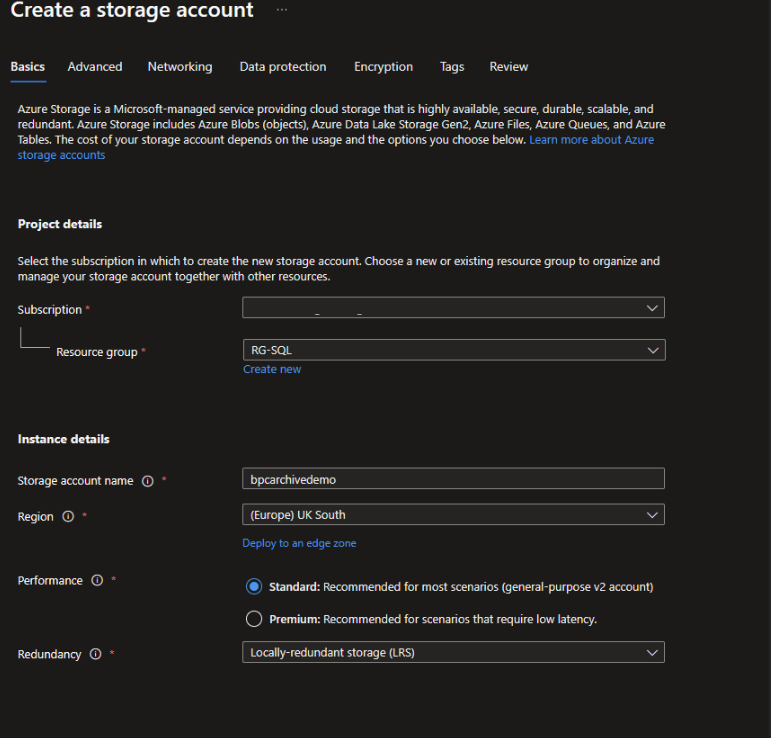
- Configure the storage account.
- Provide essential details, including a unique name for your storage account.*
- Choose the appropriate subscription – either create a new or select an existing resource group.
- Specify the following configuration items:
- Region – As noted by your Blue Prism Cloud support rep (see pre-requisites)*.
- Performance – Standard or Premium.
- Account kind – StorageV2 - general-purpose v2*.
Replication method and access tier – Hot or Cool.

- Configure the advanced settings*:
- Navigate to the Advanced tab.
Enable the Hierarchical namespace option, crucial for unleashing the advanced features of Azure Data Lake Storage Gen2*.
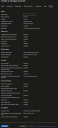
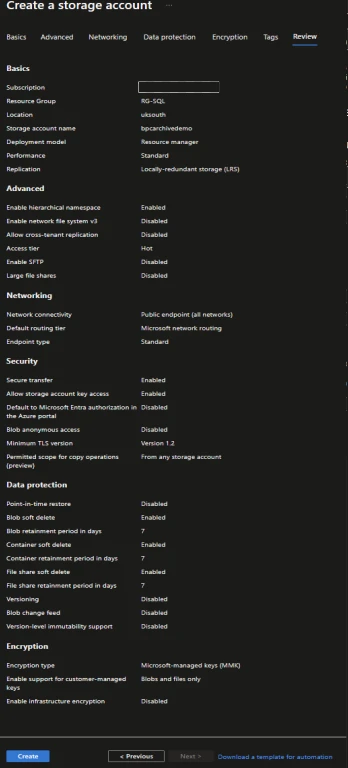
- Review and create your BPC Azure Data Lake:
- Thoroughly review the configured settings to ensure accuracy.
Click Review + create followed by Create to initiate the deployment of your Azure Data Lake Storage Gen2 account.

Via ARM
Alternative to using the Microsoft Azure UI to deploy the resources, the following example JSON template creates an Azure data lake storage Gen2, compatible with the BPC deployment.
{
    "$schema": "https://schema.management.azure.com/schemas/2019-04-01/deploymentTemplate.json#",
    "contentVersion": "1.0.0.0",
    "parameters": {
        "storageAccountName": {
            "type": "String",
            "metadata": {
                "description": "Name of the Azure Data Lake Storage Gen2 account."
            }
        },
        "location": {
            "type": "String",
            "metadata": {
                "description": "Location given by BluePrism for your DataLake."
            }
        },
        "sku": {
            "defaultValue": "Standard_LRS",
            "allowedValues": [
                "Standard_LRS",
                "Standard_GRS",
                "Standard_RAGRS",
                "Standard_ZRS"
            ],
            "type": "String",
            "metadata": {
                "description": "Specifies the desired replication for the storage account."
            }
        }
    },
    "variables": {
        "storageAccountId": "[resourceId('Microsoft.Storage/storageAccounts', parameters('storageAccountName'))]"
    },
    "resources": [
        {
            "type": "Microsoft.Storage/storageAccounts",
            "apiVersion": "2021-04-01",
            "name": "[parameters('storageAccountName')]",
            "location": "[parameters('location')]",
            "sku": {
                "name": "[parameters('sku')]"
            },
            "kind": "StorageV2",
            "properties": {
                "supportsHttpsTrafficOnly": true,
                "isHnsEnabled": true
            }
        }
    ],
    "outputs": {
        "storageAccountId": {
            "type": "String",
            "value": "[variables('storageAccountId')]"
        }
    }
}
Deploy the template using the Azure portal
There are multiple ways in which the JSON template can be used to deploy the applicable resources, including automated methods such as enrolling the template into your own deployment pipelines, or using a PowerShell script.
For the purpose of this walk through, we will specify how to deploy the template using the Microsoft Azure UI.
The Microsoft Azure portal can be used to deploy the above JSON, via the following method:
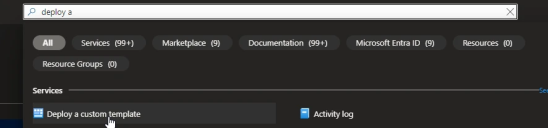
-
In the Azure portal, search Deploy a custom template.
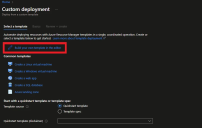
-
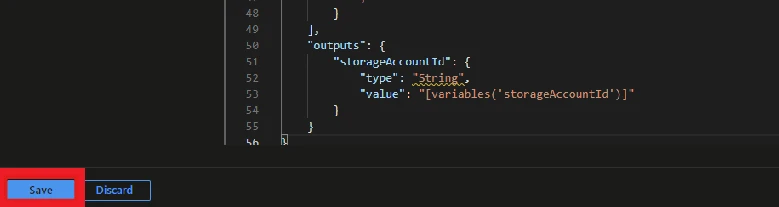
Select Build your own template in the editor. In here you are able to paste the template.
-
Save the template.

-
Enter the region parameter values from the information provided by our support team and click Review and create.
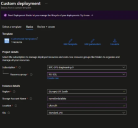
-
Review the deployment to assure accuracy and compliance to the BPC values and when happy, click Create.


You should now have a BPC Data Vault and Partitioner solution compatible storage account.
Acquire and share your SAS token
A Shared Access Signature (SAS) token grants secure, limited access to an Azure Storage account.
For ease of access and collaboration, please follow these steps to create and securely share your SAS token:
Your SAS token should have an expiration date, no less than 1 year from generation.
- Find your SAS URI: Identify your Data Lake Storage Gen2 storage account which you previously created.
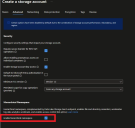
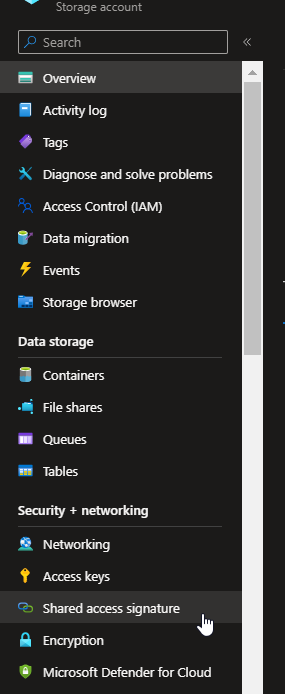
- Access Storage Account Settings:
- Open the details page of your Data Lake Storage Gen2 account.
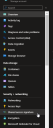
Navigate to Security + networking from the left-hand menu and select Shared access signature in the Security + networking pane.
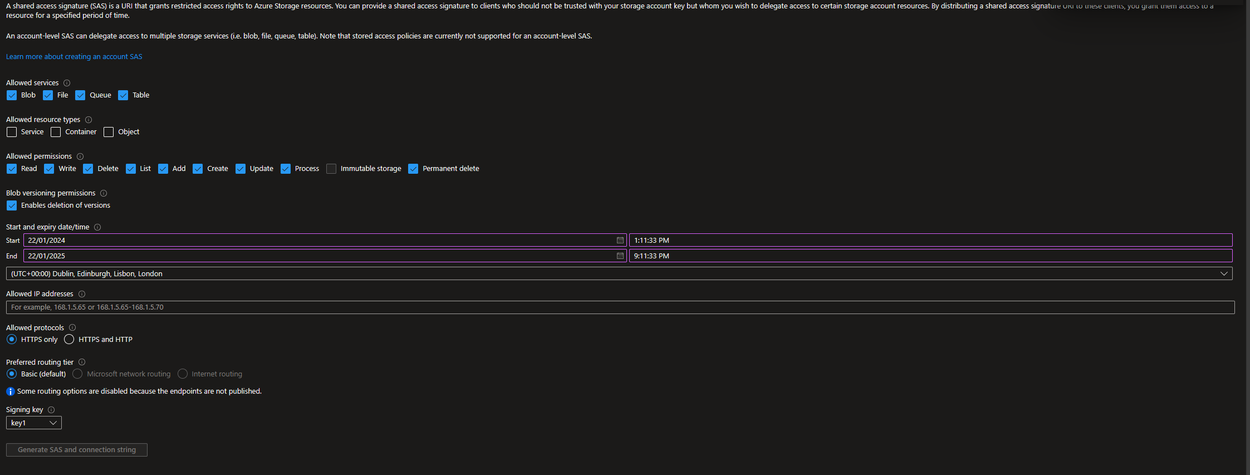
- Generate Your SAS URI:
- Click Add to create a new shared access policy.
Enter a descriptive name, for example Archive-Access, and specify permissions, ensuring comprehensive access (Read, Write, and Delete). For example:
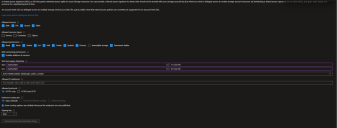
- Enter start/expiry times that should be at least (1 year) and avoid IP restrictions.
- Click Generate SAS and connection string to create the URI.
- Securely Copy SAS URI:
- Copy the generated SAS URI securely and transmit it to our Blue Prism Support team. You can do this by email or by logging a ticket on our support portal.
- The URI should contain the following: https://{your_storage_account_name}.dfs.core.windows.net/<path>/<file_name>?<SAS_token>
Next steps
After the SAS token has been generated and securely transmitted to our support engineers, we will continue to work with you via your aligned support representative to establish the link between resources.
