 Docs
DocsFonts
Fonts available for use by the font matching functionality can be stored and managed in the database.
To use Optical Character Recognition (OCR) with a font, you must first disable the Smooth edges of screen fonts setting in Windows Settings > Performance Options > Visual Effects.
This video demonstrates how to disable font smoothing.
Import a font
Fonts can be imported on the System - Fonts screen as follows:
Multiple fonts can be imported simultaneously by clicking them whilst holding the Shift or CTRL keys.
When a font is imported, its name is taken from the name of the file. If the name of the file begins with 'font_' then that part is ignored. For example, the files "font_System.xml" and "System.xml" would both result in the import of a font named 'System'.
Import a font from system fonts
-
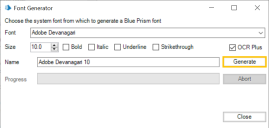
On the System - Fonts screen, click New and then From System Font....
The Font Generator dialog displays.
-
Select the font you want to import from the drop-down list.
-
If required, change the size and select the Bold, Italic, Underline, or Strikethrough options.
-
Enter a name for the font. The default name is made up of the selected font and size.
-
If required, select the OCR Plus option. This improves the robustness of the font matching algorithm and color identification. For more details, see OCR Plus.
-
Click Generate.
The new font displays on the System - Fonts screen.

Import a font from screenshots
-
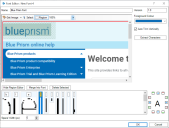
On the System - Fonts screen, click New and then From Screenshot/Regions....
-
Use CTRL and left-click to select the highlighted region.
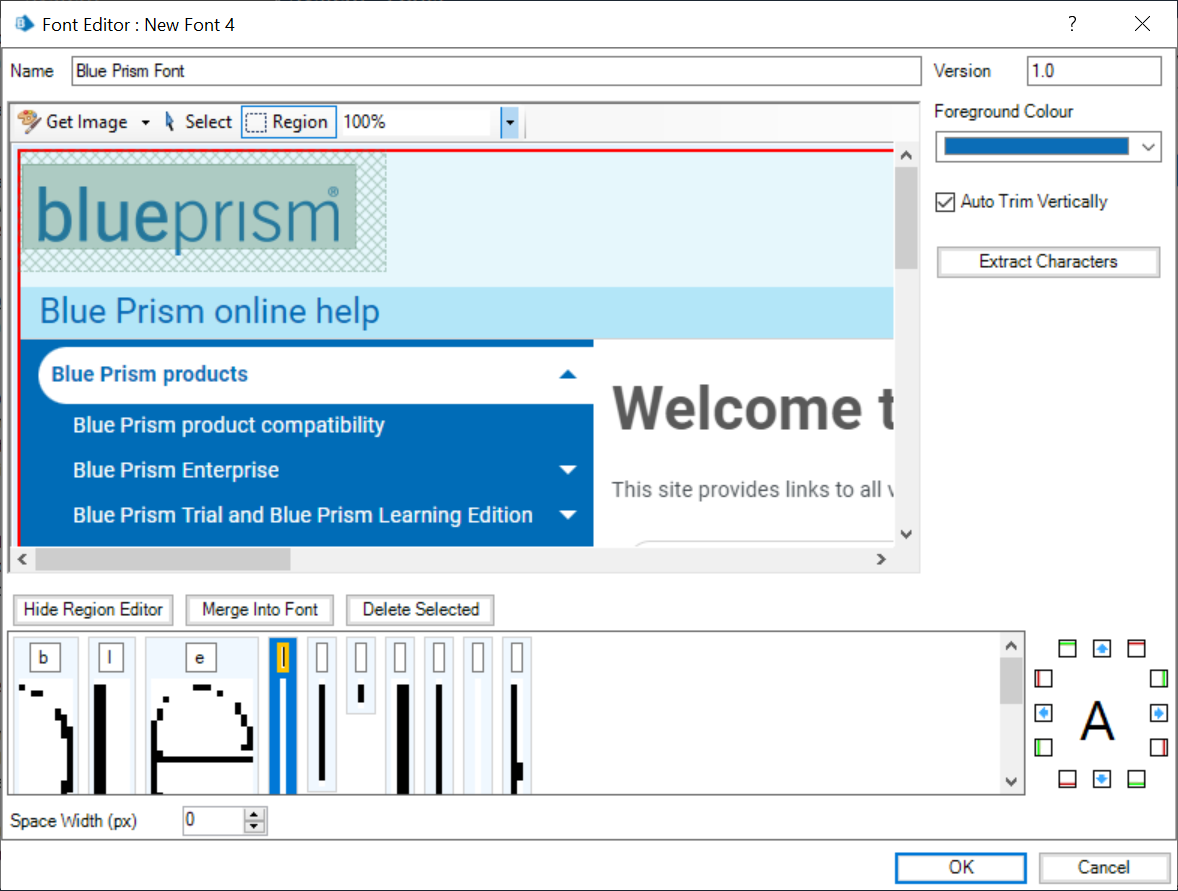
The Font Editor dialog displays.
-
Enter a name and a version for the font. You also have the options to change the foreground color, auto trim vertically, and set the white space width in pixels.
-
Click Region to select a region of the image from which you want to extract characters.
-
Click Extract Characters.
The extracted characters display in the bottom panel. You can use the Move, Trim, and Pad controls to remove any padding and bring it in line with other characters. You can also delete characters you do not need by selecting them in the bottom panel and clicking Delete Selected.
-
Once you have identified all the characters you want to add to the font, click Merge Into Font.
-
Click OK.
The new font displays on the System - Fonts screen.
Alternatively, the Get Image option allows you to upload an image file or highlight another window and follow the same steps as outlined above.
Import a font from an XML file
This is generally useful when you want to import fonts which have been previously exported into another environment.
- On the System - Fonts screen, click New and then From BP Font XML file....
-
Browse for the font file you want to add.
The new font displays on the System - Fonts screen.
Export a font
This is generally useful when you want to export fonts from a development into a production environment.
- On the System - Fonts screen, select the font you want to export and click Export.
-
Select the location, and if required change the file name, and click Save.
The font is exported in a format that can be imported again later.
Edit a font
-
On the System - Fonts screen, select the font you want to edit and click Edit.
The Font Editor dialog displays.
-
Edit the settings configured under Import a font from screenshots as required.
Delete a font
- On the System - Fonts screen, select the font you want to delete and click Delete.
- Click OK in the confirmation message.
The font is deleted from the system and no longer displays on the screen.
You can delete multiple fonts at the same time by clicking them whilst holding the Shift or CTRL keys.
Find references
The Find References function allows you to search your environment to find where a specific font is used.
To find a reference to a font, select the font on the System - Fonts screen and click Find References.
