Docs
DocsReports
Reports provide a view of a filtered list of active schedules which have been executed within a specified date range.
When a report is selected in the schedule manager tree, it is displayed in the right-hand pane of the Blue Prism client.
From here, the parameters of the report can be set – which schedules to report on, the date range to view, and the report itself can be viewed.
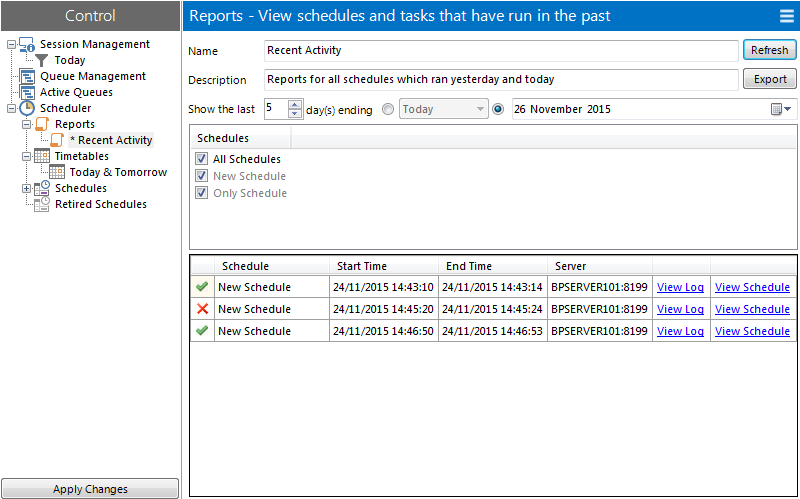
A default report is created when Blue Prism is installed called 'Recent Activity'. This will present a list of all schedules which have executed either yesterday or today.
Note that if a schedule is retired or deleted, it will not show up in any reports.
A report is created by right-clicking the 'Reports' element of the schedule manager tree and selecting 'New Report'.
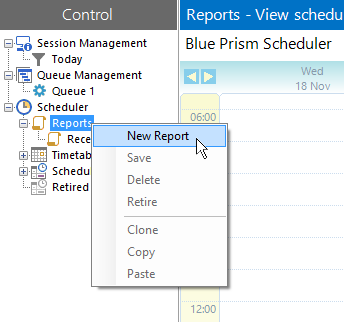
A new report will be created and populated with default values. Note that the actual report data will not be populated until the report is 'refreshed' which implicitly saves the report to the database.
Set the date range
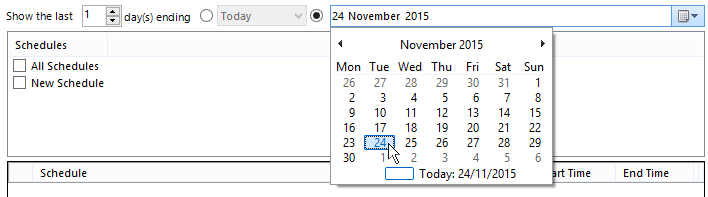
You can set the report to show an arbitrary number of days of executed schedules, ending on a specified day.
The specified end day can be set to 'Today' or 'Yesterday' – this will use the current date or the previous date whenever the report is run. This is enabled by checking the radio button next to the Today/Yesterday dropdown.

Alternatively, it can be set to a fixed date by checking the radio button next to the date picker and choosing the date to use from there.
Select the schedules
The report can list any or all active or expired schedules.
A schedule is included in the report when the adjacent checkbox in the list is ticked.
A report will dynamically include all schedules if the 'All Schedules' checkbox is ticked. Note that this differs from ticking each schedule individually in that a report will automatically include any new schedules if 'All Schedules' is ticked, whereas it would require the checkbox to be manually ticked otherwise.

The report is run when the report is first selected in the schedule manager tree and when the report is saved.
It can be run manually by clicking the 'Refresh' button – this implicitly saves the report to the database.
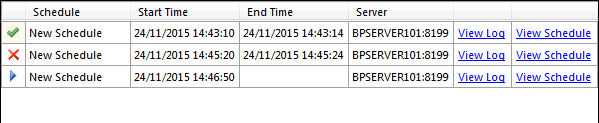
The report itself consists of a list of schedule activations which occurred within the specified date range. It will show the schedule name, the time at which the schedule was executed, the time at which it finished (or blank if no end time is recorded, typically if it is still running), the hostname and port of the server instance which ran the schedule and links to the schedule log and the schedule itself.
The schedule log for that instance is opened when the 'View Log' link is clicked.
The relevant schedule is selected in the schedule manager tree when 'View Schedule' is clicked.
The report can be exported to a file by clicking on the 'Export' button while it is open.
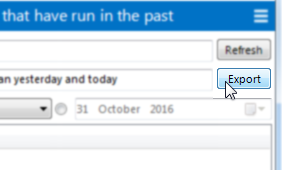
The export wizard accepts the file to export the log to, and the format of the exported data, either 'text' (human readable format) or 'csv' (comma-separated-variable format, typically more suitable for viewing within Excel or such like).
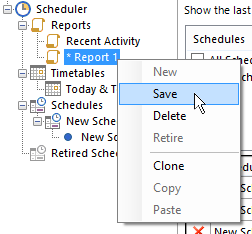
A report can be saved by right-clicking it in the schedule manager and selecting 'Save'.
Alternatively, by clicking on the 'Apply Changes' button, all changed schedules, reports and timetables will be saved.
Finally, a report is implicitly saved when it is refreshed by clicking on the 'Refresh' button.
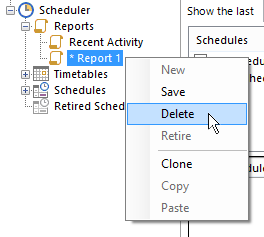
A report can be deleted by right-clicking it in the schedule manager and selecting 'Delete'.