 Docs
DocsCreate a release
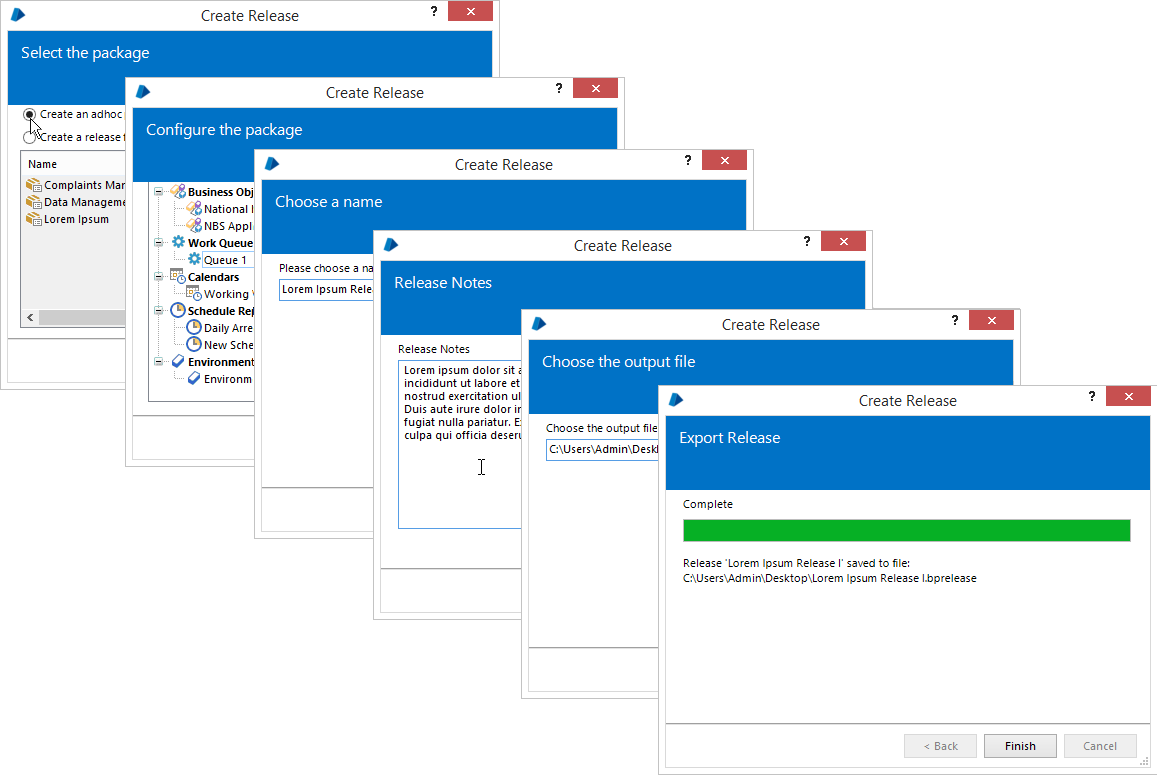
The New Release wizard is used to create a release – an output file containing all the components defined in a package in their current configured state.
When successfully executed, the wizard will generate a file which can be imported into another Blue Prism environment, transferring all the components and their states to the target.
It can be initiated from the main menu in the client – found by selecting File > Export > New Release, or by pressing the shortcut keys Ctrl-R. It can also be started by clicking on the New Release task within Release Manager or pressing the New Release button in the relevant Package Details panel.
Steps
The steps involved in creating a release are described below.
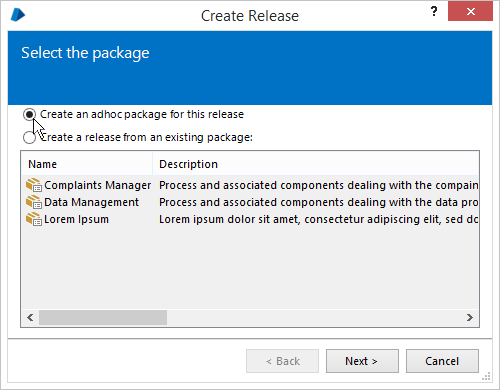
Select the package
The package from which the release should be created is configured here.
A pre-existing package can be selected, or an ad-hoc package can be created on the fly from which the release is created.
The release contents are loaded from the database, not from what is currently open in the client – if the component in question hasn't yet been saved, then the release may not contain the latest version.
This step is omitted if a package is selected in Release Manager and the wizard is launched from there.
The ad-hoc package option is not available if the wizard was launched from a selected package in Release Manager or an existing package was selected.
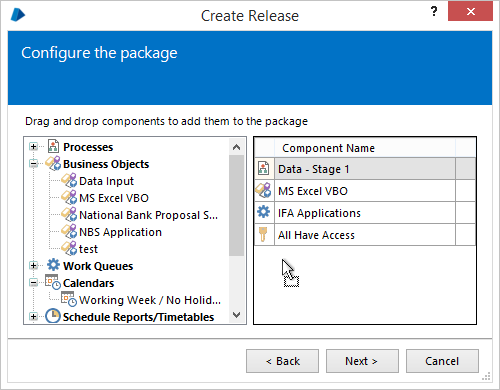
Configure the package
The contents of the package used to build the release is configured here.
This step is omitted if a package is selected in Release Manager and the wizard is launched from there.
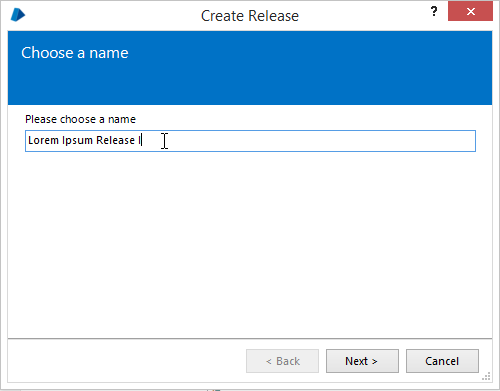
Name the release
The name of the release is entered here. The name must be unique among releases within the same package.
The release name is mandatory – it must be at least one character, and can contain up to a maximum of 255 characters.
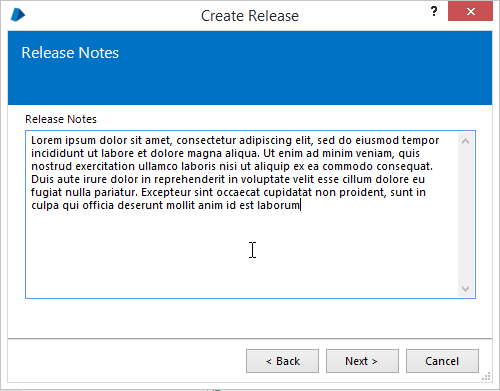
Add release notes
Each release can contain a set of notes with release-specific instructions or documentary paragraphs.
The notes are not mandatory and there is no practical limit to the amount of text which can be entered.
The release notes are displayed on the Release Details panel when the release is selected.
Choose output file
The file into which the release should be saved can be set here. A warning is issued if the chosen filename already exists.
The output file will be prepopulated with a filename based on the chosen release name, saved in the last directory specified in a release manager wizard.

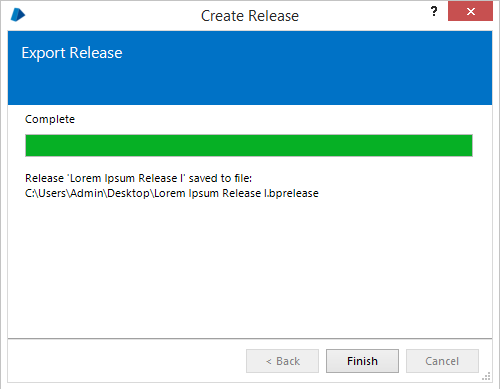
Export release
After choosing the file and pressing Next, the wizard will load all the components of the package and export them to the selected output file.
If any errors occur while exporting, they will be displayed and the user is given the option to return and alter any of the previous steps.
If the exported release contains a schedule that does exist in the target environment and the
